Fabric Printed Nature Matching Game
This post may contain affiliate links.
We tried something really fun this week. We made a fabric printed nature matching game by transferring pictures onto fabric.

To make this we used a product called Image Maker by Dylon, but I am pretty sure Mod Podge works the same way. (There are also iron on photo transfer papers you can use.) Image Maker is a thick glue that saves the image onto the fabric. It’s pretty cool stuff!
We wanted them to be nature prints, so we chose some things from our yard to photograph. The kids helped me take the pictures of different natural things. I wanted an easy and durable matching game for my toddler and using the natural pictures from our yard helps her learn familiar items from nature.
You just print them from your printer like anything else, on regular paper. You can do them in color or in black and white. Either way works. If you are using an image with words, it prints the reverse, so you will want to flip the words backwards.

Since we are making a matching game out of it, I printed them smaller and used the option to print multiple images per page. Cut them out to the size that you want them to be.
Choose some fabric that you can print the images on. You can use color, but the colors will show through, so I used a white fabric that I had on hand.

Lay the pictures on foil or paper to protect the surfaces. Using a paint brush, paint over the images with a thick layer of the image maker product. It is kind of like a thick glue consistency.
Once the image is covered, lay it down face first onto the fabric. Again, you will want something underneath it so it will not bleed through.
When all of the images are done, smooth them out the best you can with your hands or a rolling pin to remove all bubbles and wrinkles.

It need to dry for at least 4 hours. Once it is dry, get a wet washcloth or sponge and soak the back of the paper. Then gently rub off the white to reveal the image on the fabric. Remove as much as you can without taking the image off as well. Let it dry then gently remove the remaining layer of white.

Now do a thin coat of the image make over the top of the picture to seal it. Let it dry another 4 hours. Once it is all the way dry, cut the fabric pictures out and trim the edges to be neat.

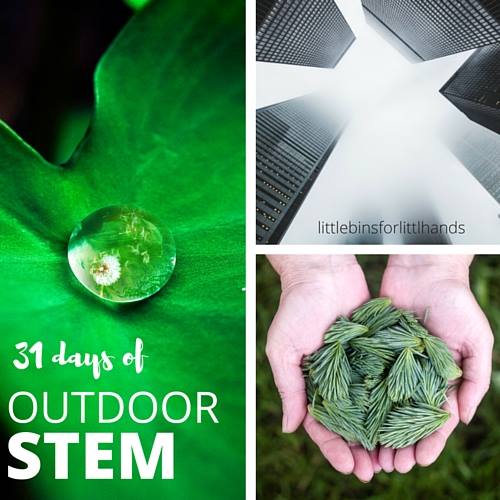
This is part of the 31 Days of Outdoor STEM series hosted by Little Bins for Little Hands.