Garbage Science Experiments: Can Crushing & Chip Bag Shrinking
This post may contain affiliate links.
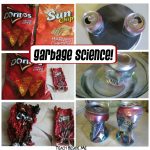
Garbage can be fun to experiment with before it gets thrown away. I have two quick and easy garbage science experiments that your kids will love: The Can Crushing Experiment and the Chip Bag Shrinking Experiment. Who needs fancy science kits when you can use garbage!
The great thing about these experiments, is that you get to have a snack before doing them! 😉

Shrinking Chip Bag Experiment (AKA Chip Bag Shrinkies)
The first simple science experiment we did was a shrinking chip bag in the microwave.
What You Need for the Shrinking Chip Bag Experiment:
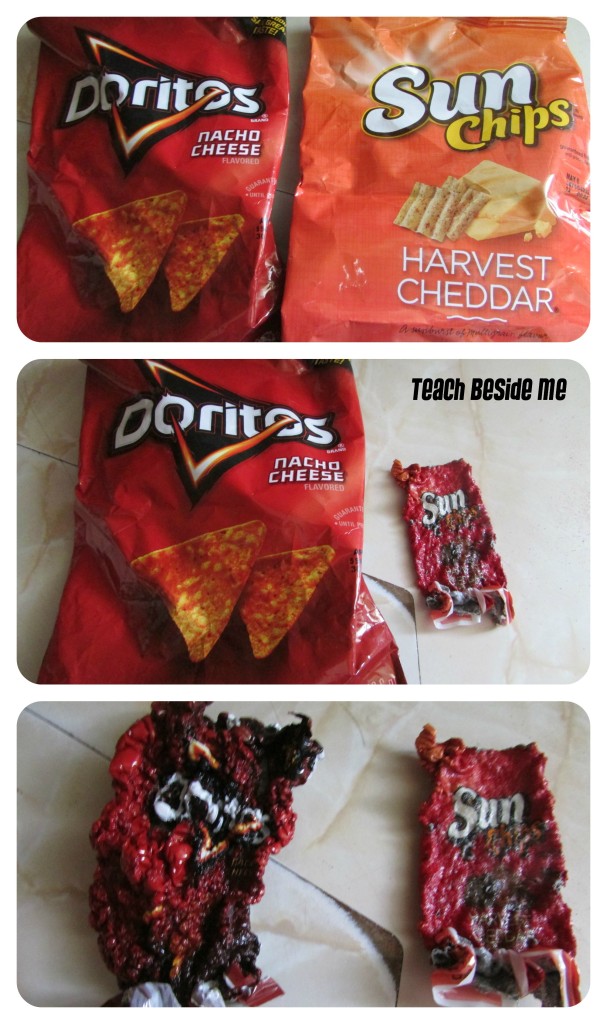
A microwave oven and an empty bag of chips (single serving).
You use a small (single serving) empty chip bag to do this experiment. That means you get to eat snacks first, yeah! Clean out the crumbs once you finish eating the chips.
Just place the chip bag in a high power microwave oven for 5 seconds. You may want to put it on a paper towel or piece of parchment paper. There will be a few sparks, but it won’t hurt your microwave!
When you open the microwave your bag will be tiny and hard. It’s hot when you take it out, so use some oven mitts to remove it.
It is pretty cool, right?! I have seen people use these to make a keychain. You can carry your favorite potato chip bag around in your purse to remind you that you are hungry again. (I’m partial to Sun Chips.)
This shrinking chip bag experiment is like a DIY shrinkie dink! (remember those?)
Just beware, it may smell bad, sorry!
It’s over and done in 5 seconds, but it is really neat to watch!
The Science Behind the Chip Bag Shrinking Experiment:
The plastic bags are made out of plastic long polymer molecules. Polymers can be heated and stretched into any shape and size, but typically clump up into disorganized masses. When the bags are produced they form them into an organized shape. When the bag is microwaved, they lose the shape they were formed into and curl and clump up again. It does still retain its shape somewhat due to the the layers of aluminum and ink on the outside of the bag.
Crushing a Soda Can Experiment
The second garbage science experiment we did was crushing a soda can in a bowl of cold water.
How to Do the Can Crusher Experiment:
To do this garbage science activity, you need an empty soda can, a heat source, a bowl of cold icy water and some tongs or heat proof gloves.
Put a tablespoon of water in the can and place it directly on your stove burner on high heat, on a hot plate or in a small frying pan. Make sure the top of the can is facing up. Keep it there until the water boils.
Then grab the can with your tongs and flip it over turning the can upside down into the bowl of water. The opening of the can will be submersed into the cold water bath. The can will then collapse from the pressure!
It happens quickly, so be sure to keep your eyes on it!

Watch the can crushing in action! Here is a little video of what happens to the can when placed in the water:
The Science Behind the Soda Can Crushing Experiment:
This is an awesome experiment when learning about the states of matter or about atmospheric pressure.
When the soda can heated up, the small amount of water in the can also got hot. This water turned into a water vapor causing it to rise out of the can as steam, water in a gaseous state. The total volume of the water in the can decreased due to this steam escaping.
When the can was turned into the ice water, the can collapsed. This is because the steam or vapor that was left inside the can cooled and condensed back into a liquid state as water droplets and created a vacuum! The pressure difference changed. The air pressure outside of the can was greater than the pressure on the inside of the can creating the crushed can.
Try More of My Fun Experiments:
See my Disgusting Science: Rot Museum Experiment!
25 Water Science Experiments and Activities!
The COOLEST Science Art Projects for Kids
How to Make an Awesome Volcano Science Project


Always love finding new experiments to try! Pinned for the future!
This can’t be done in a school
Nope probably not! We did it at home, though…
I agree, Al. And what exactly is the lesson taught in these activities?
These experiments might be great to look at visually, however, I fail to see the underlying concepts being taught.
I’m a science teacher, and I’ve done the soda can demo with my students many times — you just need a hot plate. It’s a great demonstration of how gases expand when heated, and the effects of air pressure! Students love it, and they really have to think to figure out WHY it happens!
Today by my class did the shrinking chip bag at the last minute and we had so much fun. Thanks we enjoyed it!