Chalkboard Letters
This post may contain affiliate links.
Preschool is such a fun time to teach kids. My daughter is dying to know all of her letters so she can read like her older siblings. We do a lot of letter learning activities! This past week we made some Chalkboard Letters to help her practice writing her letters. These are such a fun and simple project to make. Let me show you! 🙂

How to Make Chalkboard Letters
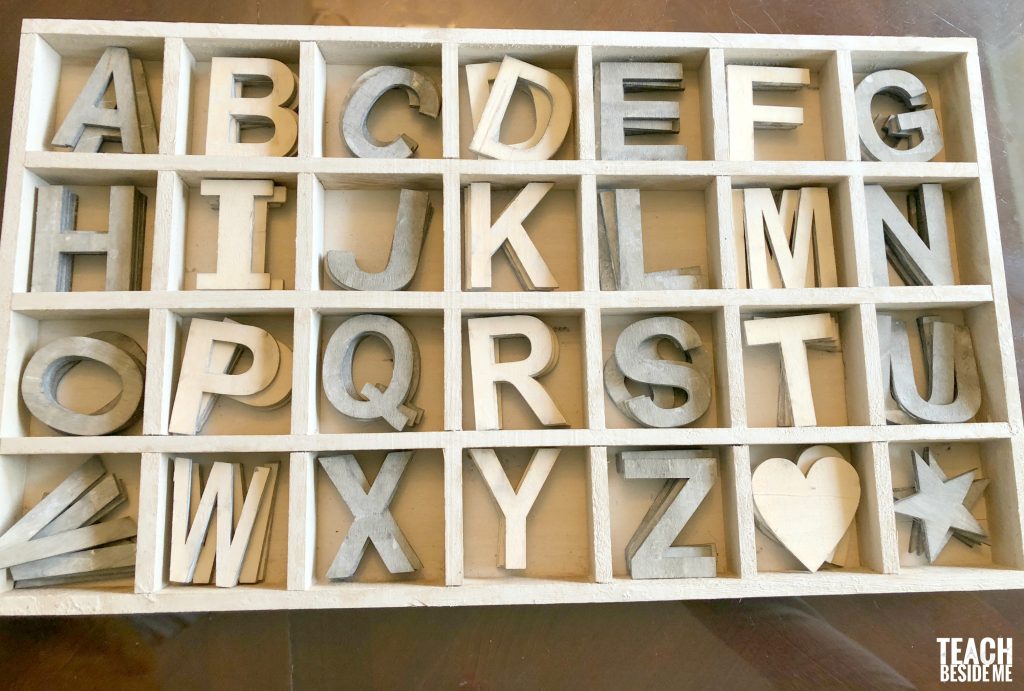
You will need just a few things: Wooden Letters and Chalkboard Paint, and some Sand Paper. You’ll also want some chalk. We love using colored chalk.
I got 2 inch letters and love the size! I painted two of each letter.
If your letters are not smooth, sand the top very lightly to smooth them out. This helps the chalk board to erase it more easily. make sure to wipe off the excess sawdust when you are finished.
Lay the letters out on a tarp or trash bag to paint. Spray the letters. I ended up doing four or five coats of the paint to make sure it was nice and thick and covered all areas. I only painted the front side. I did this intentionally to help my little girl know which way the letters go. The spray paint dries very quickly, so I had it all done in one day.
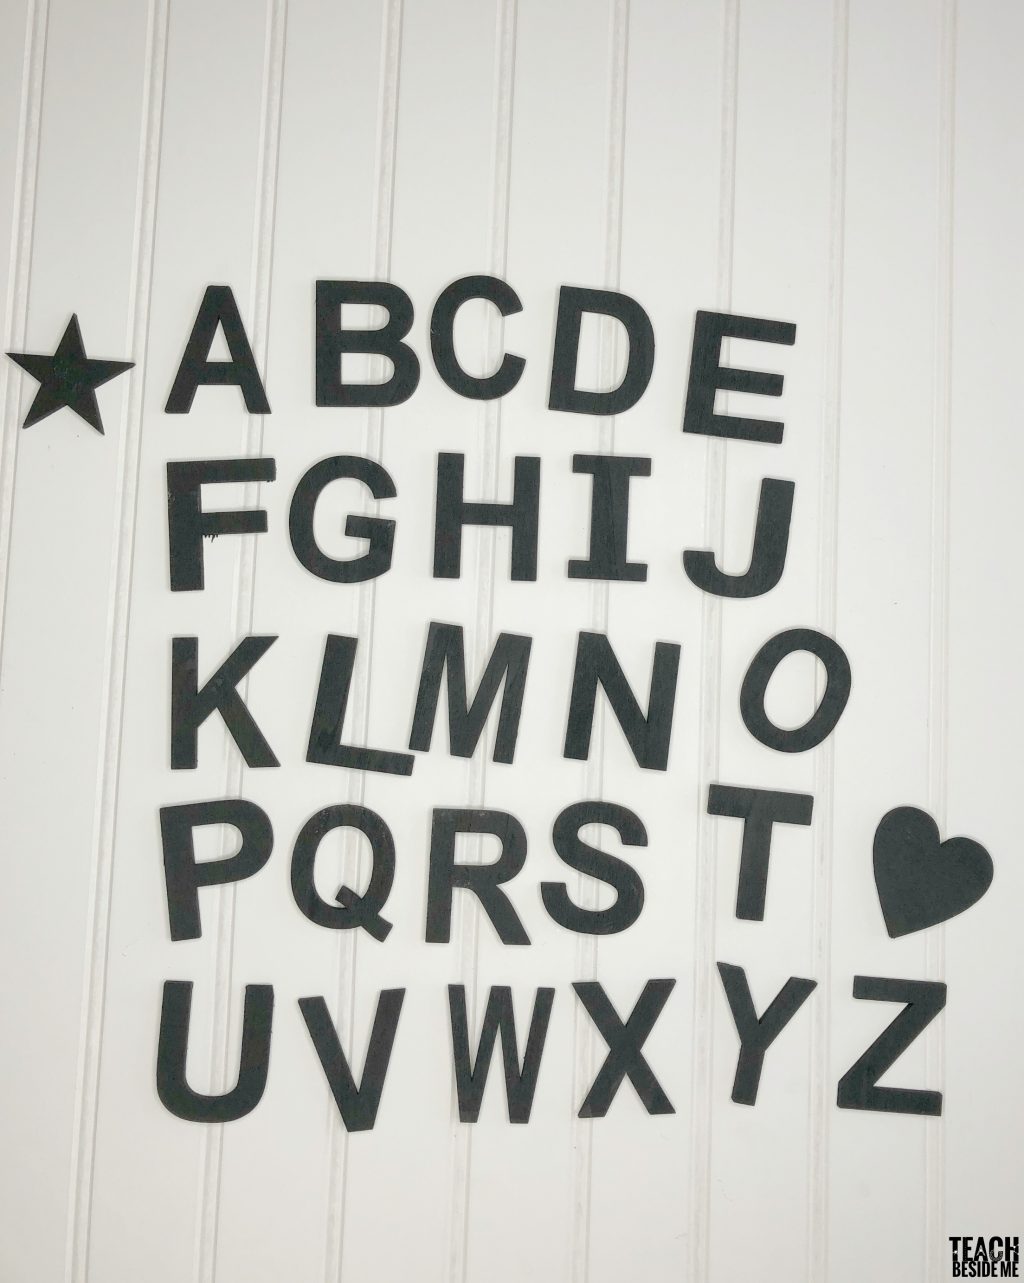
Once the paint is all dry, and not sticky at all, the letters are ready to be used!

We have a bunch of colored chalk that my kids used to draw on the letters. They wanted to decorate them and color them in.

I also plan to use them for spelling practice and writing practice with my kids.
They are still not the easiest to erase, it takes a little more rubbing than the normal chalkboard, but we love them and have had lots of fun with them!
Want more letter activities for kids?
Check out my Letter Building Puzzles and my Alphabet Train!


I was wondering where you bought the 2″ wooden letters. I would love to use these in our Preschool. great idea thanks.
Hey Rebekah! I got them on Amazon. The link is included in the post.