Twirligig~ Rainbow Paper Spinner Toy
This post may contain affiliate links.
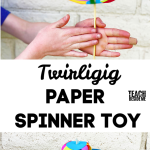
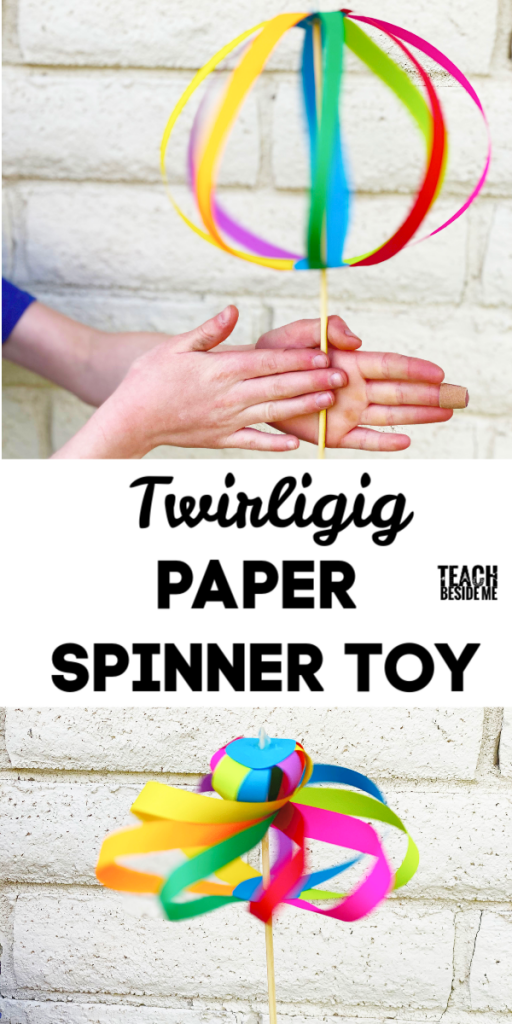
Yesterday I showed you how we made paper pinwheels, but today I have another kind of paper spinner toy to show you today. I’m calling it a twirligig. This is my made-up word combining the words twirly and whirligig. 🙂 I am so excited about this fun project!
What is a Twirligig Paper Spinner Toy?
You have probably heard of a whirligig before. A Whirligig, by definition, is any kind of spinning toy or object. In colonial times, they made whirligig toys out of buttons and string.
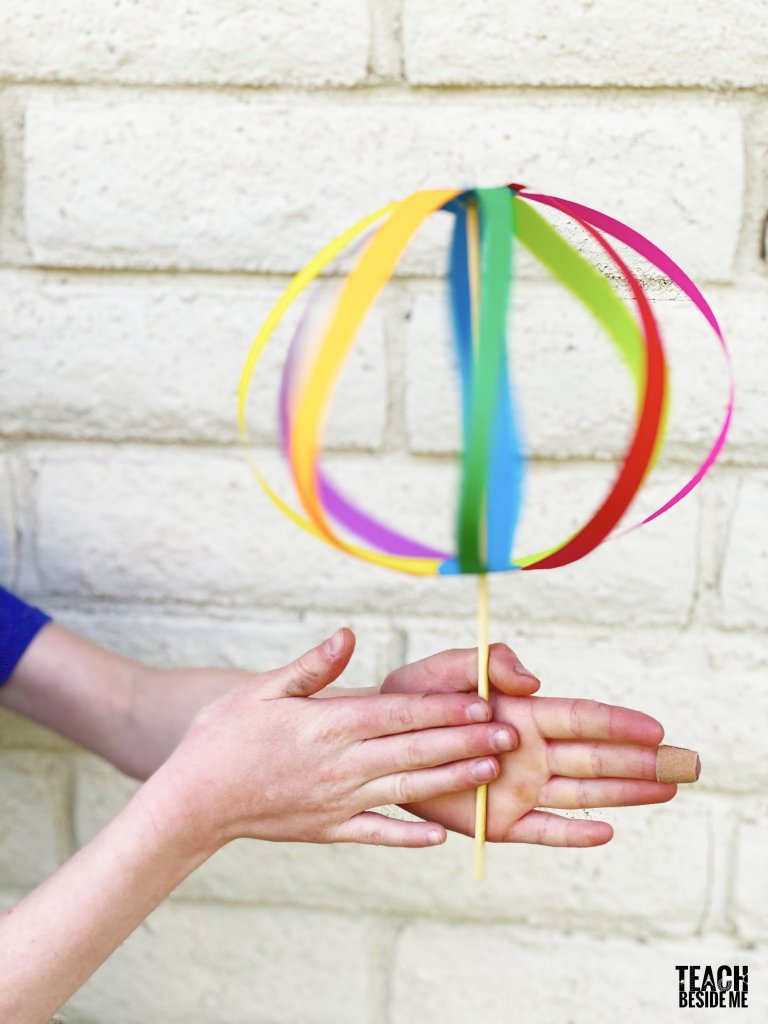
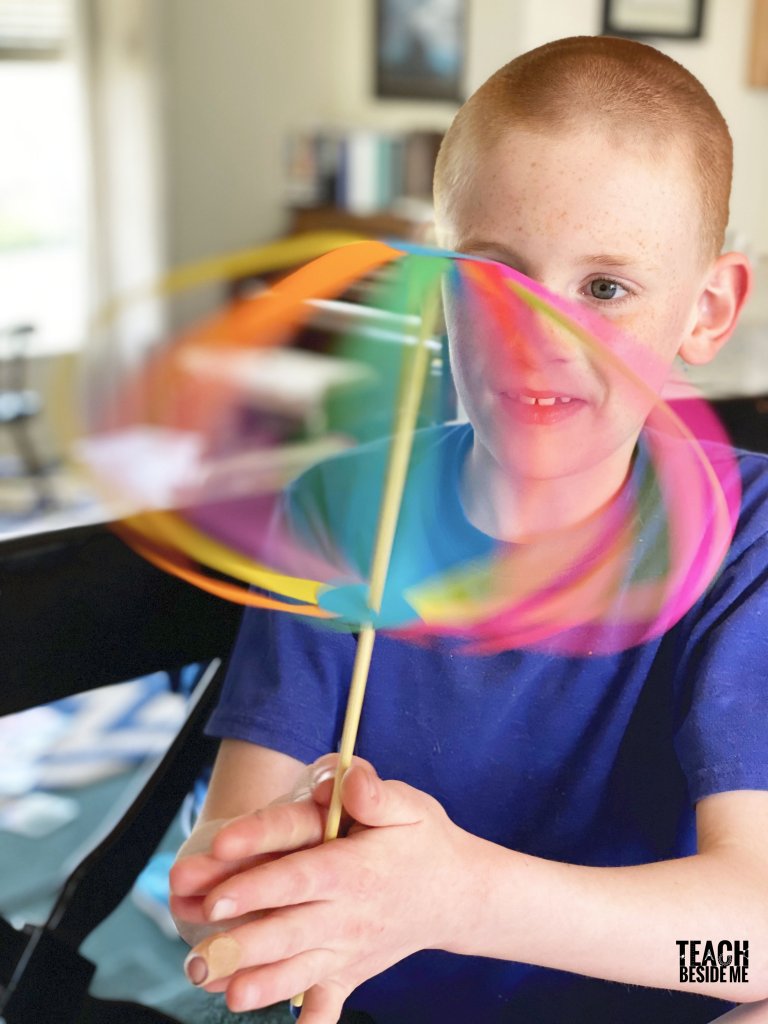
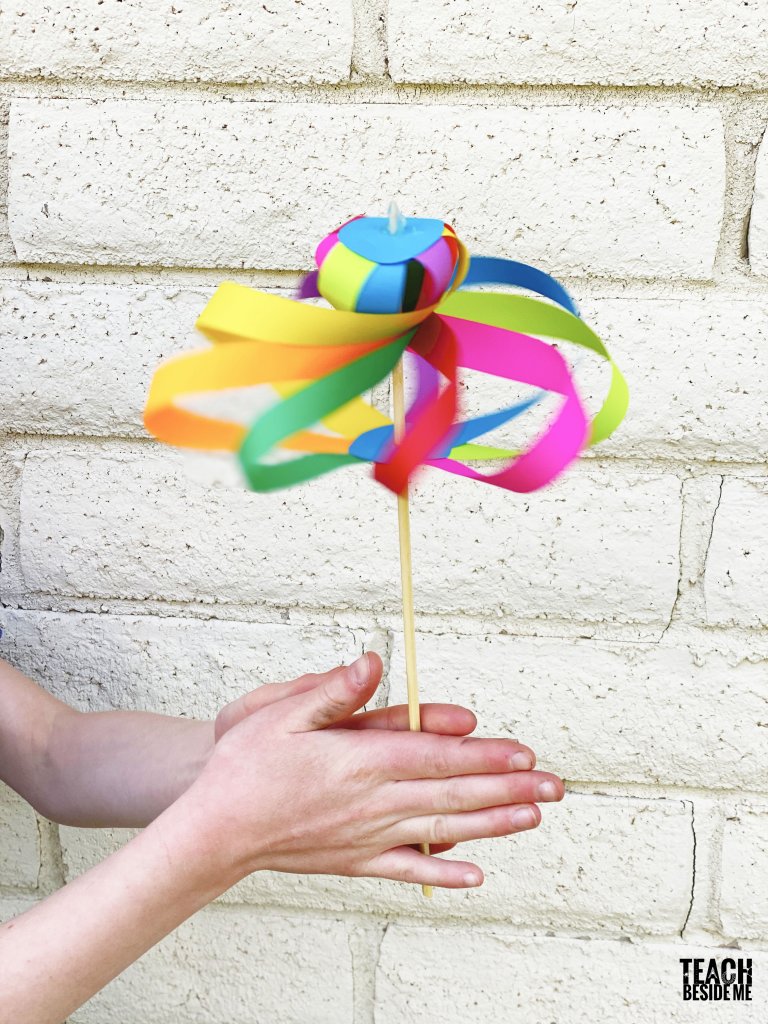
This twirligig spinner toy is made of strips of paper and a wooden skewer. It twirls as it spins and makes all kinds of beautiful patterns. It rounds out to a ball as it spins. They are tons of fun to play with!
Watch it here:
See More Projects like this in my latest book: Science Art + Drawing Games for Kids
![]()
How to Make the Paper Spinner Toy
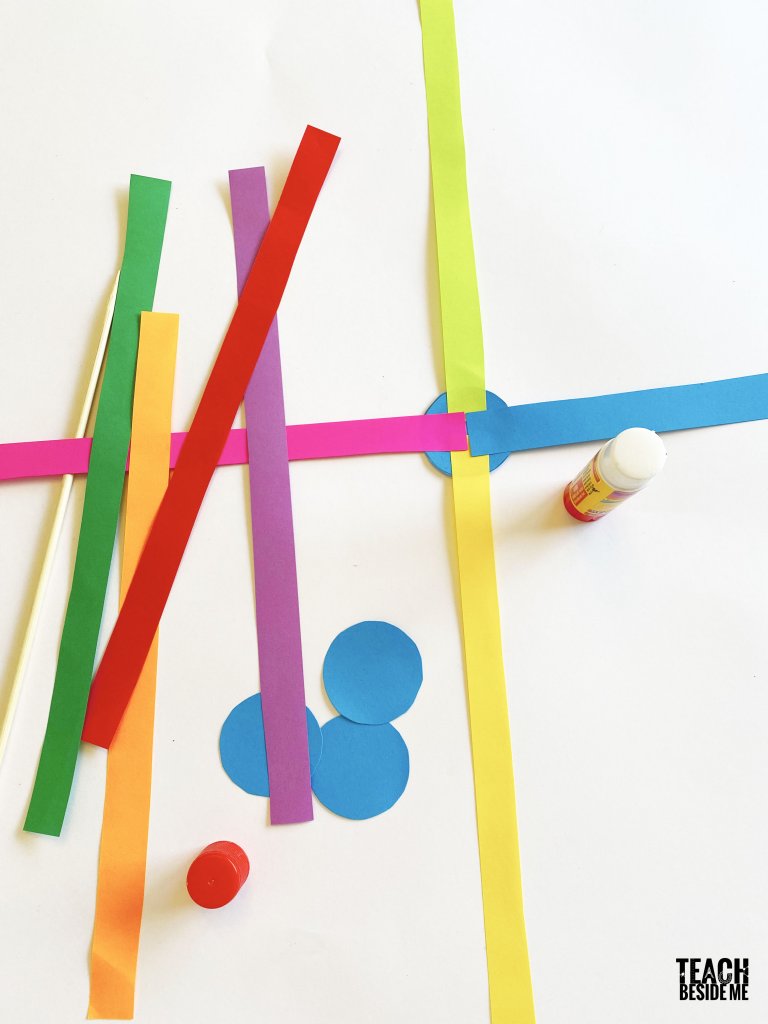
To make this paper spinner toy (or twirligig), you will need paper (we used this colored paper), a long wooden skewer, and glue. We used both a glue stick and a hot glue gun to assemble this.

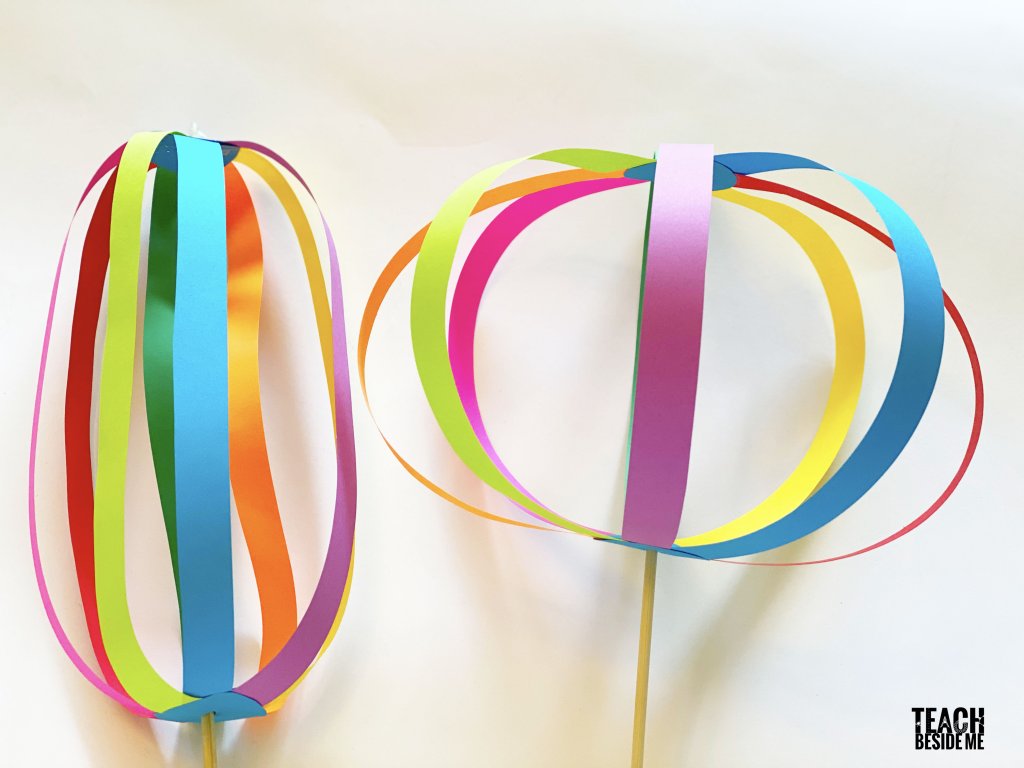
Cut 8 strips of paper. I cut it from the long side of the paper, 11 inches long. They are just over 1/2 inch in width. I used 8 different colors to make it rainbow and colorful. But you can do it all from one piece of paper, too!
You will also need to cut 4 circles for attaching the paper strips. My circles are a 1 1/2 inches in diameter.
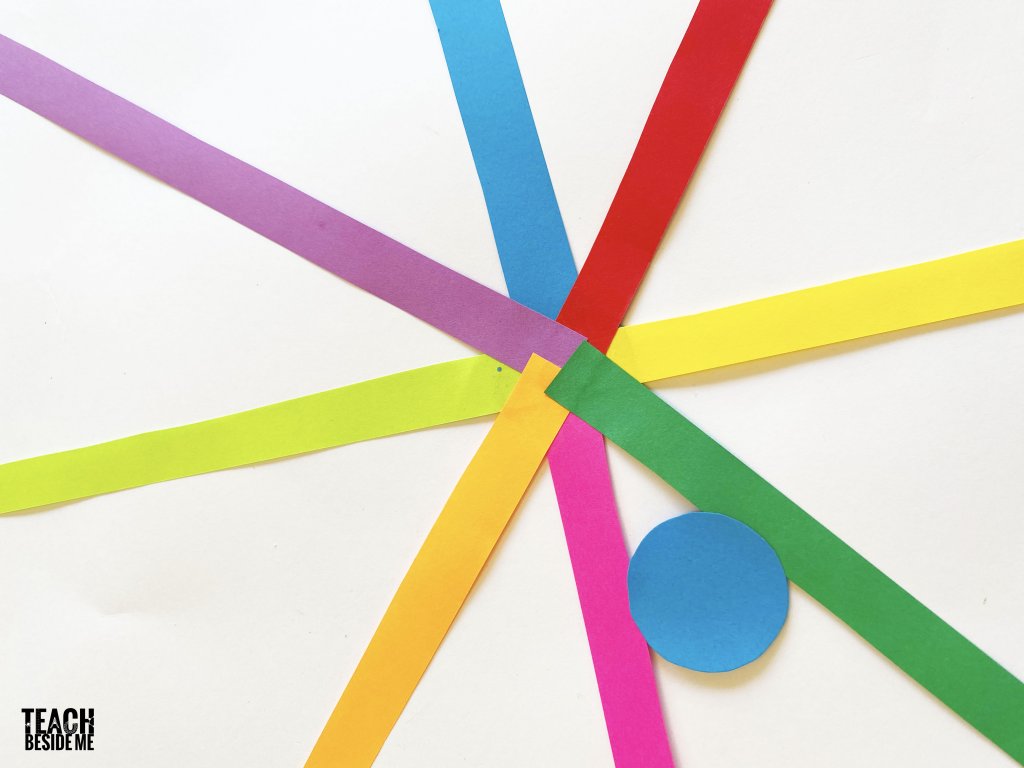
Start by rubbing glue from a glue stick all over one of the circles. Arrange one end of the paper strips evenly around the circle. Keep adding glue as they overlap around the circle. Cover the top with another circle to secure them in place.
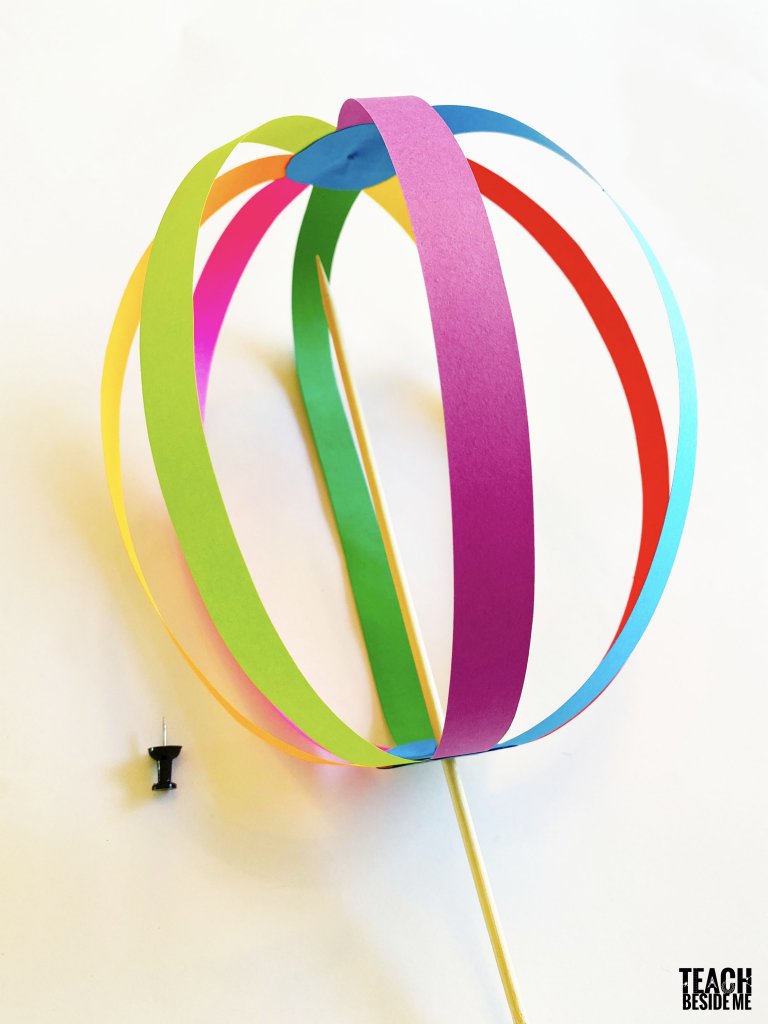
Now you will do the same with another circle. This time bring the other ends of the paper strips up and attach them to the circle. Once they are all attached with glue, cover again with another circle to secure them.

Now you are going to put the wooded skewer through the center of both circles of paper. I started the hole with a pin, then pushed the pointy end of the skewer up through the center of the paper spinner.
On the top circle, cover the top with hot glue to keep it from moving.
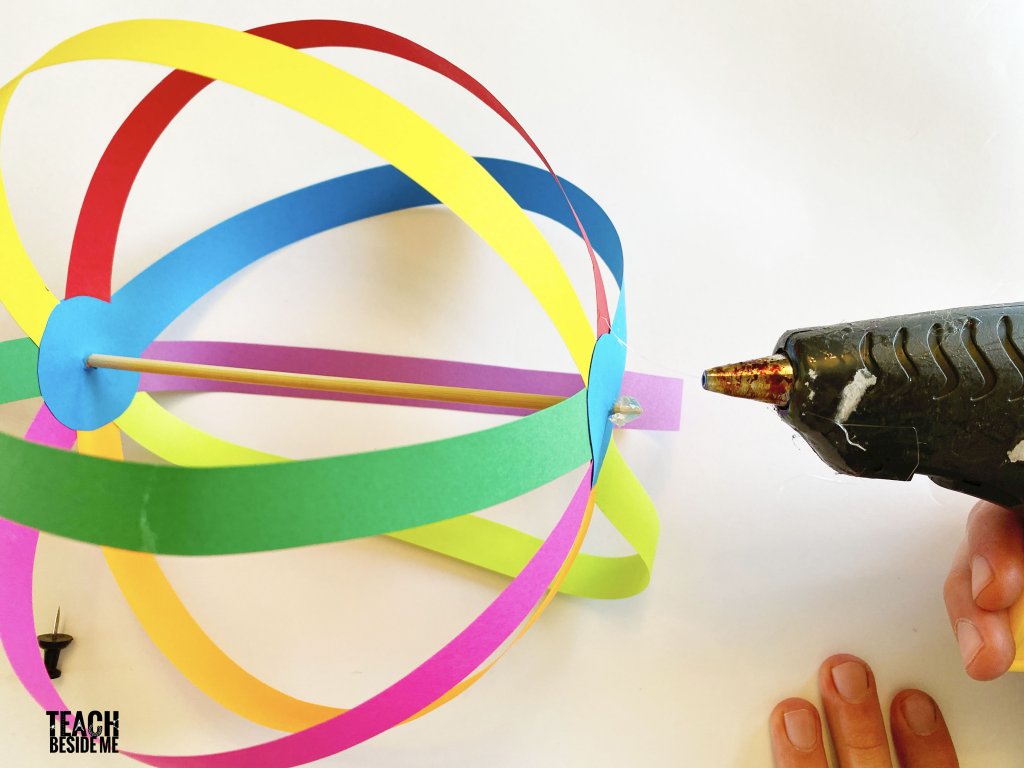
Reach the glue gun in to the under side of that top circle and add some hot glue there, too. This will keep the whole top section from moving as the spinner toy spins.
The bottom hole will need to be stretched out just a little bit. Just move the skewer around in the hole to make it a little wider. This will allow it to spin freely.
Now you can play with your Twirligig paper spinner toy! Just roll the stick between both hands and watch it twirl!

Pin it to save for later!
See More Fun Spinning Toys:
How to Make Pinwheels -With Templates


What is the science behind why it reacts this way when you spin it. Interested in the “ teaching implications “ for this activity.
Did you ever get a reply to this question? I am looking for a simply-worded explanation to go with this craft for littles.
I would try to explain the action of spinning as centrifugal force. Google a simple explanation of it.
Made the twirlygig this afternoon with my ten year old daughter – worked beautifully. Lots of fun..
Yeah! I am so glad to hear!
My kids had so much fun making these yesterday… thanks for the idea!
The skewer I used was the longest in the store, however too short for the project. I barely have room for hands, and the paper does not have enough room to twirl. What kind of skewers did you use?
Please, help, it looks so fun, I want to make it work.
Thank you.
I taped 2 heavy cardboard straws together so they ended up being almost 16″.
I am a Kids Church teacher and we made this craft to go along with Noah’s Ark and the rainbow. The kids loved it.