How to Build a Strong Catapult: STEM Learning Activity
This post may contain affiliate links.

Have you ever wanted to learn how to build a catapult? This homemade catapult is surprisingly easy to make, and unlike the tiny craft-stick catapults you may have seen, this one is big enough to launch balls across the yard!
With wooden dowels, rubber bands, and a small cup, kids can build a working catapult while exploring engineering, force, motion, potential energy, and kinetic energy.
This is a fun STEM project for upper elementary and middle school kids, although younger children can enjoy building and experimenting with some adult help.
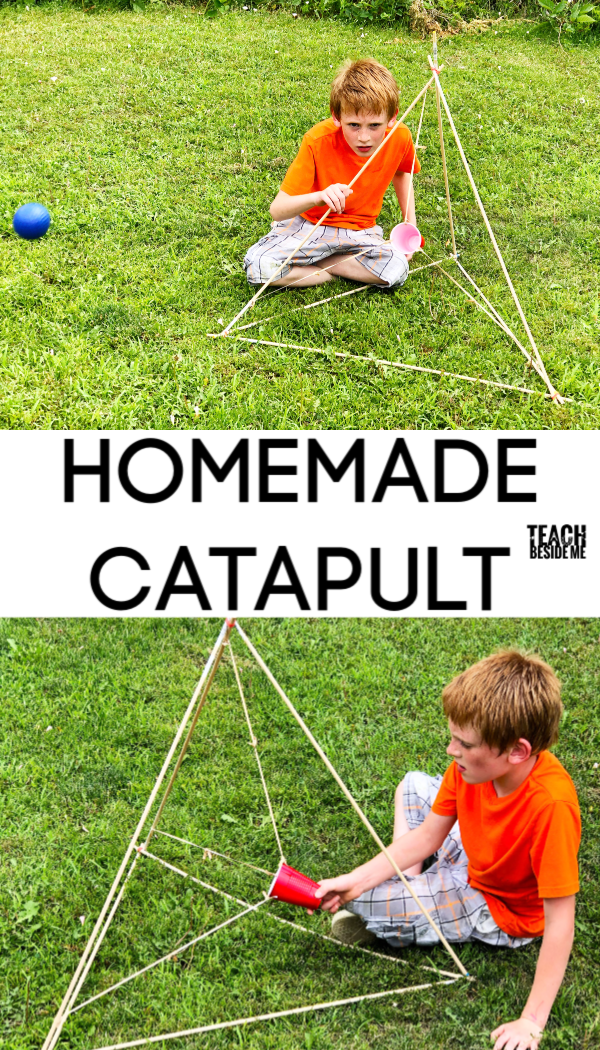
How Does a Catapult Work?
A catapult is a machine designed to launch a projectile. Different types of historical catapults used different mechanisms to store and release energy.
Our homemade version uses stretched rubber bands to store elastic potential energy.
When you pull the cup backward, the rubber bands stretch. The farther they stretch, the more elastic potential energy is stored. When you release the cup, that stored energy is transferred into motion, launching the ball through the air.
That makes this simple build a great way to explore some basic physics.
Looking for a smaller catapult? Try my Craft Stick Catapult.
STEM Learning With a Homemade Catapult
Engineering: Kids must build a structure that is stable enough to withstand repeated pulling and launching. If the frame bends, twists, or falls apart, they can redesign it and try again.
Potential and Kinetic Energy: Pulling back the launcher stretches the rubber bands and stores elastic potential energy. Releasing it converts that stored energy into kinetic energy—the energy of motion.
Force and Motion: Experiment with how far you pull the cup backward. Does changing the pullback distance affect how far the projectile travels?
Projectile Motion: Once launched, the ball travels forward and upward before gravity pulls it back toward the ground. Kids can experiment with the launch direction and measure the distance traveled.
Variables and Experimental Design: Change one variable at a time—such as projectile mass, pullback distance, or launch angle—and compare the results.
A Little Catapult History
Catapults and other mechanical projectile launchers have been used for thousands of years. Ancient engineers developed several different designs, including torsion-powered machines and later counterweight trebuchets.
These machines are fascinating examples of early engineering because they allowed people to store energy and release it quickly to launch an object over a distance.
Our rubber-band catapult works differently from these historical machines, but it uses the same basic engineering idea: store energy first, then release it to create motion.

Supplies to Build a Catapult
- 6 wooden dowels — ours are about 3 feet long
- 9 large rubber bands or strong elastics
- Small plastic or paper cup
- Single-hole punch
- Scissors
- Small lightweight objects to launch, such as ping-pong balls, pom-poms, balls of paper, or jumbo marshmallows
Safety note: Only launch soft, lightweight objects, and always aim away from people, animals, windows, and anything breakable.

How to Build a Catapult
This looks impressive when it’s finished, but the construction is quite simple. No glue gun is required!
Step 1: Build the Catapult Base
Take three wooden dowels and arrange them in a triangle.
Secure each corner tightly with rubber bands. This triangular base gives the catapult a stable foundation.
Step 2: Build the Upright Frame
Use the remaining three dowels to create a second triangle standing above the first.
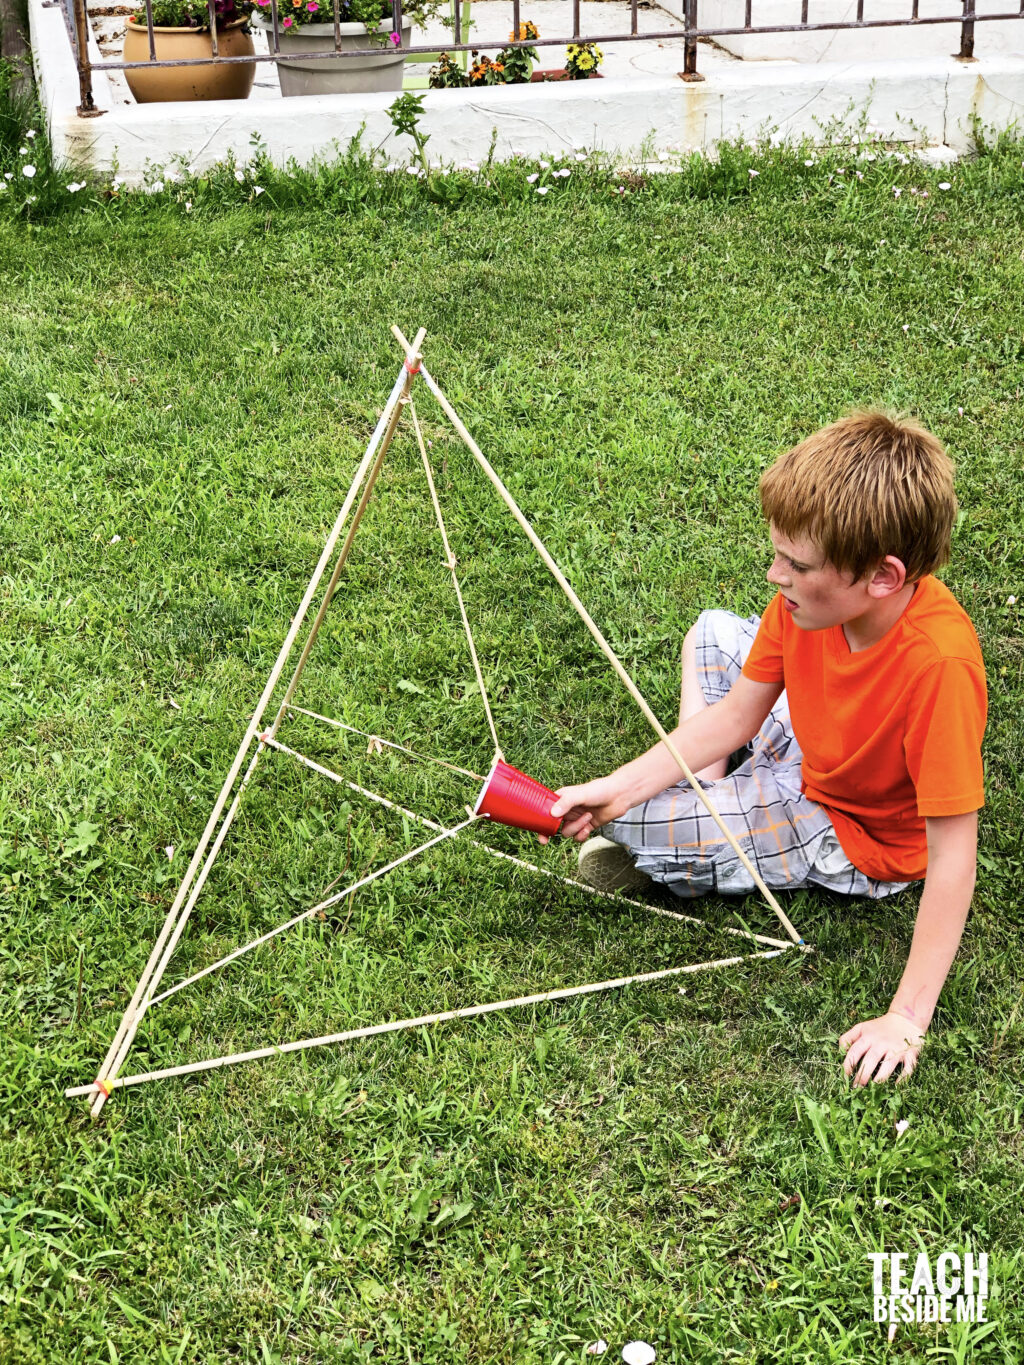
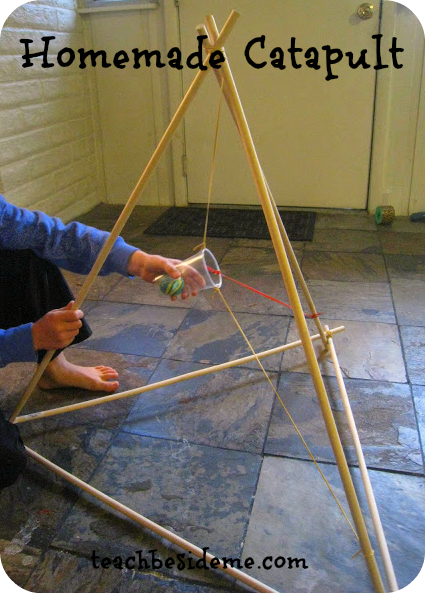
Attach one dowel to each corner of the base and angle them upward so that they meet in the center, creating a pyramid or teepee shape.
Secure the three dowels together tightly at the top with a rubber band.
Make sure the connections are snug. A sturdy frame will work much better when you begin launching.
Step 3: Make the Launcher
Punch three evenly spaced holes around the upper edge of your cup.
Cut three rubber bands and tie one through each hole.
Attach the opposite ends of the rubber bands to three points on the catapult frame: one near the top and two toward the lower corners.
Depending on the size of your rubber bands, you may need to connect two rubber bands together to make them long enough.
The cup should sit suspended inside the frame with enough tension that you can pull it backward and have it spring forward when released.
Test Your Catapult!
Now comes the fun part!
Place a lightweight ball or other soft projectile inside the cup. Pull the cup backward, aim it away from people, and release.
How far did it go? Don’t stop after one launch. A working catapult gives you all kinds of opportunities for experimentation.

Catapult STEM Experiments
Turn your catapult into a complete science investigation by testing different variables.
Turn It Into a STEM Experiment
Want to take this project a little further? Grab my free STEM Lab Sheet to help kids work through the engineering process as they build, test, observe, and improve their designs. It’s a simple, reusable worksheet that works with any STEM project, so you can print it once and use it again for future experiments and engineering challenges.
Get the Free STEM Lab Sheet!
Does Pullback Distance Matter?
Mark several pullback distances and launch the same ball from each one.
Measure how far the ball travels and record your results.
Question: Does pulling the cup farther back always make the ball travel farther?
Does Projectile Weight Affect Distance?
Try several safe objects of different masses, such as:
- Pom-pom
- Ping-pong ball
- Jumbo marshmallow
- Crumpled paper ball
Keep your pullback distance the same for every launch.
Question: Which projectile travels farthest? Why might that be?
Test for Accuracy
Distance isn’t the only challenge!
Place a bucket, box, hula hoop, or chalk target several feet away. Can you adjust your catapult to land the projectile inside the target?
Move the target farther away after each successful launch.
Try an Engineering Redesign
Once kids understand how the catapult works, challenge them to improve it.
Can they:
- Make it launch farther?
- Improve its accuracy?
- Strengthen the frame?
- Change the launch direction?
- Create a consistent launch every time?
That’s where this project really becomes an engineering design challenge: build, test, identify a problem, redesign, and test again.
Make It a Catapult Math Activity
You can easily add math to your experiments, too.
Measure and record the distance of each launch. Then have kids:
- Compare distances
- Find the longest and shortest launch
- Calculate the difference between two launches
- Find the average distance
- Create a bar graph of their results
Older kids can run several trials for each variable and compare the averages rather than relying on a single launch.
Check out my SCIENCE ART Book!

More STEM Engineering Projects
If your kids enjoyed building this catapult, try some of these other hands-on engineering projects:




It sounds like this unit really makes history and Bible verses come aluve for children! The other units sound great, too. Carolyn
Alive, I was texting
This looks so fun! My nephews are in 2 and 3 grade and I bet they would love this. I’ll have to send it to their mom. These would be great snow day activities for public school kids!
Thank you for sharing on our Afterschool Linky. What a fun unit this would be to create afterschool as you’re learning. I love how simple the design is with dowels and rubber bands and a cup!
What size dowel rods did you use ? (Width)