
Homemade Straw Glasses: Make Your Own Crazy Drinking Straw
This post may contain affiliate links.
Remember those crazy straw glasses you could drink through as a kid? I loved those things!
I was thinking about them one day and wondered if I could make a homemade version for my kids. It turns out you can—and they’re surprisingly simple to make!
These homemade straw glasses use flexible tubing to create one giant drinking straw that loops around your eyes like a pair of glasses. When you take a drink, you can actually watch the liquid travel all the way through the tubing before it reaches your mouth.
My kids thought they were hilarious, and this turned into such a fun little project.
Even better? There’s some interesting science happening while you drink!
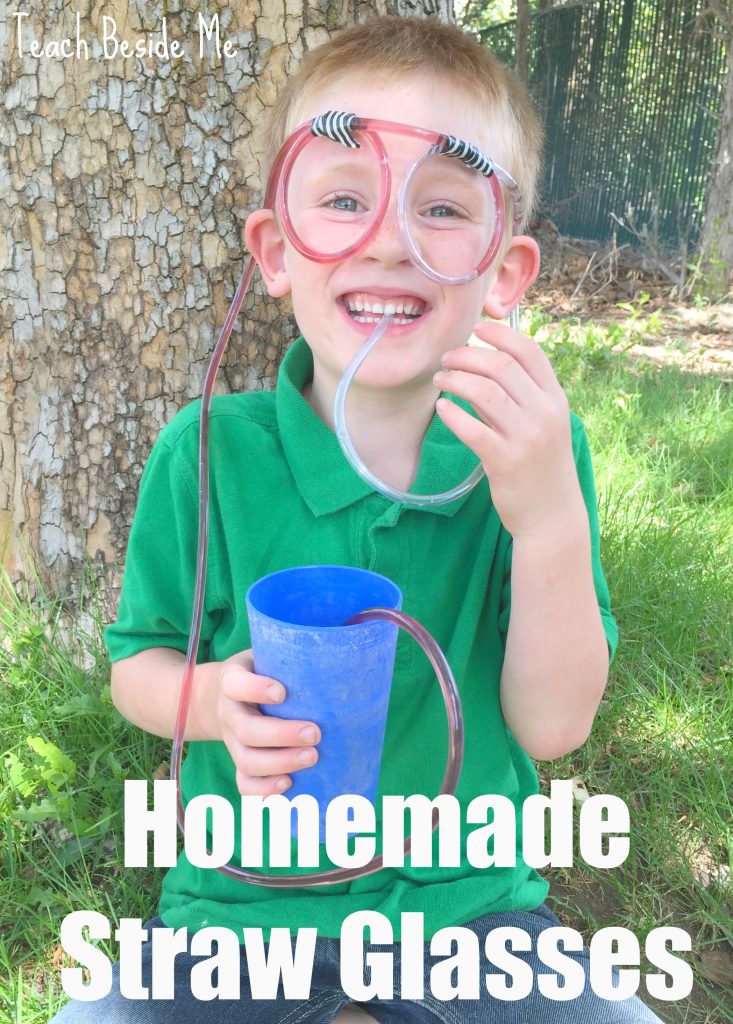
Supplies for Homemade Straw Glasses
You only need a couple of things:
- Clear flexible aquarium airline tubing
- Scissors
- Colorful tape
- A cup
- A colorful drink
I bought a 25-foot package of aquarium airline tubing and cut it into approximately 5-foot lengths. That gave me enough tubing to make five pairs of straw glasses.
Tip: Clear tubing is important because watching the liquid travel through the glasses is half the fun!

How to Make Straw Glasses
1. Cut the Tubing
Cut approximately 5 feet of flexible tubing for each pair of glasses.
You’ll need enough tubing to make two loops, reach from the glasses to the drink, and reach from the glasses to your mouth.
2. Make the Glasses
Create two loops in the center portion of the tubing to form the “lenses” of the glasses.
Don’t center the loops exactly.
You’ll want one end of the tubing to be much longer so it can reach down into the cup. The other end only needs to be long enough to reach your mouth.
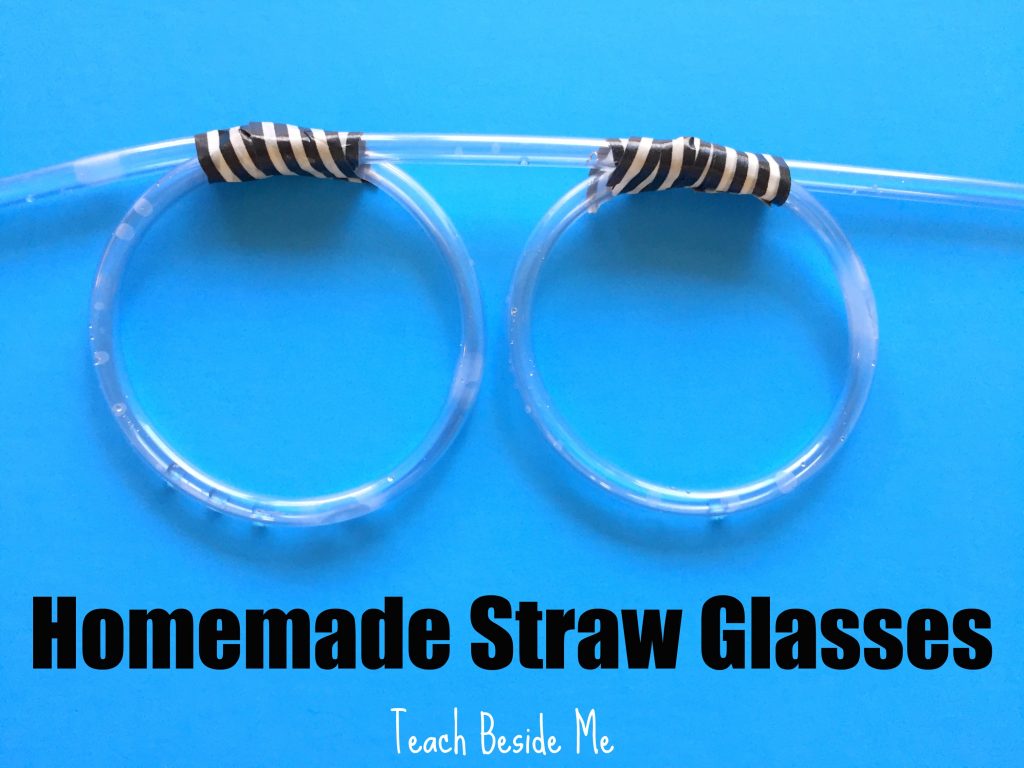
3. Secure the Loops
Use colorful tape to hold the two loops together.
Let kids choose different colors or patterns of tape to personalize their straw glasses.
4. Put Them On
Because the tubing is flexible, these don’t sit on your face quite like regular glasses.
Tuck the tubing behind your ears to help hold the loops in place.
Put the long end into your drink and the shorter end into your mouth.
Now start drinking!
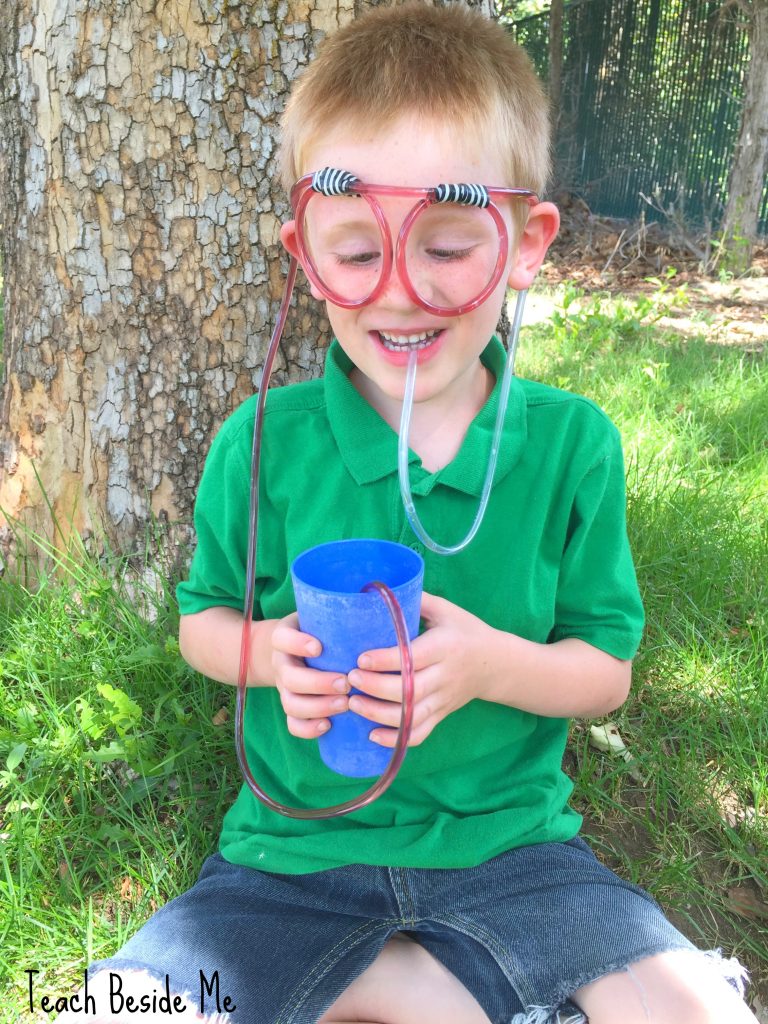
It takes a little more suction than drinking through a regular straw because the liquid has much farther to travel—but watching it make its way around the glasses is worth it!
Watch the Liquid Travel Through the Straw
I gave my kids grape juice because the dark color made it easy to see the liquid moving through the clear tubing.
They were giggling as they watched the juice travel up from the glass, around their faces, and finally into their mouths.
They also noticed something unexpected—the tubing around their faces started to feel cold as the juice traveled through it!
And that’s where this silly activity can turn into a little science lesson.
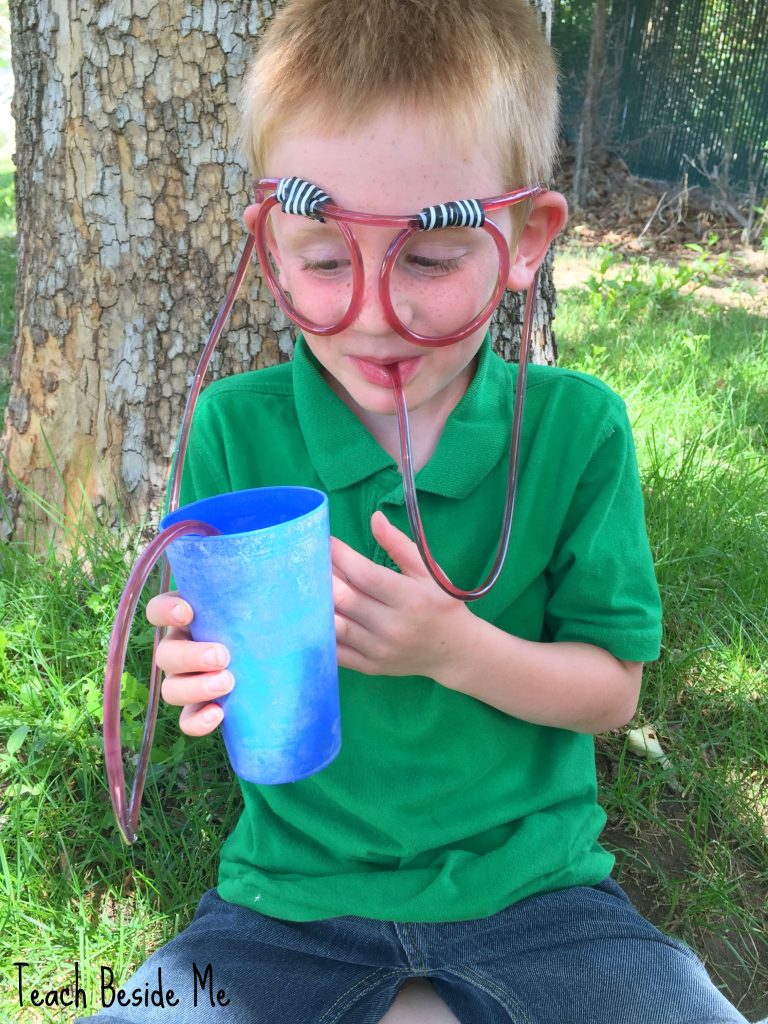
The Science Behind Straw Glasses
How can you possibly pull a drink through five feet of tubing?
When you suck on the straw, you lower the air pressure inside your mouth and the tubing. The greater atmospheric pressure pushing down on the surface of the drink helps move the liquid up through the tube.
A longer straw also creates more resistance than a short straw, which is why you may have to work harder to get the drink all the way through your straw glasses.
You can actually see the liquid moving through the system, making this a simple way to introduce kids to ideas about air pressure, liquids, and flow.
Turn It Into a Simple STEM Experiment
Want to take the learning a little further?
Try experimenting with different straw lengths.
Cut pieces of tubing that are:
- 1 foot
- 3 feet
- 5 feet
Have kids predict which one will be easiest to drink through.
Then test them!
You could also experiment with different liquids. Does water travel through the tubing differently than juice or a thicker drink?
Ask kids to make a prediction before each test and talk about what they observe.
Suddenly your ridiculous straw glasses have become a mini science experiment.
Tips for Making DIY Straw Glasses
A few things we learned:
Use a brightly colored drink. It makes it much easier to watch the liquid travel through the tubing.
Give everyone their own tubing. Since kids drink directly from it, don’t share straw glasses.
Wash the tubing right away. Run plenty of warm, soapy water through the tubing after using it and rinse thoroughly. I’d avoid milk or thick/sugary drinks that may be difficult to clean completely from a long narrow tube.
Supervise young children. This activity is best for kids old enough to drink safely through a straw and should be done with adult supervision.
Make Your Own Straw Glasses!
This is one of those incredibly simple projects that kids remember.
You don’t need a complicated setup or a printable—just some clear tubing, colorful tape, and something fun to drink.
Make a pair of homemade straw glasses and see how long it takes your drink to make the journey from the cup, around your face, and into your mouth!
Try More Fun Hands-On Activities:
- Make a Bubble Writer Toy (Write with Bubbles!)
- STEM Toy: Penny Spinners
- Twirligig~ Rainbow Paper Spinner Toy
- How to Make Ice Cream in a Bag
- Skittles Experiment: Rainbow Candy Science


Haha, cool!