Pi Day Math Art Activity for Kids
This post may contain affiliate links.

We love celebrating quirky holidays around here, and Pi Day is one of the most fun for math lovers!
Pi Day is celebrated every year on March 14 (3/14) because the number pi begins with the digits 3.14. Teachers, homeschoolers, and math enthusiasts often celebrate by eating pie, solving puzzles, or doing creative math activities.
Today I’m sharing a Pi Day math art activity that combines geometry, measurement, and creativity to create a beautiful circular design.

What is Pi?
Pi (represented by the Greek symbol π) is a mathematical constant that describes the relationship between the circumference of a circle and its diameter.
If you divide the circumference of a circle by its diameter, the result is always the same number: pi.
Pi begins with 3.14, but it actually continues forever without repeating.
For this art project, we’ll use the digits of pi to create a colorful radial design inside a circle.
Math Concepts in This Activity
This project connects several math concepts:
• Pi
• Circle geometry
• Diameter and circumference
• Measurement
• Counting patterns
It’s a great activity for upper elementary through middle school students, but younger students can participate with guidance.
Supplies
• large sheet of paper or poster board
• ruler
• pen or pencil
• markers or colored pencils
• bowl or compass to draw a circle
How to Make Pi Day Math Art
1. Draw Your Circle
Start by drawing a large circle in the center of your paper. You can trace a bowl or use a compass.
Choose a point on the circle as your starting point.

2. Begin with the First Digit of Pi
The first digit of pi is 3. From your starting point, draw a line 3 inches long toward the center of the circle. Then draw another line at a slight angle from the same point to create a narrow wedge shape.
3. Move to the Next Digit
Move a small distance along the circle edge (about ¼–½ inch) and mark the next point. Now draw a line whose length matches the next digit of pi.
For example:
• digit 1 → draw a 1 inch line
• digit 4 → draw a 4 inch line
• digit 5 → draw a 5 inch line
Continue working your way around the circle using each digit of pi.
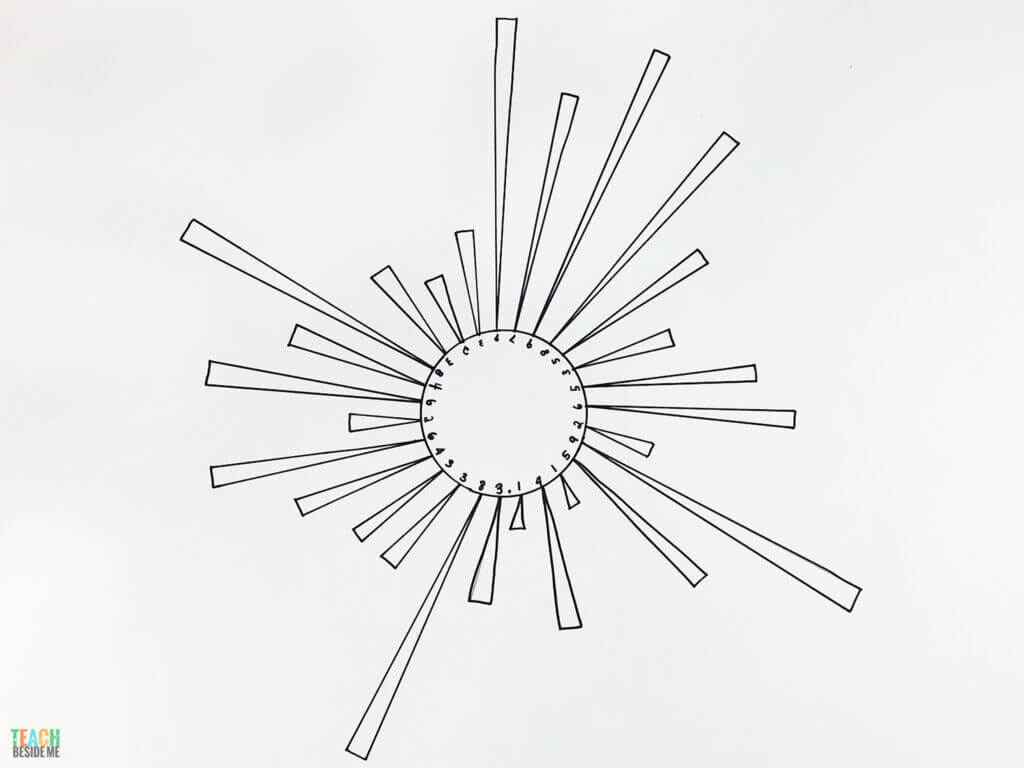
4. Fill the Circle with Rays
Keep repeating the process around the entire circle, creating rays whose lengths match the digits of pi. Soon a fascinating geometric pattern will begin to appear.
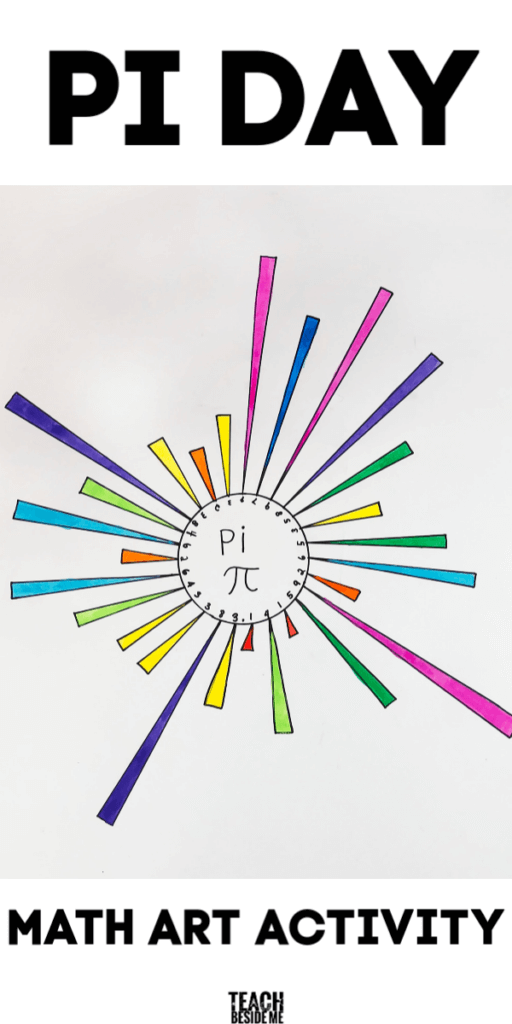
5. Color the Design
Now add color! Choose a color for each digit. For example:
• all 1s = blue
• all 2s = green
• all 3s = red
Color each ray according to the digit it represents.
The result is a beautiful math-inspired radial design.
Digits of Pi to Use
Here are the first digits of pi you can use:
3.141592653589793238462643383279502884197169399
You can keep going as far as your circle allows!
Extend the Math Lesson
To connect the art project back to math concepts, ask students to:
• measure the diameter of their circle
• calculate the circumference
• compare their measurements to π × diameter
This helps reinforce the mathematical meaning of pi.
A Fun Pi Day Tradition
Many classrooms celebrate Pi Day by eating pie or pizza, solving math puzzles, or doing creative math projects.
This activity is a fun way to turn the digits of pi into art while reinforcing geometry concepts.
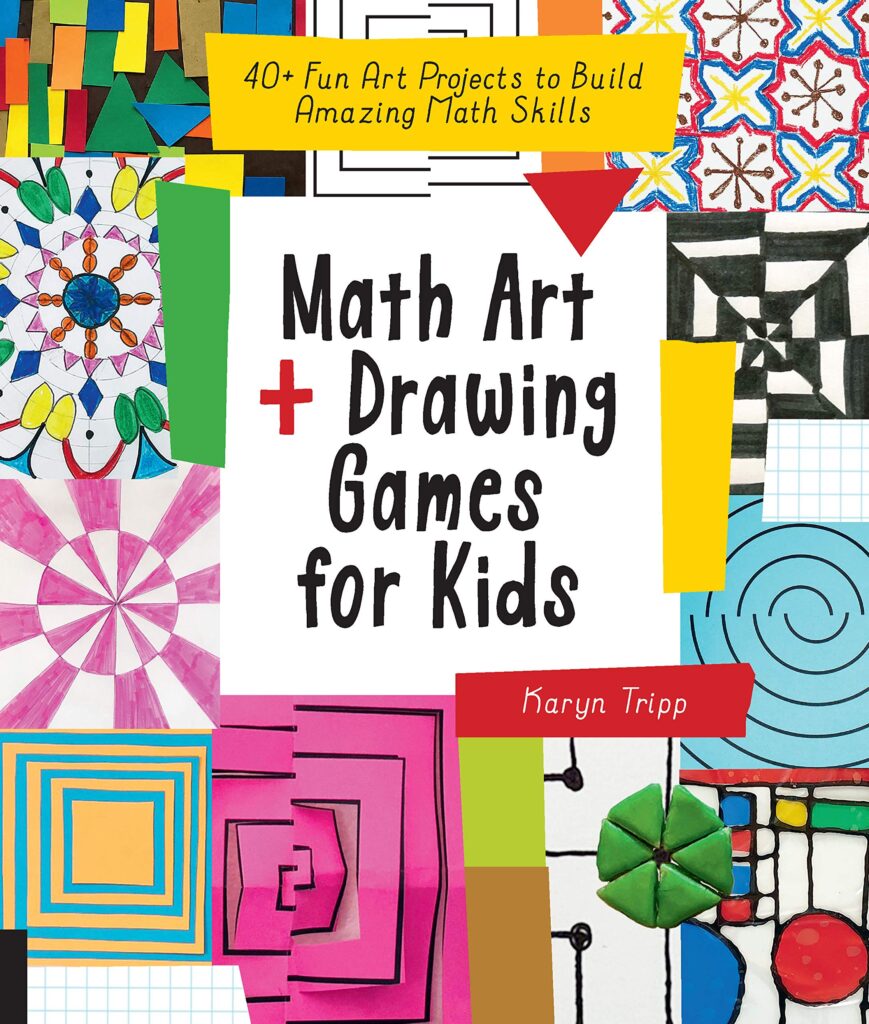
Want more Math Art ideas? Check out my book: Math Art and Drawing Games for Kids.
I loved creating this Pi Day Math Art project. It was actually one of my favorites! I was really excited for Pi Day to start getting close so I could share this post with you guys. 🙂
More Pi Day Activities
If you’re celebrating Pi Day, you might also enjoy:
- Pi Day Puzzle Printable
- Make an Apple Pie for Pi Day
- Pi Day Activity: Digits of Pi Paper Chain
- Easy Homemade Pizza with Kids