Hands-On Chemistry: Building Atomic Models with Printable Element Cards
This post may contain affiliate links.
Chemistry can feel pretty abstract when kids first start learning about atoms. We can’t see protons, neutrons, and electrons with our eyes, so it can be difficult to picture how all those tiny particles fit together.
That’s why I love using hands-on atomic models to introduce atomic structure!
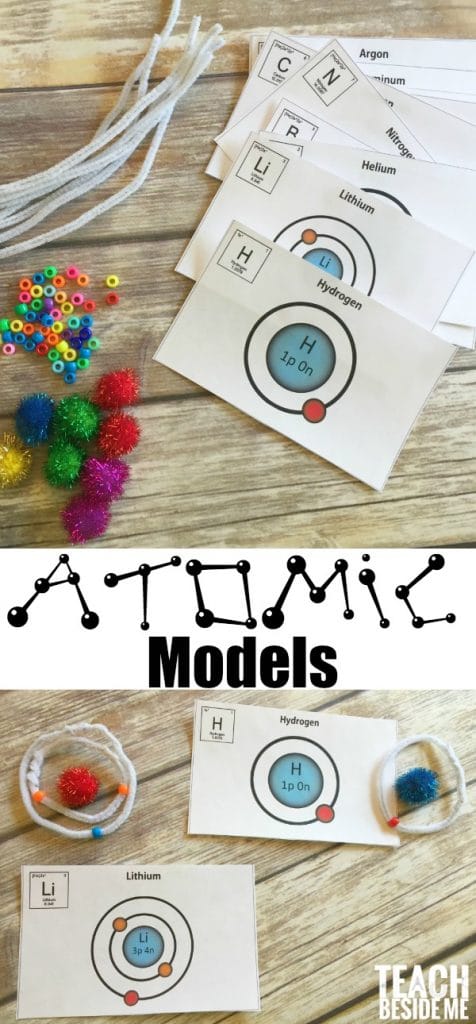
In this activity, kids use pom-poms, pipe cleaners, and beads to build models of atoms from the periodic table. It’s a colorful, creative way to help kids visualize the parts of an atom, understand electron shells, and see how one element differs from another.
I’ve also created printable element cards for the first 20 elements that kids can use as a guide while building their models.
This makes a great chemistry activity for homeschool, classrooms, STEM centers, or even a science fair display.
What Are the Parts of an Atom?
Before you start building, it helps to understand the three basic particles that make up an atom:
- Protons have a positive charge and are found in the nucleus.
- Neutrons have no electrical charge and are also found in the nucleus.
- Electrons have a negative charge and are found outside the nucleus in energy levels, or electron shells.
The atomic number of an element tells us how many protons it has.
For example, carbon has an atomic number of 6, so every carbon atom has 6 protons.
In a neutral atom, the number of electrons equals the number of protons. That means a neutral carbon atom also has 6 electrons.
This is one of the things that makes building atomic models so helpful—kids can actually count out those particles and see the relationship for themselves.
What Is a Bohr Model?
For this activity, we’re making simplified Bohr models of atoms.
In a Bohr model, the protons and neutrons are shown together in the nucleus at the center of the atom. Electrons are then arranged in energy levels, or shells, surrounding the nucleus.
The Bohr model isn’t a complete representation of what scientists today understand about electron behavior. Modern atomic theory uses a much more complex quantum-mechanical model.
However, Bohr models are still very useful for introducing atomic structure to kids because they make it easy to visualize the nucleus, electrons, and energy levels.
That’s exactly what we’re going to do with our beads and pipe cleaners!
Supplies for Building Atomic Models:
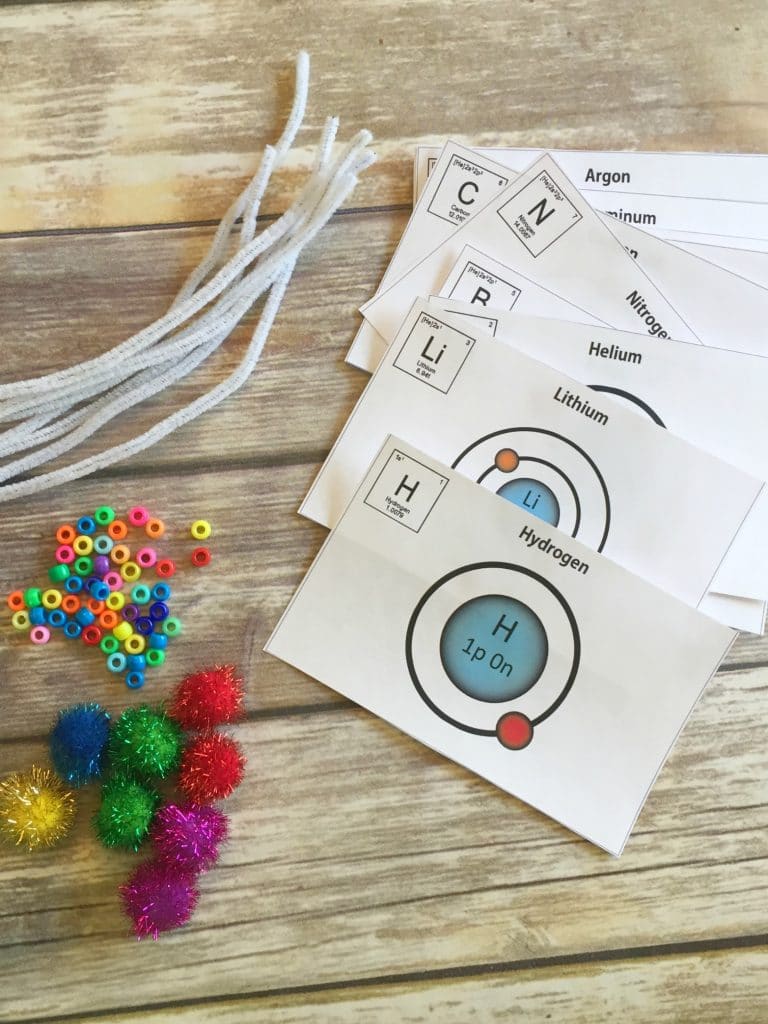
To build your own atomic models, you’ll need:
- Pipe cleaners(opens in new tab) (for the electron orbits)
- Pony beads(opens in new tab) (to represent electrons)
- Pom poms(opens in new tab) (for the nucleus – use different colors for protons and neutrons)
- Scissors
- Tape or glue
- Printable Element Cards (included in our kit)
Printable Atomic Model Cards
I created a set of printable atomic model cards featuring the first 20 elements of the periodic table.
Each card includes the:
- Element name
- Element symbol
- Atomic number
- Bohr model showing the arrangement of electrons
The set includes:
Hydrogen, Helium, Lithium, Beryllium, Boron, Carbon, Nitrogen, Oxygen, Fluorine, Neon, Sodium, Magnesium, Aluminum, Silicon, Phosphorus, Sulfur, Chlorine, Argon, Potassium, and Calcium.
Kids can choose an element card and use the diagram as a guide while building their atom.
Find them in my shop.


How to Build an Atomic Model
Start by choosing one of the elements from the printable cards.
1. Find the Atomic Number
Look at the element’s atomic number.
Remember, the atomic number tells you the number of protons in the atom.
If you’re building a neutral atom, it will also tell you how many electrons you’ll need.
2. Build the Nucleus
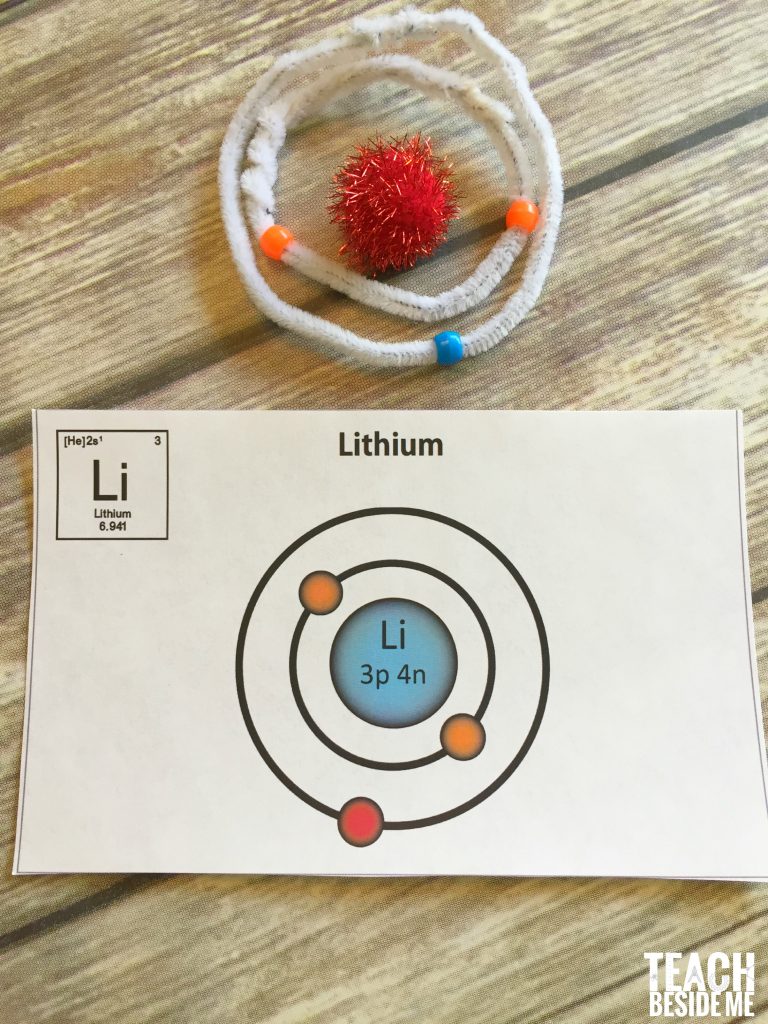
Use two different colors of pom-poms to represent the protons and neutrons.
Place them together in the center to form the nucleus of your atom.
You can glue the pom-poms together or simply group them inside the finished model.
3. Make the Electron Shells
Shape pipe cleaners into circles to represent the atom’s different energy levels.
Make each circle slightly larger than the one before it so they can fit around the nucleus.
4. Add the Electrons
Thread pony beads onto the pipe cleaners to represent electrons.
Use your element card to determine how many electrons belong in each shell.
For the first 20 elements, kids will generally be working with this simplified pattern:
First shell: up to 2 electrons
Second shell: up to 8 electrons
Third shell: up to 8 electrons for these introductory models
Fourth shell: begins with potassium and calcium
This is another reason the first 20 elements work nicely for beginning atomic-model activities—the electron arrangements are relatively easy for kids to visualize with simplified Bohr models.
Assemble the Atom
Arrange your pipe-cleaner rings around the pom-pom nucleus.
Tape, glue, or twist them together as needed to hold your atomic model in place.
Now you’ve built an atom!
Optional: Hang the models with string to create a mobile or use them in a science fair display!
An Example: Building a Carbon Atom
Let’s look at carbon as an example.
Carbon has an atomic number of 6.
That means a carbon atom has:
- 6 protons
- 6 electrons if it is neutral
Those six electrons are arranged with 2 electrons in the first shell and 4 electrons in the second shell.
Kids can count six electron beads, place them onto the appropriate pipe-cleaner shells, and compare their finished model with the carbon card.
Try building several different elements and placing them side-by-side. The differences become much easier to see!
It goes great with the Periodic Table Battleship game we created, too! Also check out this post on how to Teach Chemistry to Kids.
They are also all listed on TPT(opens in new tab) if you prefer buying that way.
Questions to Ask While Building Atoms
Turn the project into more of a science investigation by asking questions as you work:
- What does the atomic number tell you?
- How many protons does your element have?
- How many electrons does a neutral atom of this element have?
- How many electron shells does your model need?
- How many electrons are in the outer shell?
- What changes when you build the next element on the periodic table?
- How is your atom similar to or different from another one you’ve built?
For older kids, this is also a great opportunity to introduce the idea of valence electrons, the electrons in an atom’s outermost shell. These play an important role in how elements interact and form chemical bonds.
What Kids Learn From This Atomic Model Activity
This project isn’t just a fun chemistry craft. Kids are creating a physical representation of something that’s normally impossible for them to see.
As they build, they’ll practice:
- Identifying protons, neutrons, and electrons
- Understanding the basic structure of an atom
- Reading the periodic table
- Using atomic numbers
- Arranging electrons in energy levels
- Comparing different elements
- Recognizing patterns in atomic structure
- Using a scientific model to represent something too small to observe directly
There’s also plenty of fine-motor work involved in threading beads and constructing the models.
Turn Your Atomic Models Into a Mobile
Don’t throw your models away when you’re finished!
One of my favorite ways to display them is to turn the atomic models into hanging mobiles.
Hang several different elements together and add their element cards as labels. This makes a colorful science-room decoration—and gives kids another chance to compare the structures of different atoms.
You could even assign each child a different element and create a larger classroom display.

This project is featured in my latest book: Science art & Drawings Games for Kids!





These are wonderful! Thank you for sharing them!
Great idea but just wanted to point out the atomic number represents the number of PROTONS.