DNA Activities for Kids: Extract DNA and Build a Candy Model
This post may contain affiliate links.
Looking for fun and educational DNA activities for kids? These hands-on activities, science projects and resources make genetics come alive! From exploring traits to extracting real DNA and building a candy model, these activities are perfect for homeschool, classroom, or family science days.
Whether you’re a homeschool parent, teacher, or science-loving family, these DNA activities for kids are simple, low-mess, and use common household materials — making science both fun and approachable!

Easy DNA Activities for Kids: What Is DNA?
Before jumping into the experiments, we talked about genes — the instructions inside every living thing that determine traits like eye color, hair type, or whether you can roll your tongue. I kept it simple for my younger class, using visuals and comparisons (like “recipes” that make each person unique).
Learning about DNA through hands-on activities helps kids connect complex science to the real world. Rather than memorizing facts, they see and touch how DNA works — from the double helix shape to how traits are passed down. Activities like extracting DNA or building candy models develop observation, problem-solving, and curiosity — all key STEM skills. These experiences make science memorable and spark a love of learning that lasts.
DNA Vocabulary for Kids
-
DNA: The code inside every living thing that tells your body how to grow and function.
-
Gene: A small section of DNA that controls one specific trait.
-
Trait: Something you can see — like hair color, dimples, or eye shape.
-
Chromosome: A bundle of genes. Humans have 46!
-
Dominant Trait: The stronger version of a gene that shows up more often.
-
Recessive Trait: The hidden version of a gene that only appears when both parents pass it on.
Dominant & Recessive Traits Activity

I started the lesson with a fun genetic traits survey to help students notice how people differ.
-
Use my dominant and recessive traits survey chart
-
Give each student a copy and let them walk around the room interviewing classmates.
-
They record who has dimples, freckles, tongue rolling ability, widow’s peak, etc.
Kids love discovering who shares their traits — it’s a perfect icebreaker for a genetics lesson! This could also be a lot of fun with family members at a family reunion. Learn about your ancestry & who has what in common! (Do this as you do a Family Tree project!)
Download it now!
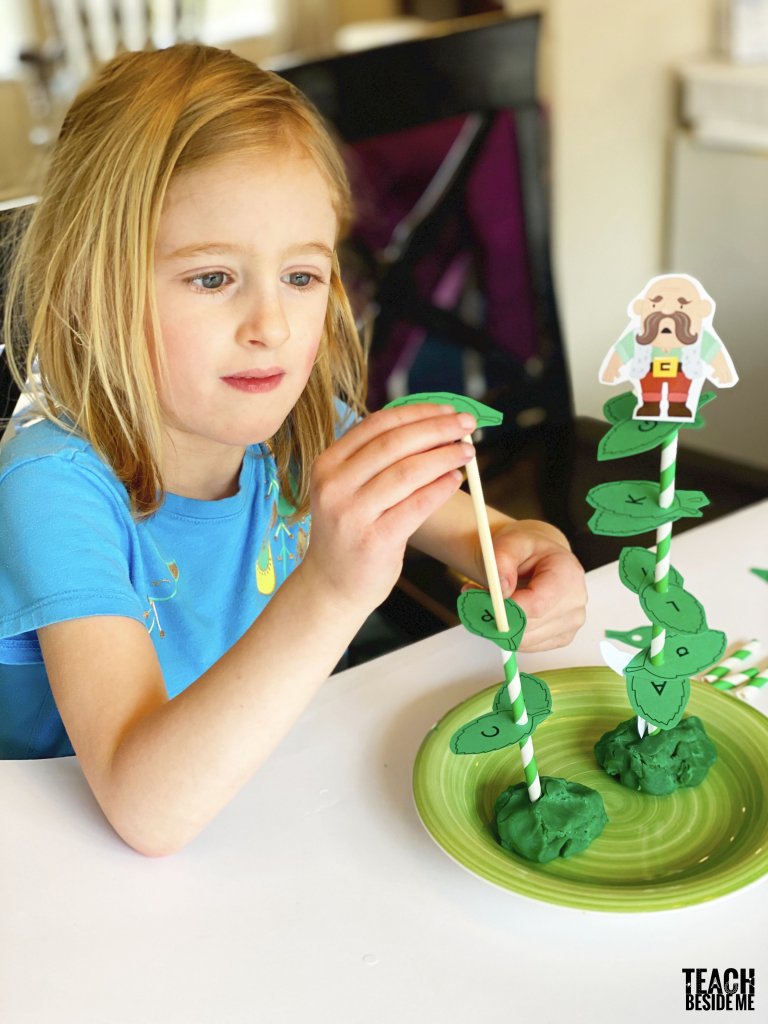
Read-Aloud: Gregor Mendel: The Friar Who Grew Peas
Next, we read Gregor Mendel: The Friar Who Grew Peas by Cheryl Bardoe. This beautifully illustrated picture biology book tells the story of the man considered the father of genetics.
Mendel’s experiments with pea plants helped scientists understand how traits are passed from parents to offspring — a great example for kids of curiosity and observation in action.
You can find this book on Amazon or check your local library.

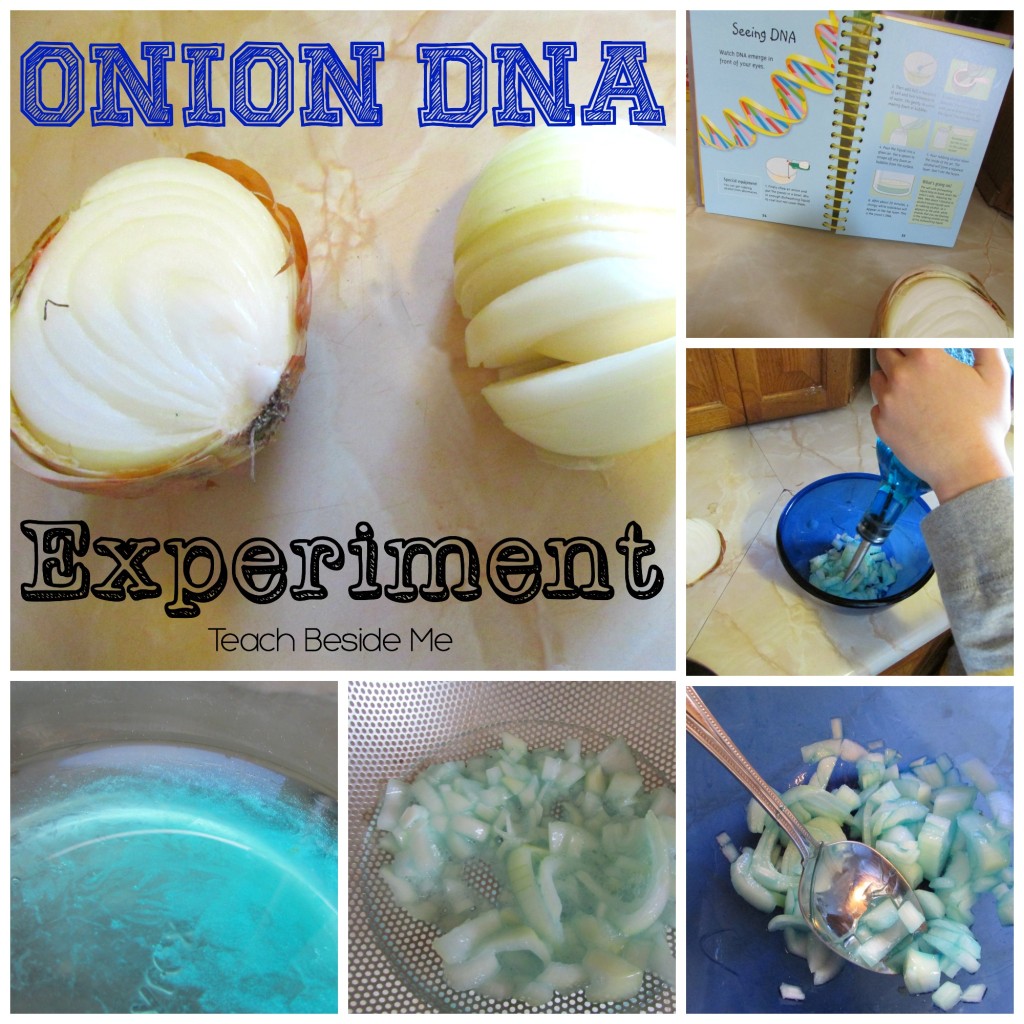
How to Extract Onion DNA Lab
One of the most fascinating parts of our lesson was learning how to see DNA with the naked eye! This classic experiment is easy and safe for kids. Doing it with a strawberry is another great option.
You’ll Need:
-
1 small onion, chopped
-
1 Tbsp dish soap
-
½ tsp salt
-
2 Tbsp water
-
Rubbing alcohol (cold)
-
A clear jar or cup
Instructions:
-
Mix the chopped onion, soap, salt, and water in a bowl. Stir gently to avoid bubbles.
-
Let it sit for about 10 minutes.
-
Strain the liquid into a clear jar.
-
Slowly pour cold rubbing alcohol down the side so it forms a separate layer on top.
-
Wait 15–20 minutes. A white, stringy substance will appear — that’s the DNA!
-
Use a toothpick to lift and examine it.
The Science:
The dish soap breaks open cell membranes, the salt helps the DNA clump together, and the alcohol separates it from the rest of the liquid because DNA doesn’t dissolve in alcohol.
Make Candy DNA Model: Build and Learn About DNA Structure
After learning about traits and how DNA determines them, it’s time to explore what DNA actually looks like!
DNA is made up of four building blocks called bases. They connect together in pairs to make the shape of a double helix— a spiral staircase made of sugar, phosphate, and base pairs.
Here’s how the bases pair up:
| Base Name | Letter Symbol | Pairs With | Color for Candy Model |
|---|---|---|---|
| Adenine | A | Thymine (T) | Yellow marshmallow |
| Thymine | T | Adenine (A) | Orange marshmallow |
| Cytosine | C | Guanine (G) | Green marshmallow |
| Guanine | G | Cytosine (C) | Pink marshmallow |
Fun Fact: These four letters — A, T, C, and G — are like the alphabet of life! The order they appear in your DNA is what creates the unique traits that make you you!
We built edible DNA models to learn about the structure of DNA!
How to Make a Candy DNA Model
You’ll Need:
-
2 red licorice twists (for the DNA backbone)
-
Mini marshmallows in four colors (yellow, orange, green, pink)
-
Toothpicks
Instructions:
- Lay out your two licorice ropes side by side — these are your DNA backbones.
- Use the marshmallows as base pairs, following the color code above:: Yellow (A) always connects to Orange (T). Green (C) always connects to Pink (G).
- Stick a toothpick through a pair of matching marshmallows, then attach one end to each licorice strand.
- Continue adding pairs until you have a full ladder shape.
- Gently twist your ladder into a spiral — this is the double helix shape of real DNA!
Teach While You Build
As kids build, reinforce that:
-
The colored marshmallows stand for chemical bases.
-
The licorice strands are like the sugar-phosphate backbone of DNA.
-
The pattern of A–T and C–G pairs is what carries the genetic code that determines traits.

Kids especially love this project because it feels like art, science, and snack time all in one! The bright marshmallow colors make it easy to remember which base pairs go together, and the twist at the end shows that iconic spiral we see in textbooks. It’s the perfect mix of science and creativity.
DNA in Everyday Life:
DNA isn’t just something scientists study in a lab — it’s part of everything that lives! For example, farmers use genetics to grow stronger plants, and doctors use DNA tests to learn about health risks. Even pets have unique DNA that gives them their color and personality. Helping kids see DNA in their daily lives shows them that science is everywhere — in the food we eat, the trees outside, and even in our families!
Why Hands-On Science Works
Hands-on science helps kids make abstract ideas concrete. Activities like these:
-
Build curiosity and critical thinking
-
Encourage observation and discussion
-
Reinforce learning through play and creativity
Younger kids might not grasp every detail about DNA, but they’ll remember the wonder of seeing it — and that science can be exciting!
Extend the Learning
Want to keep exploring genetics and biology? Try these ideas next:
-
Research Gregor Mendel and his pea plant experiments.
-
Create a family traits poster showing shared features across generations.
-
Watch The Magic School Bus: Cracks a Yolk or The Magic School Bus Explores Human DNA.
-
Explore your fingerprint patterns with ink and magnifying glasses.
-
Try to Extract DNA from Strawberries.
These extensions turn your DNA lesson into a full science unit!
More Science Activities to Try
If your kids loved learning about DNA, try one of these other fun experiments next:
How to Make a Lemon Volcano Science Experiment
Simple Science: How to Make Floating Zucchini Boats


I could not retrieve the Gregor Mendel genes trait chart for eye color, hair color, and dimples. Do you have this for free? It was really nice.