How to Make an Adhesive Book Cover
This post may contain affiliate links.
This is a sponsored post written by me on behalf of Duck Brand. All opinions are 100% mine.
It’s back-to-school season! It’s the time of new books, notebooks and workbooks. As a homeschool mom, I watch those crisp new books get bent and torn so quickly. So, today I want to show you how to easily make an adhesive book cover that will protect and preserve the life of all of these essential school books.
We used Duck Brand® Clear Laminate Removable Adhesive EasyLiner to make our book covers. This stuff is the best. It is easy to use and so versatile! You can use it for all kinds of crafting projects.
Also check out the Stained Glass Art we made with Duck Brand® Clear Laminate a while back.

How We Use the Adhesive Liner to Cover Books & Papers:
Making an adhesive book cover will protect the covers of the books and help them last much longer. Here are a few ways we use the adhesive liner to cover books and papers.
Fix Well-Loved Books:

We have a lot of well-loved books in our house that are falling to pieces! Paper covers bend, and tear too easily! I use the adhesive liner on picture books to hold the cover together. This will give it a little more life before I have to resort to purchasing a new one! You can tell which books my kids love most by the condition of the cover. 🙂
Protect Workbooks:
Use the adhesive book covers to prolong the life of workbooks you will be using regularly. So many times throughout the school year, my kid’s workbook covers fall off. Using this adhesive will keep them alive and in tact longer!
Make it Re-Usable:
As homeschoolers and teachers, we are always needing to re-use things. Cover papers, worksheets, or coloring pages with adhesive to make them re-usable. You can cut off the binding on workbooks and cover pages with the adhesive, then use dry-erase markers on the pages making them usable multiple times or for multiple people. This is a great money saver for families homeschooling multiple children. The Duck Brand® Clear Laminate wipes clean so easily!
How to Make an Adhesive Book Cover:
- Unroll your adhesive liner.
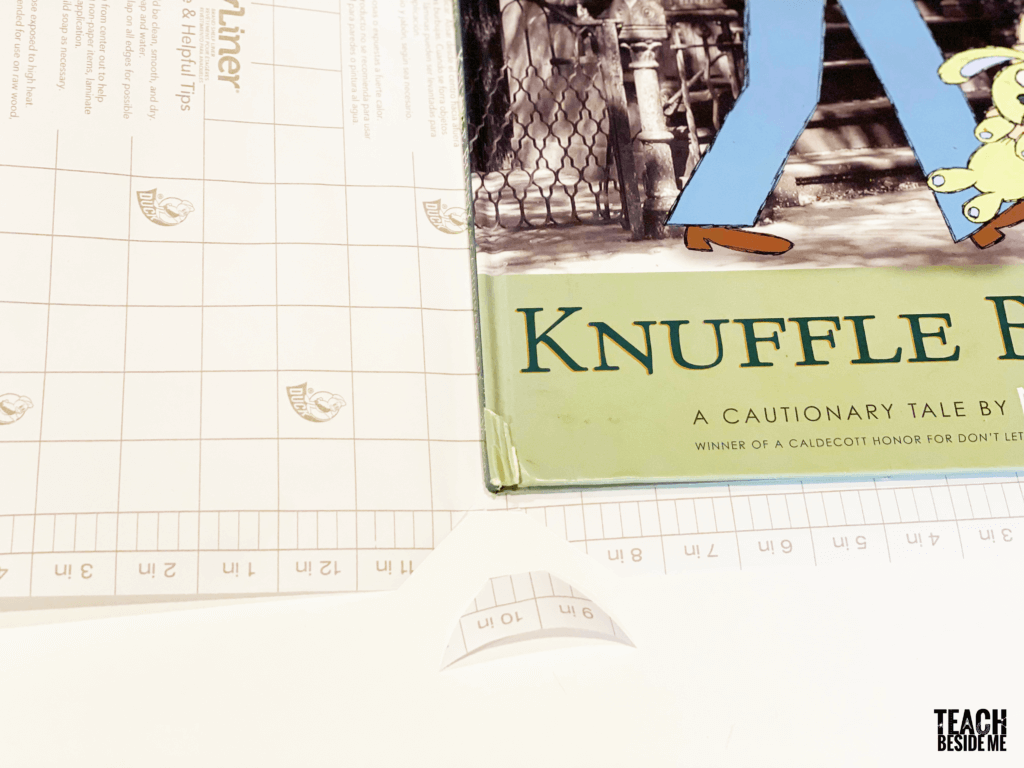
- Lay the book on top. Use the grid backing to line it up straight.

- Cut around the book. You will want to leave about an inch on all sides before cutting. This will be folded into the book cover.
- Diagonally cut off the corners.
- At the binding of the book, cut out a section that is basically a triangle with a flat top. Do it on the top and the bottom. This will help it fold easily around the binding.
- Slowly peel one section of the backing paper place the book onto the peeled section – leaving an inch or so extra around all edges.
- Smooth out bubbles and continue to peel the paper pressing it onto the book’s cover.
- Open the cover and fold in the extra pieces to attach to the inside cover.
- Fold it over the binding and flip it over. If there is a little extra in the binding area, trim it off.
- Repeat the same process on the other side.
- Smooth out any bubbles, and you are done with your adhesive book cover!


We also made some fun little homemade bookmarks with the leftover scraps!

Try them with feathers, pressed flowers, or artwork you love!

Also check out the Smooth Top® EasyLiner® to line shelves and counters.


