Flower Stained Glass Art Project for Kids
This post may contain affiliate links.
I am excited to share this beautiful activity with you today! This flower stained glass art project is fun to make with kids! It is a craft you can display after you make it because it is quite beautiful. This is a simple spring or summer art project that can be done at home or in schools!
Supplies Needed to Make this Flower Stained Glass Art Project:

Colored tissue paper
Black permanent marker
Masking tape
Stained glass templates or designs
How to Make the Flower Stained Glass Art Project:

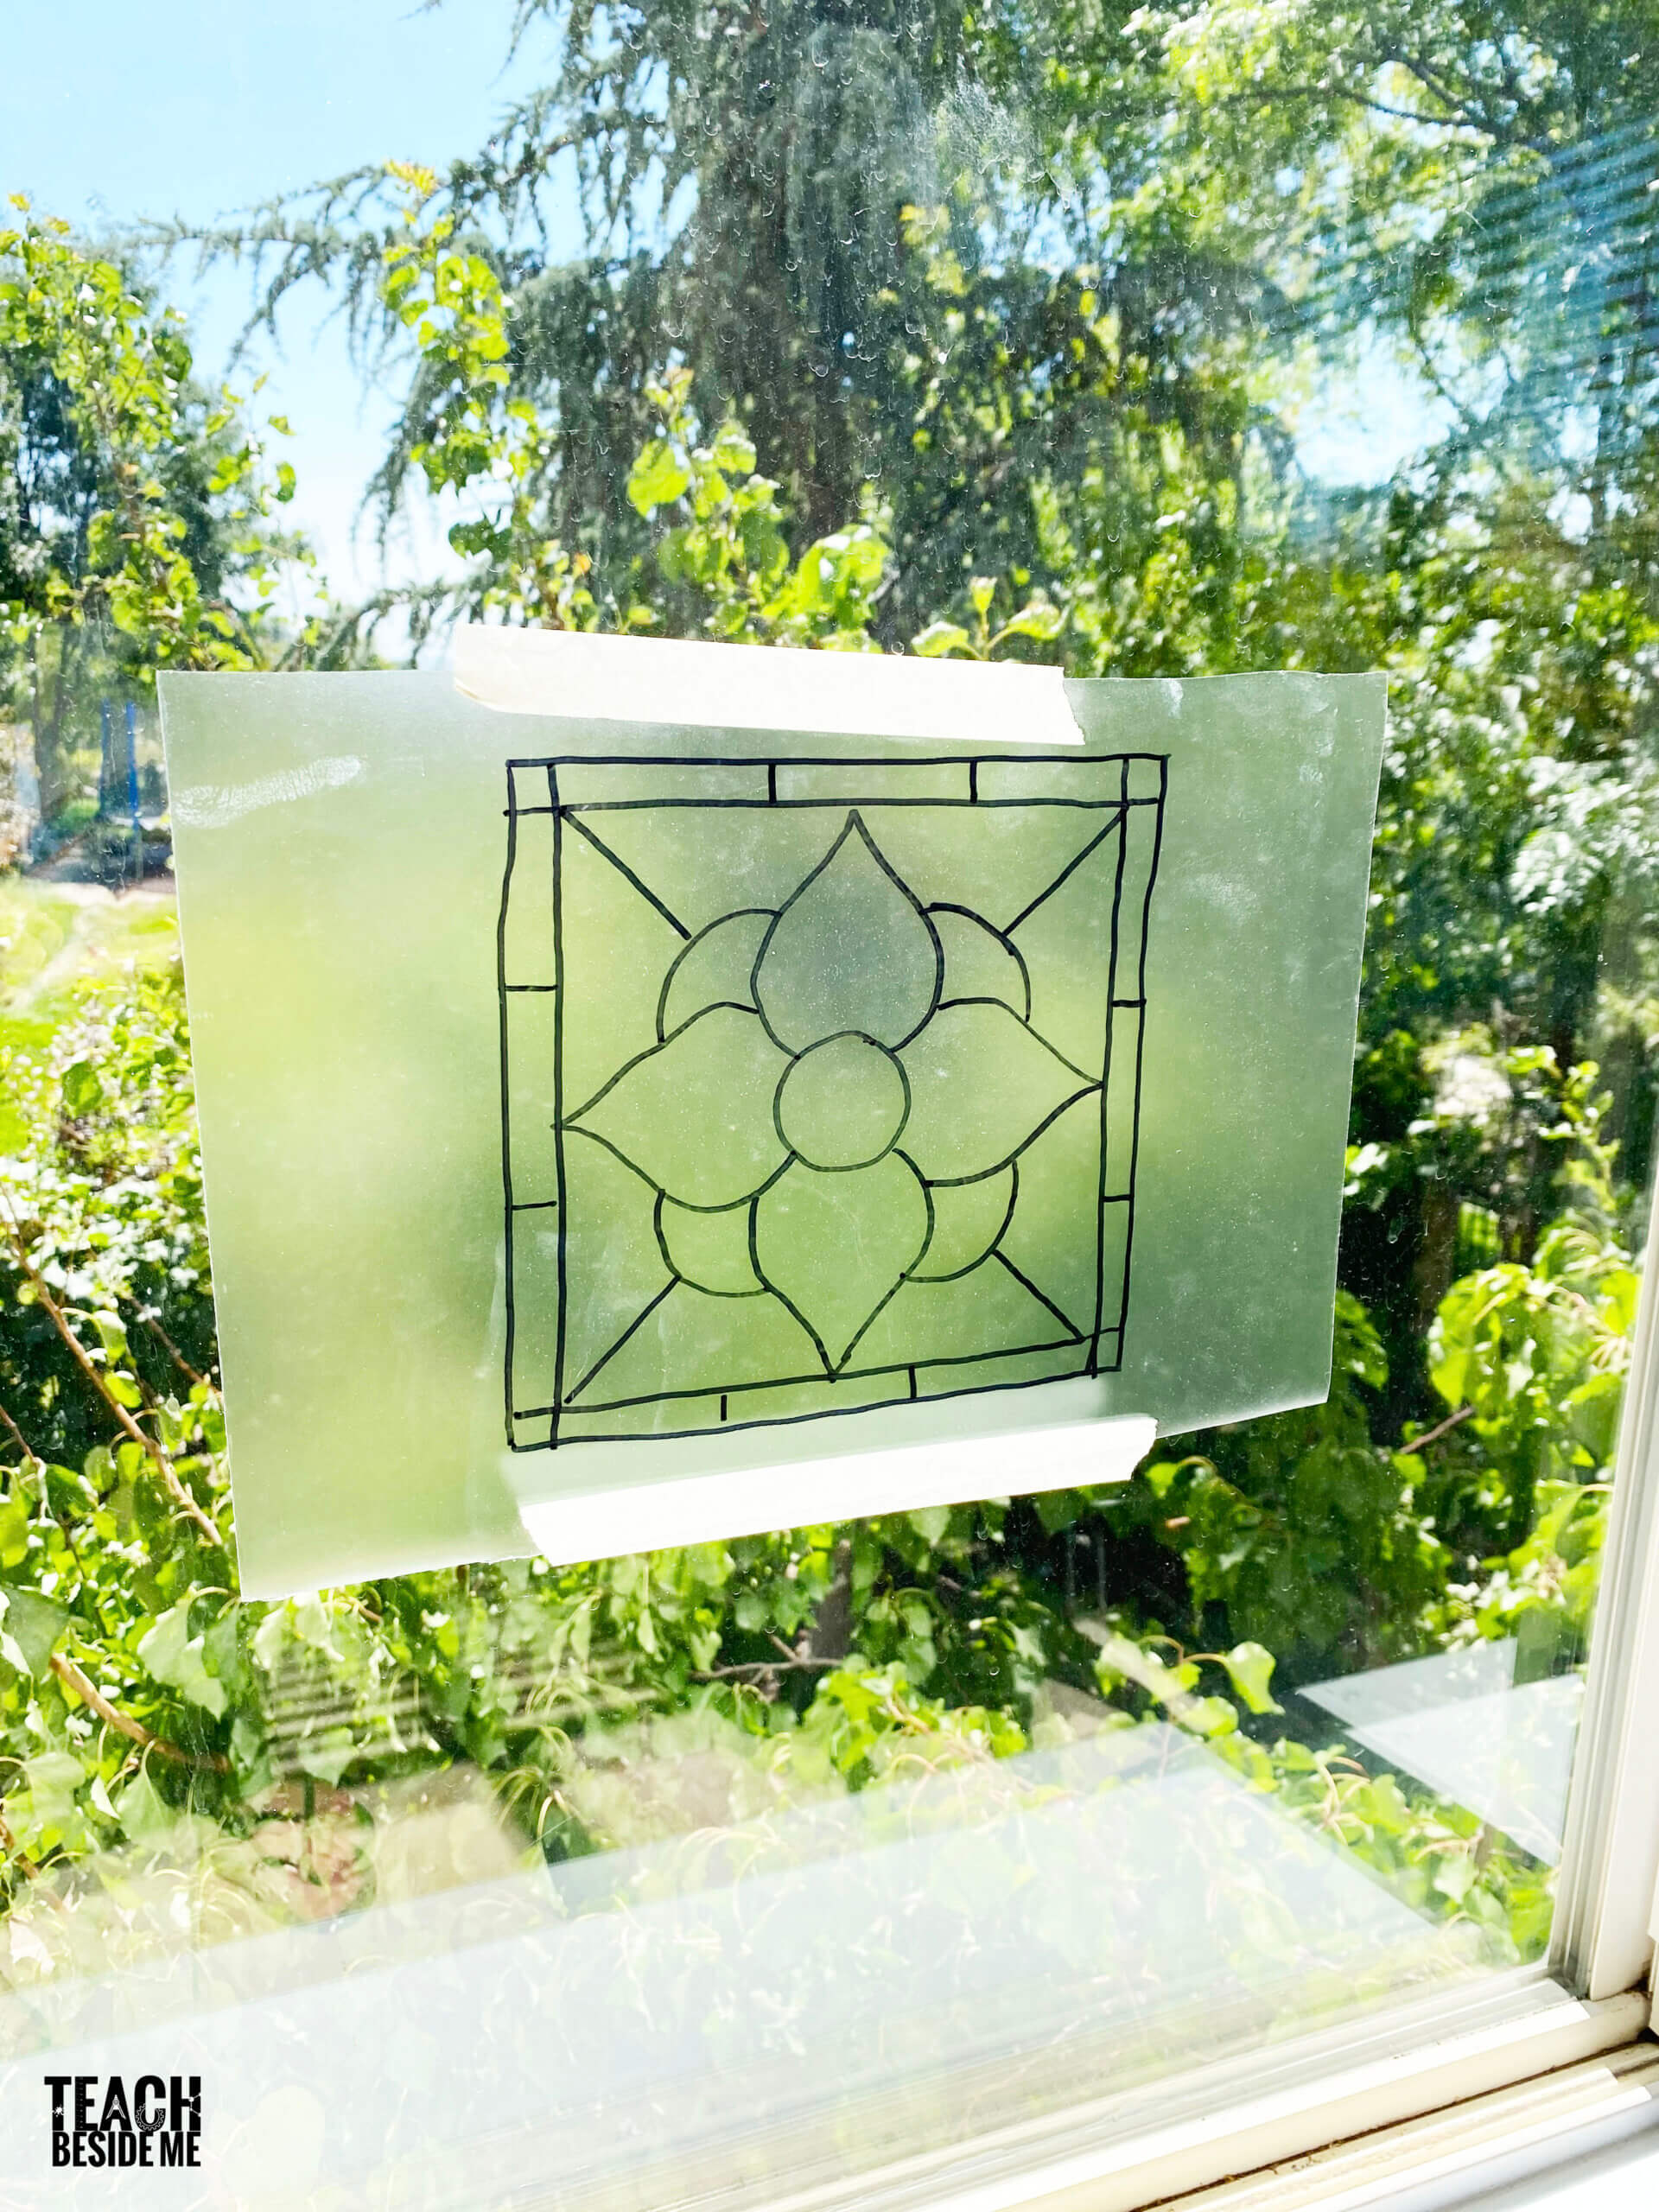
To make this project, find a few stained glass templates you would like to use. We just did a quick image search online and found a whole bunch of printable ones! You can also draw your own designs if you’d like.
Unroll the clear laminate and place it on top of the template. We put a small piece of rolled tape under our template, then some tape on top of the laminate to keep it in place. Use the grid lines on the paper lining to make it straight.

You are going to trace the lines of the template right onto the clear laminate with a black permanent marker. Don’t peel off the lining yet!
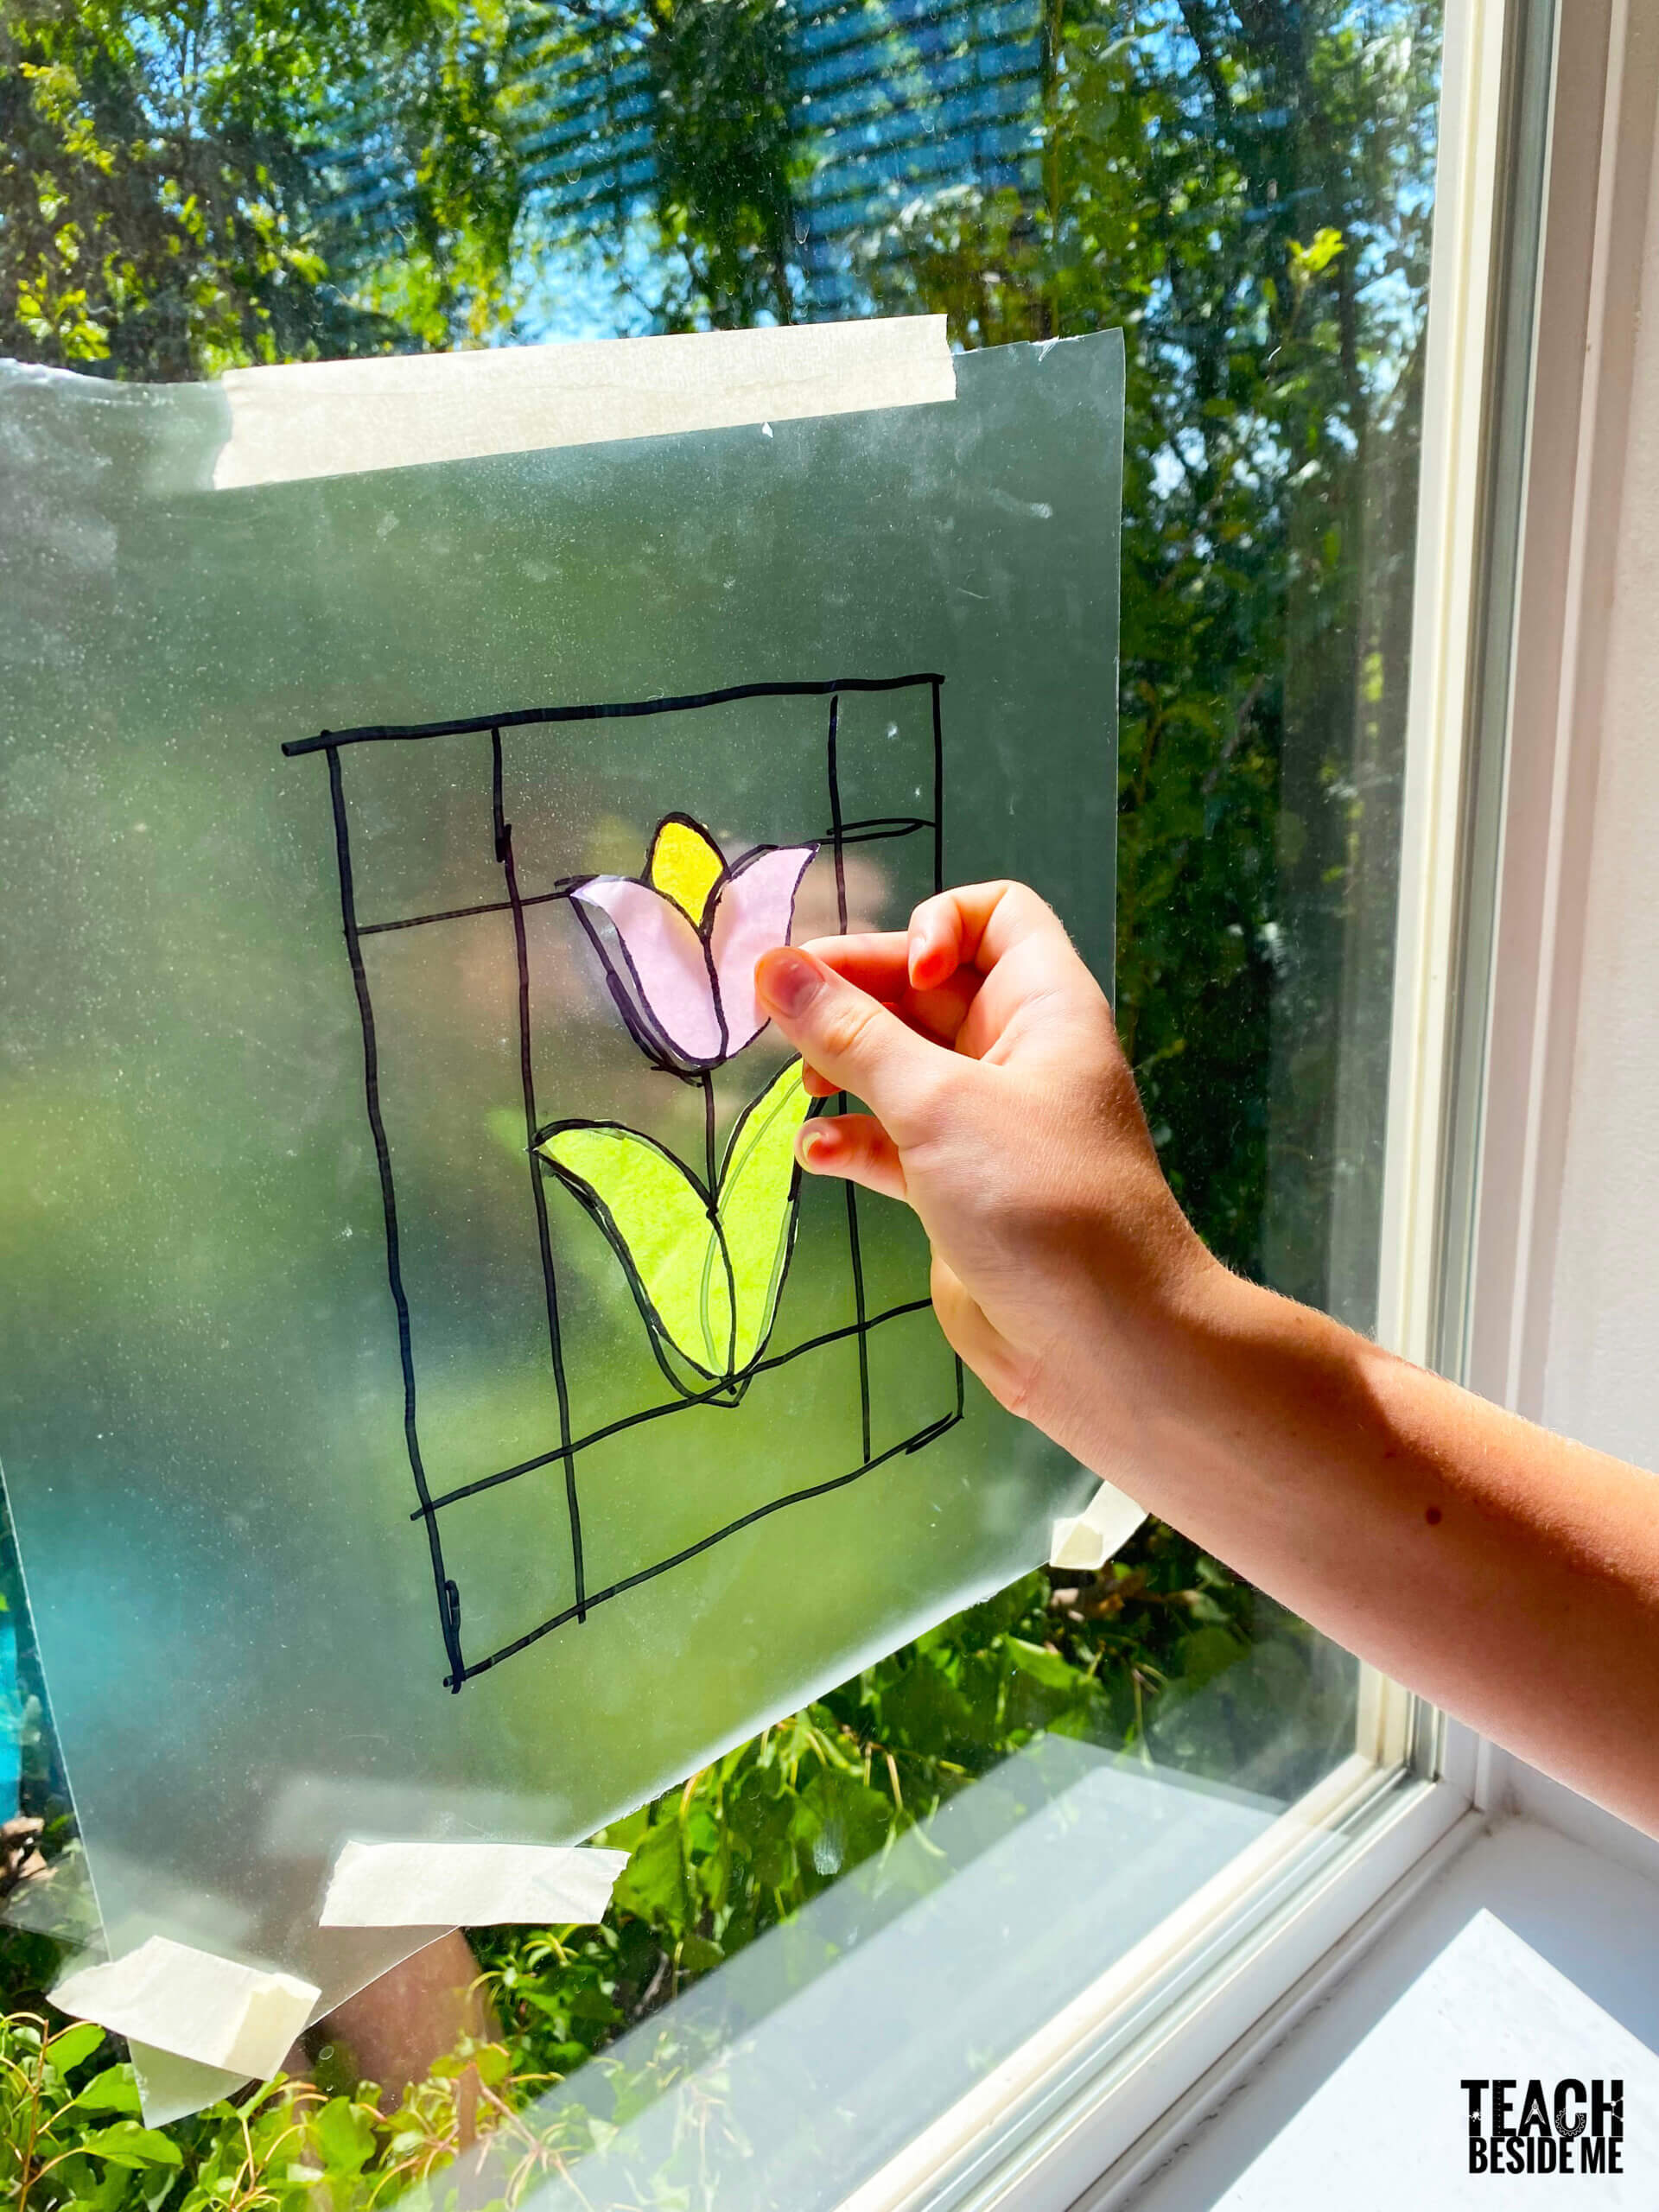
Once your design is traced, it is time to peel of the lining and reveal the sticky side. Tape the design to a window with the sticky side facing out.
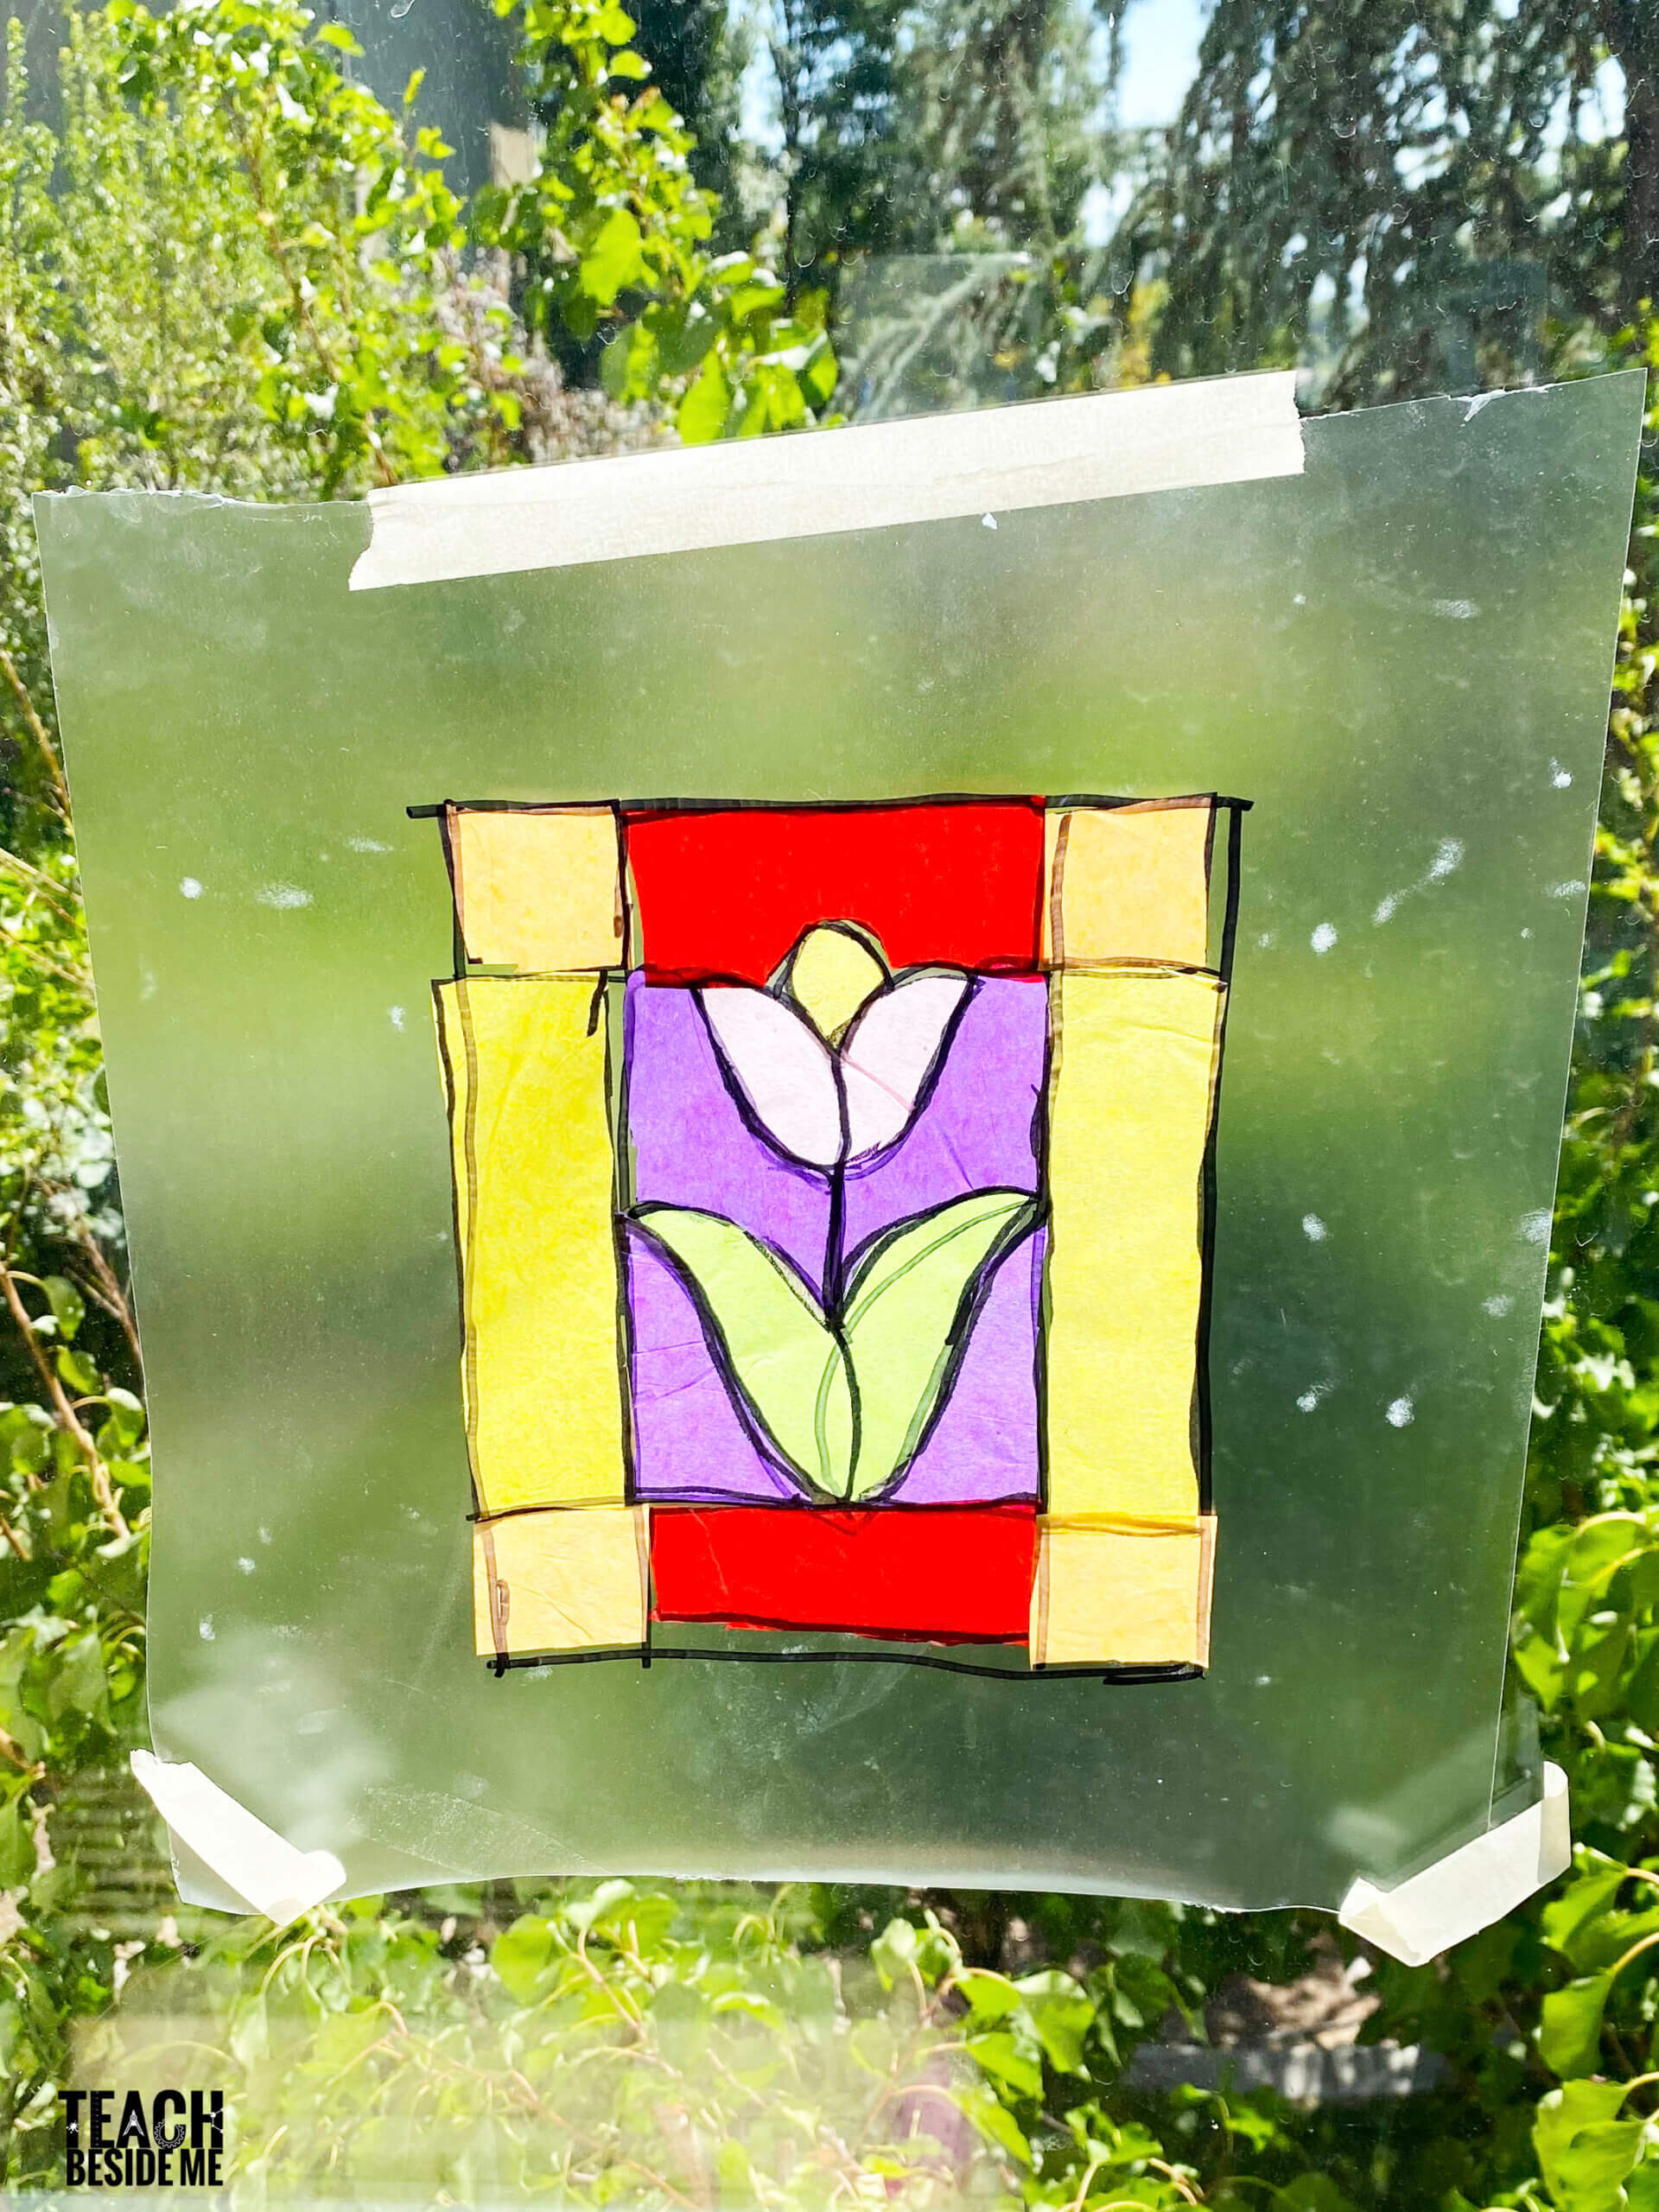
The next step is to created your colored pieces with tissue paper. Trace pieces of tissue paper from your template to match the sections of the stained glass design. If you are using multiple colors, (which you should!) you’ll need to trace each part on separate squares of colored tissue paper.

After you have traced your designs onto the tissue paper, cut them out and price the design together on the sticky side of the clear laminate.
Continue to fill in the design until it is completed. Then try another design!
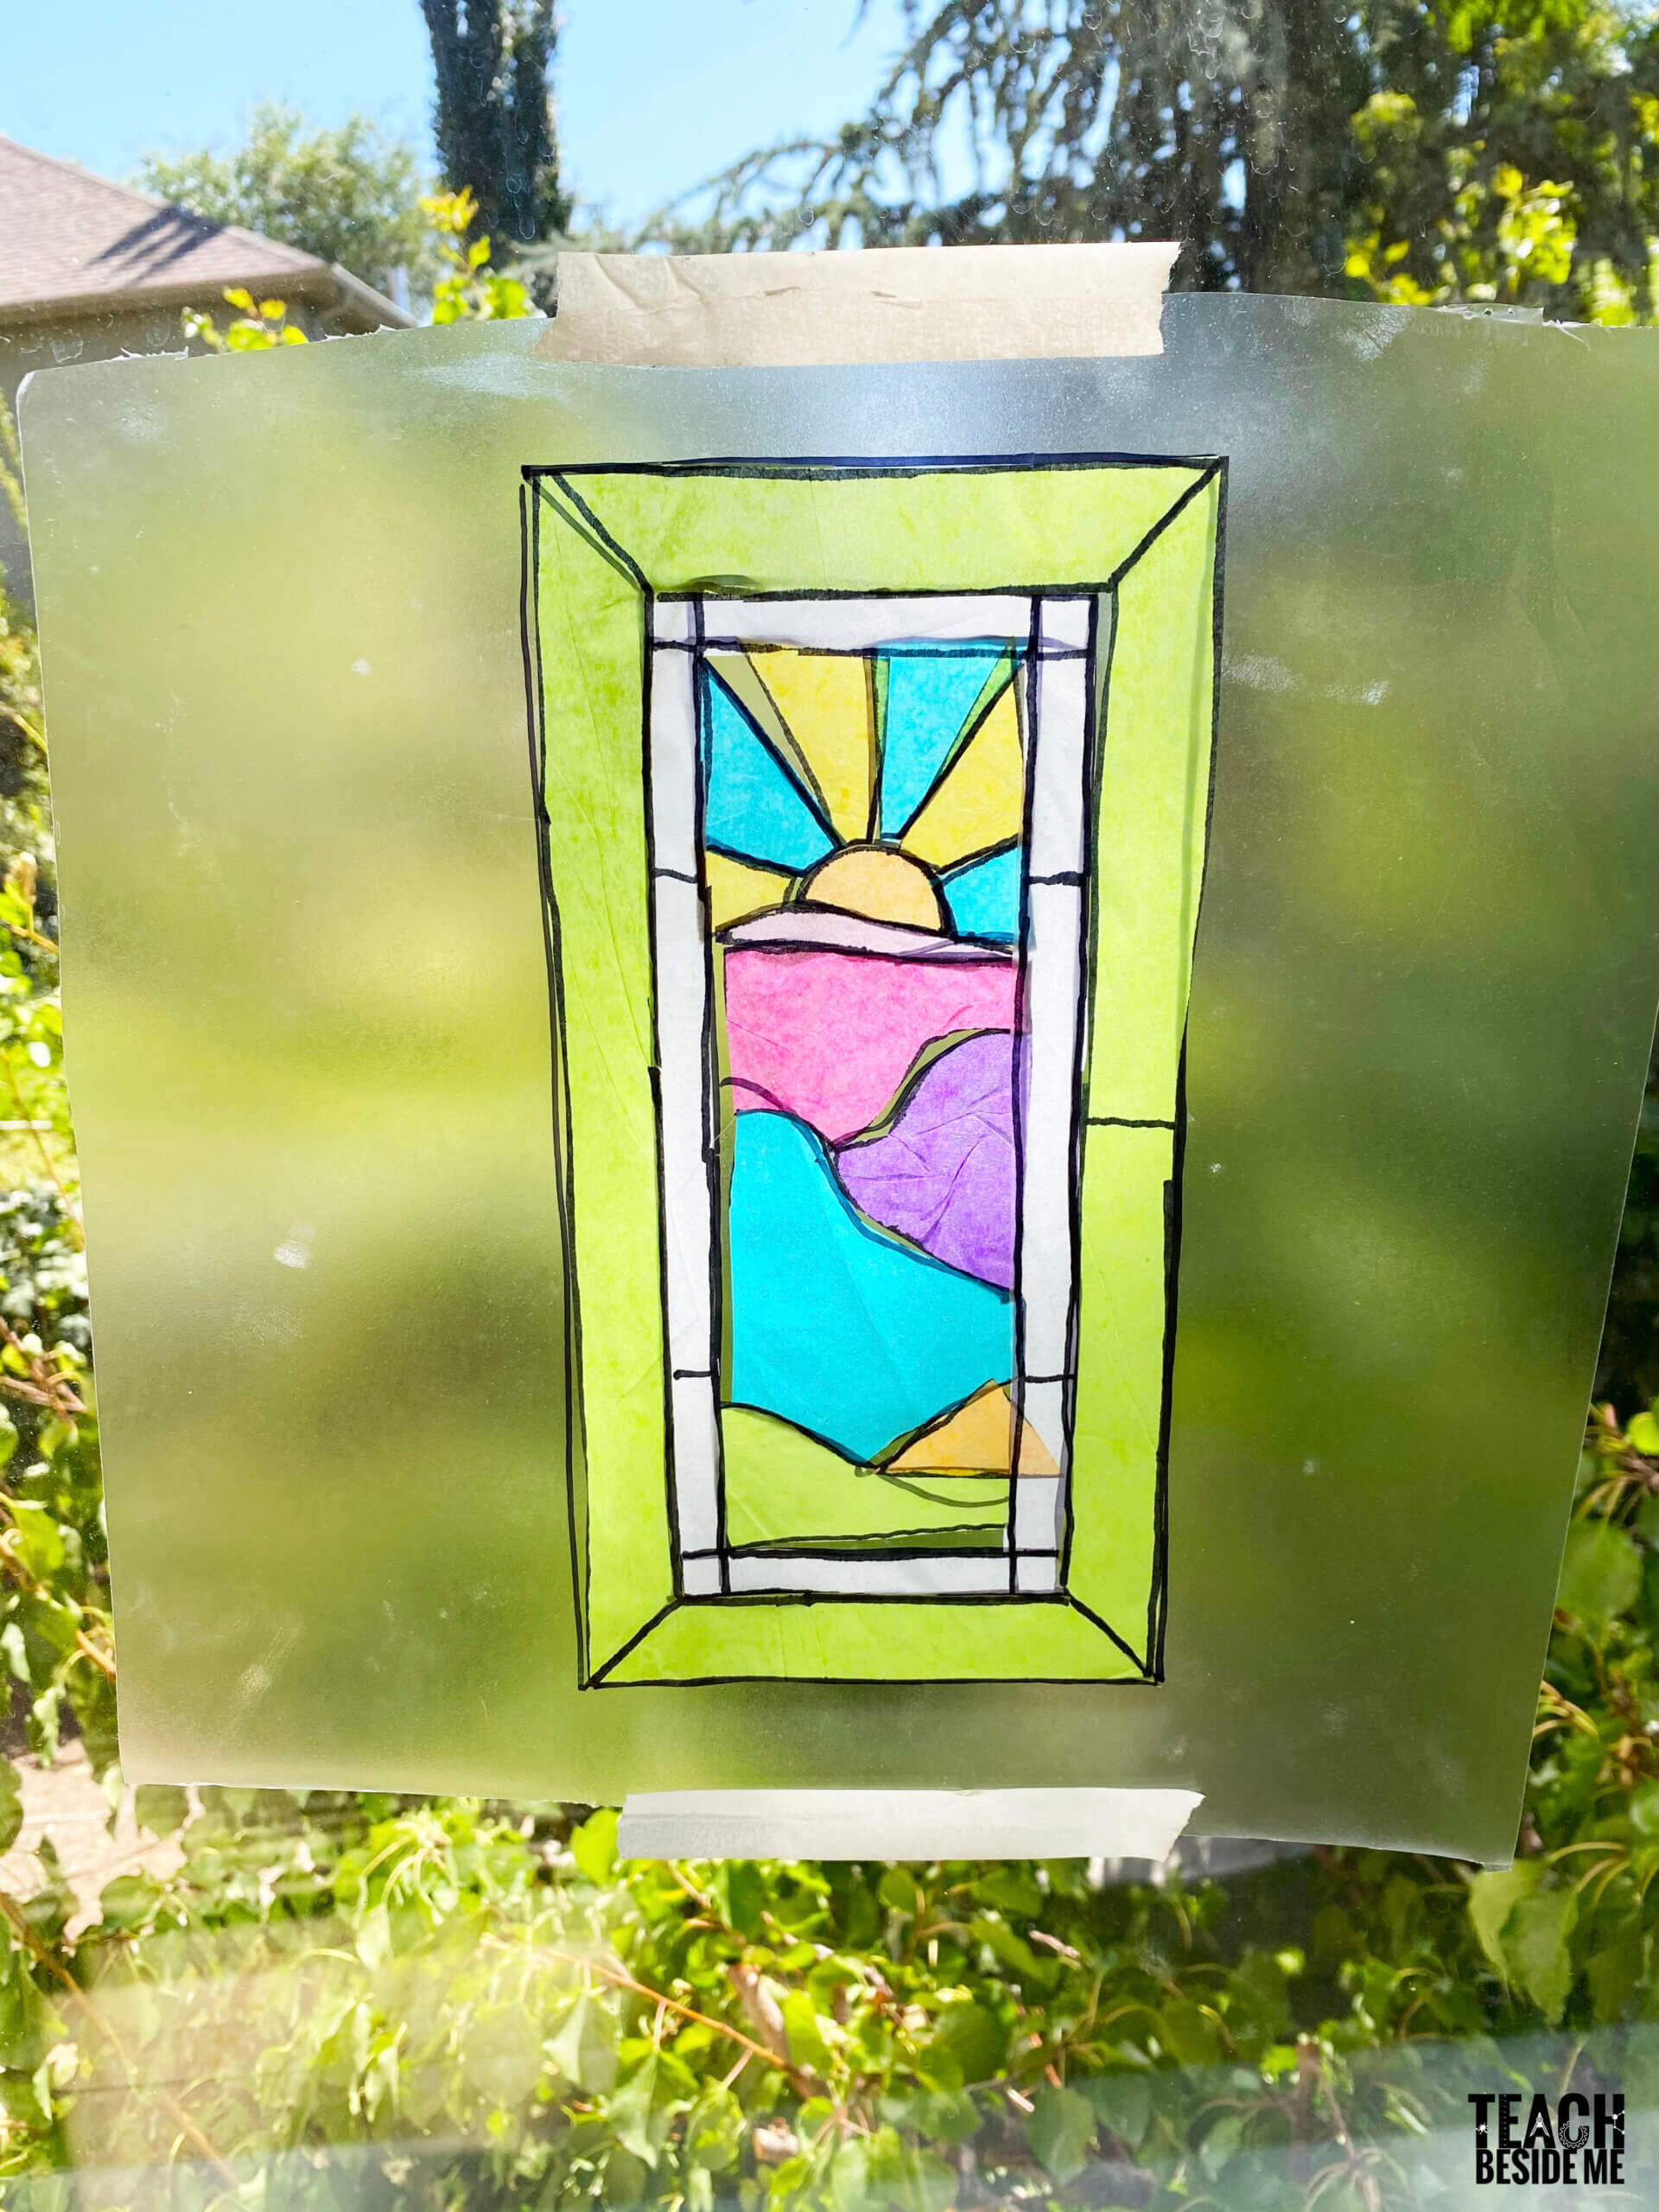
Once the stained glass art is complete, trim off excess laminate. Then, you can turn the design over and stick it right to the window! Luckily this clear laminate is easily removable so it will not leave a permanent stickiness on any surfaces.
Another option, is to cut another matching side piece of laminate and apply it to the sticky side to seal it together. This is best for designs you will be transporting (home from school or classes).