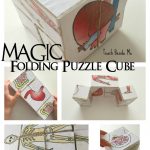
Magic Folding Photo Cube for Kids (DIY Fidget Toy)
This post may contain affiliate links.
Kids love toys they can twist, flip, and puzzle over—especially when they involve a little bit of magic! This DIY magic folding puzzle cube is a fun hands-on project that turns eight wooden blocks into a fascinating moving puzzle.
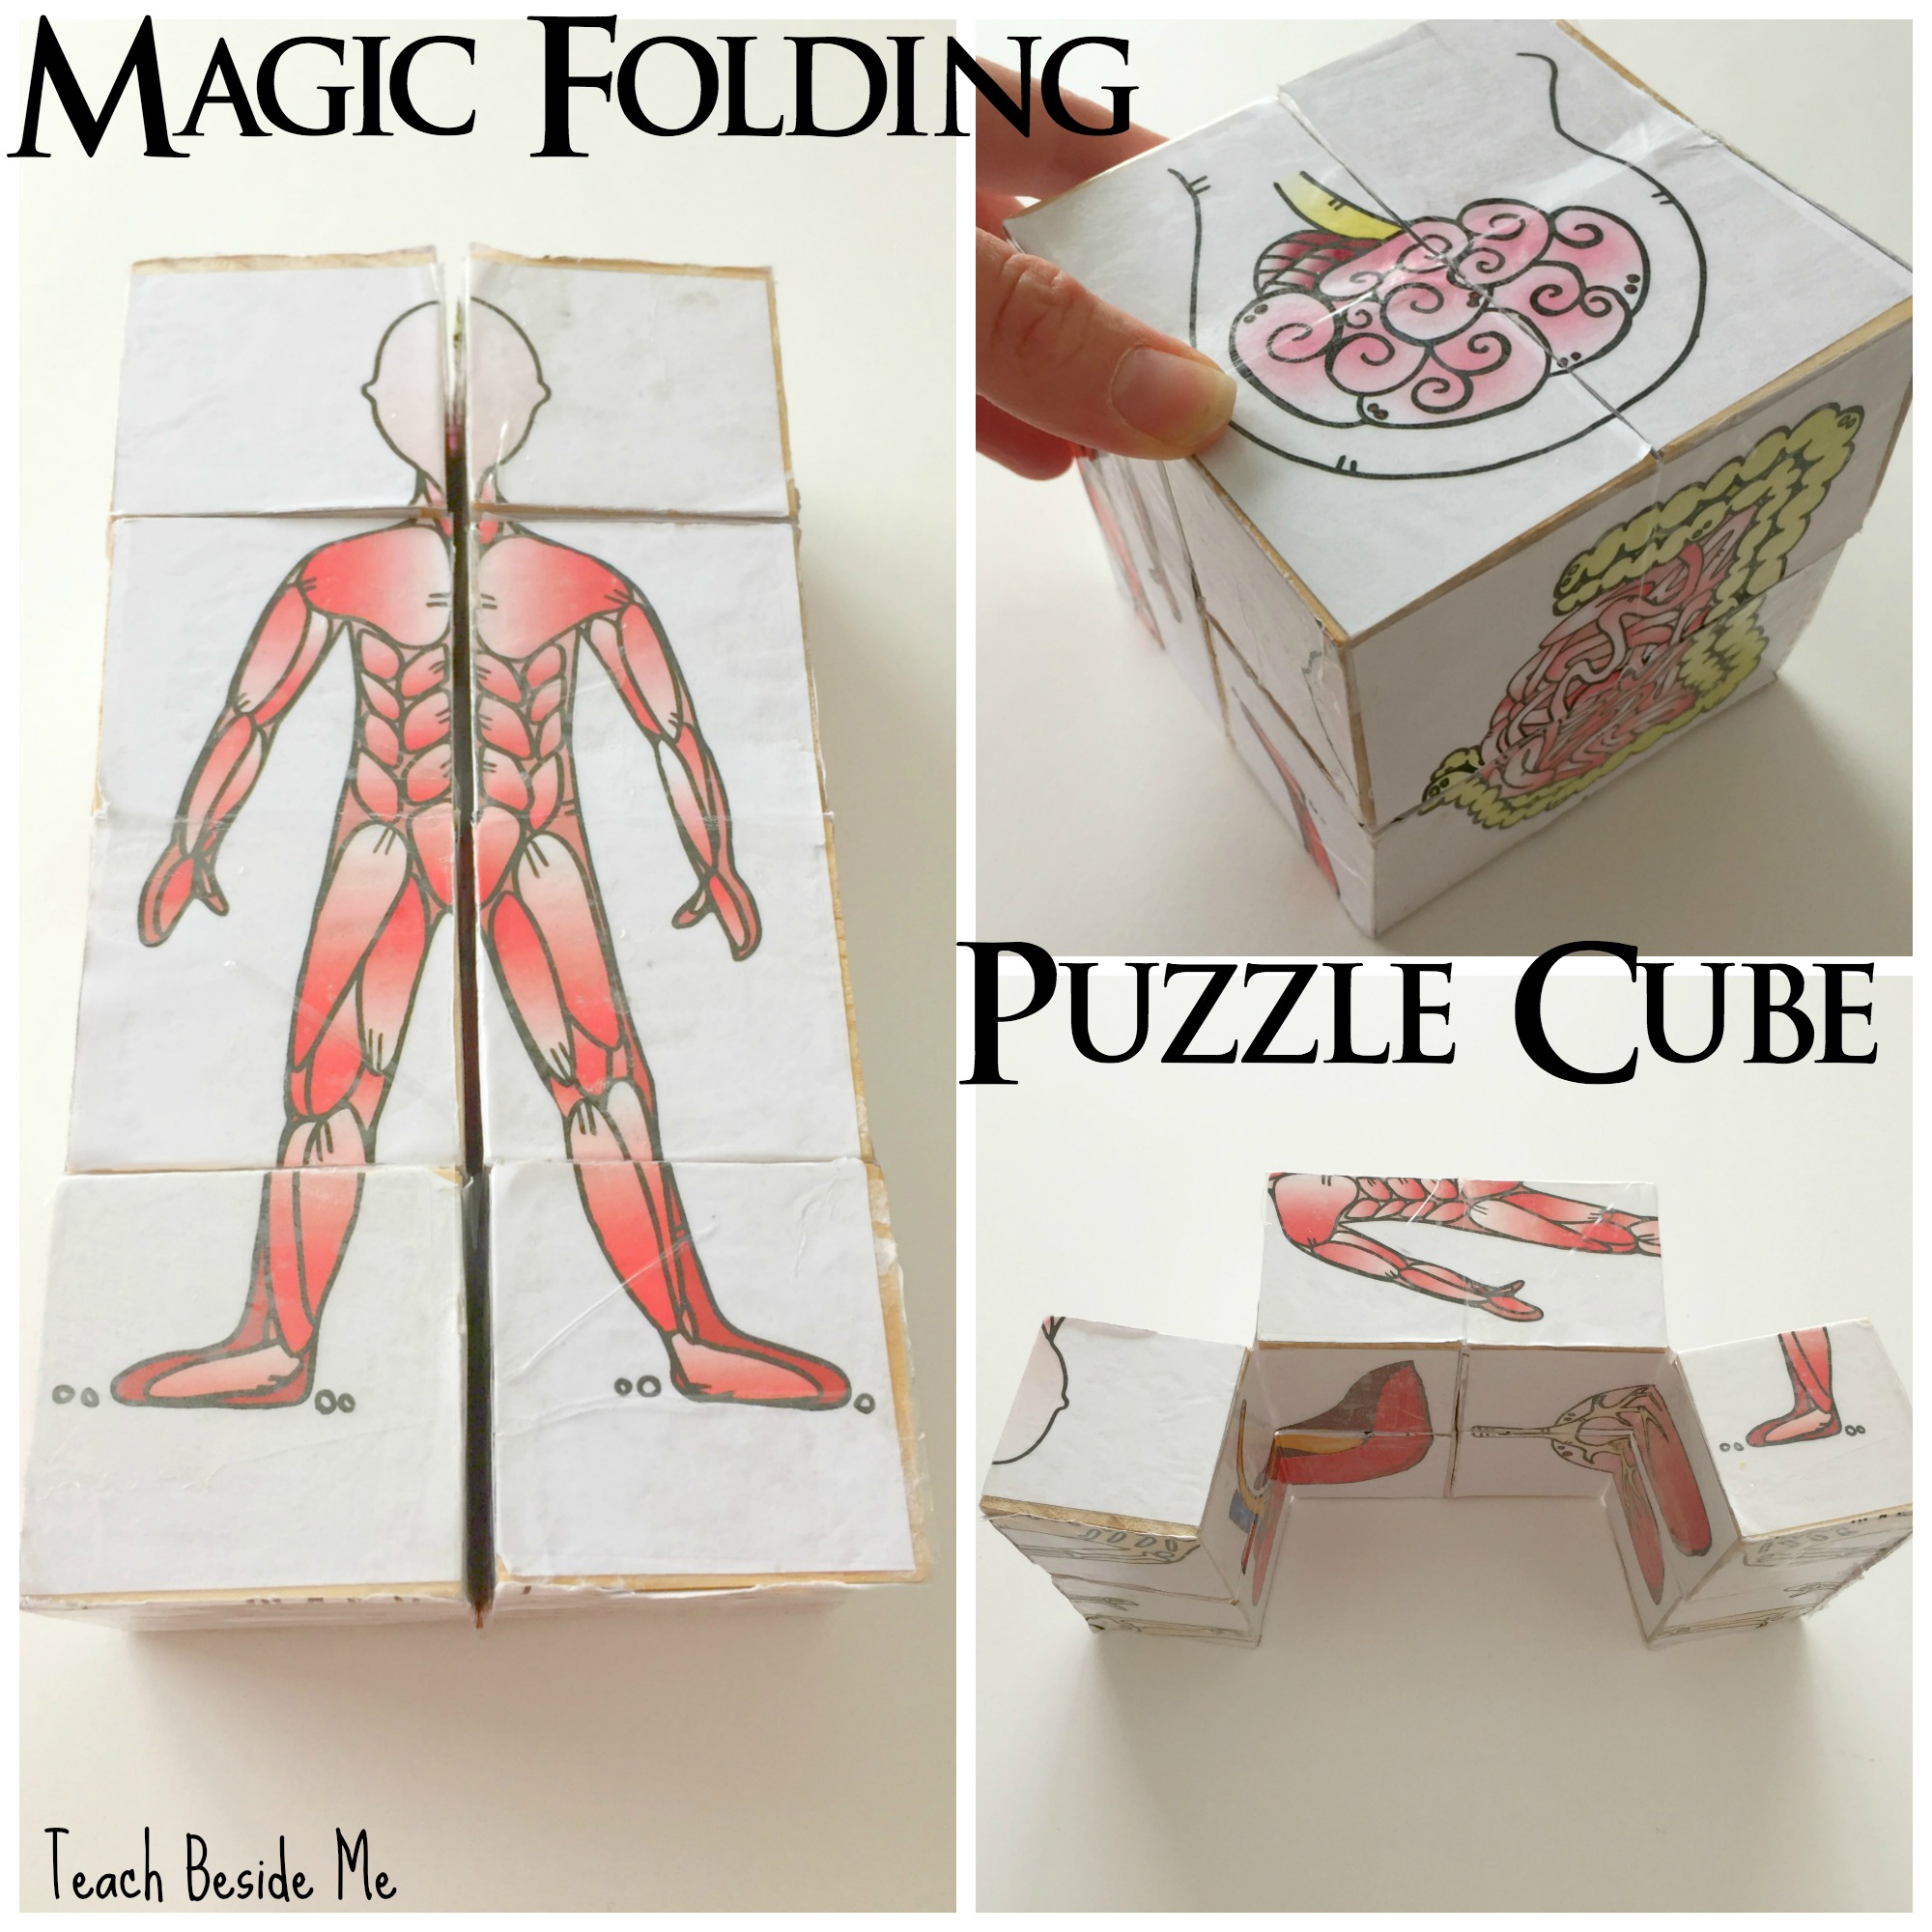
As you fold and rotate the cube, the pictures rearrange themselves into new patterns. Kids can keep flipping it to solve the puzzle while strengthening spatial thinking and problem-solving skills.
Best of all, you can customize the cube with educational themes like anatomy, plants, animals, math symbols, or even family photos.
It’s part puzzle, part fidget toy, and part creative STEM project.

What is the Magic Folding Puzzle Cube
A magic folding puzzle cube is a hands-on DIY toy made from eight small wooden cubes connected with simple hinges. As the cube folds and rotates, the pictures on the sides rearrange to form new puzzles. Kids can flip the cube over and over to solve the images while practicing spatial reasoning and problem-solving skills. Since each cube has 6 sides, there are 48 sides when you combine them all. When the cube is folded up, 24 sides are visible, and 24 are hidden.
What makes ours magic and different from a normal fidget cube is that it has a puzzle that you want to solve as you play with it.
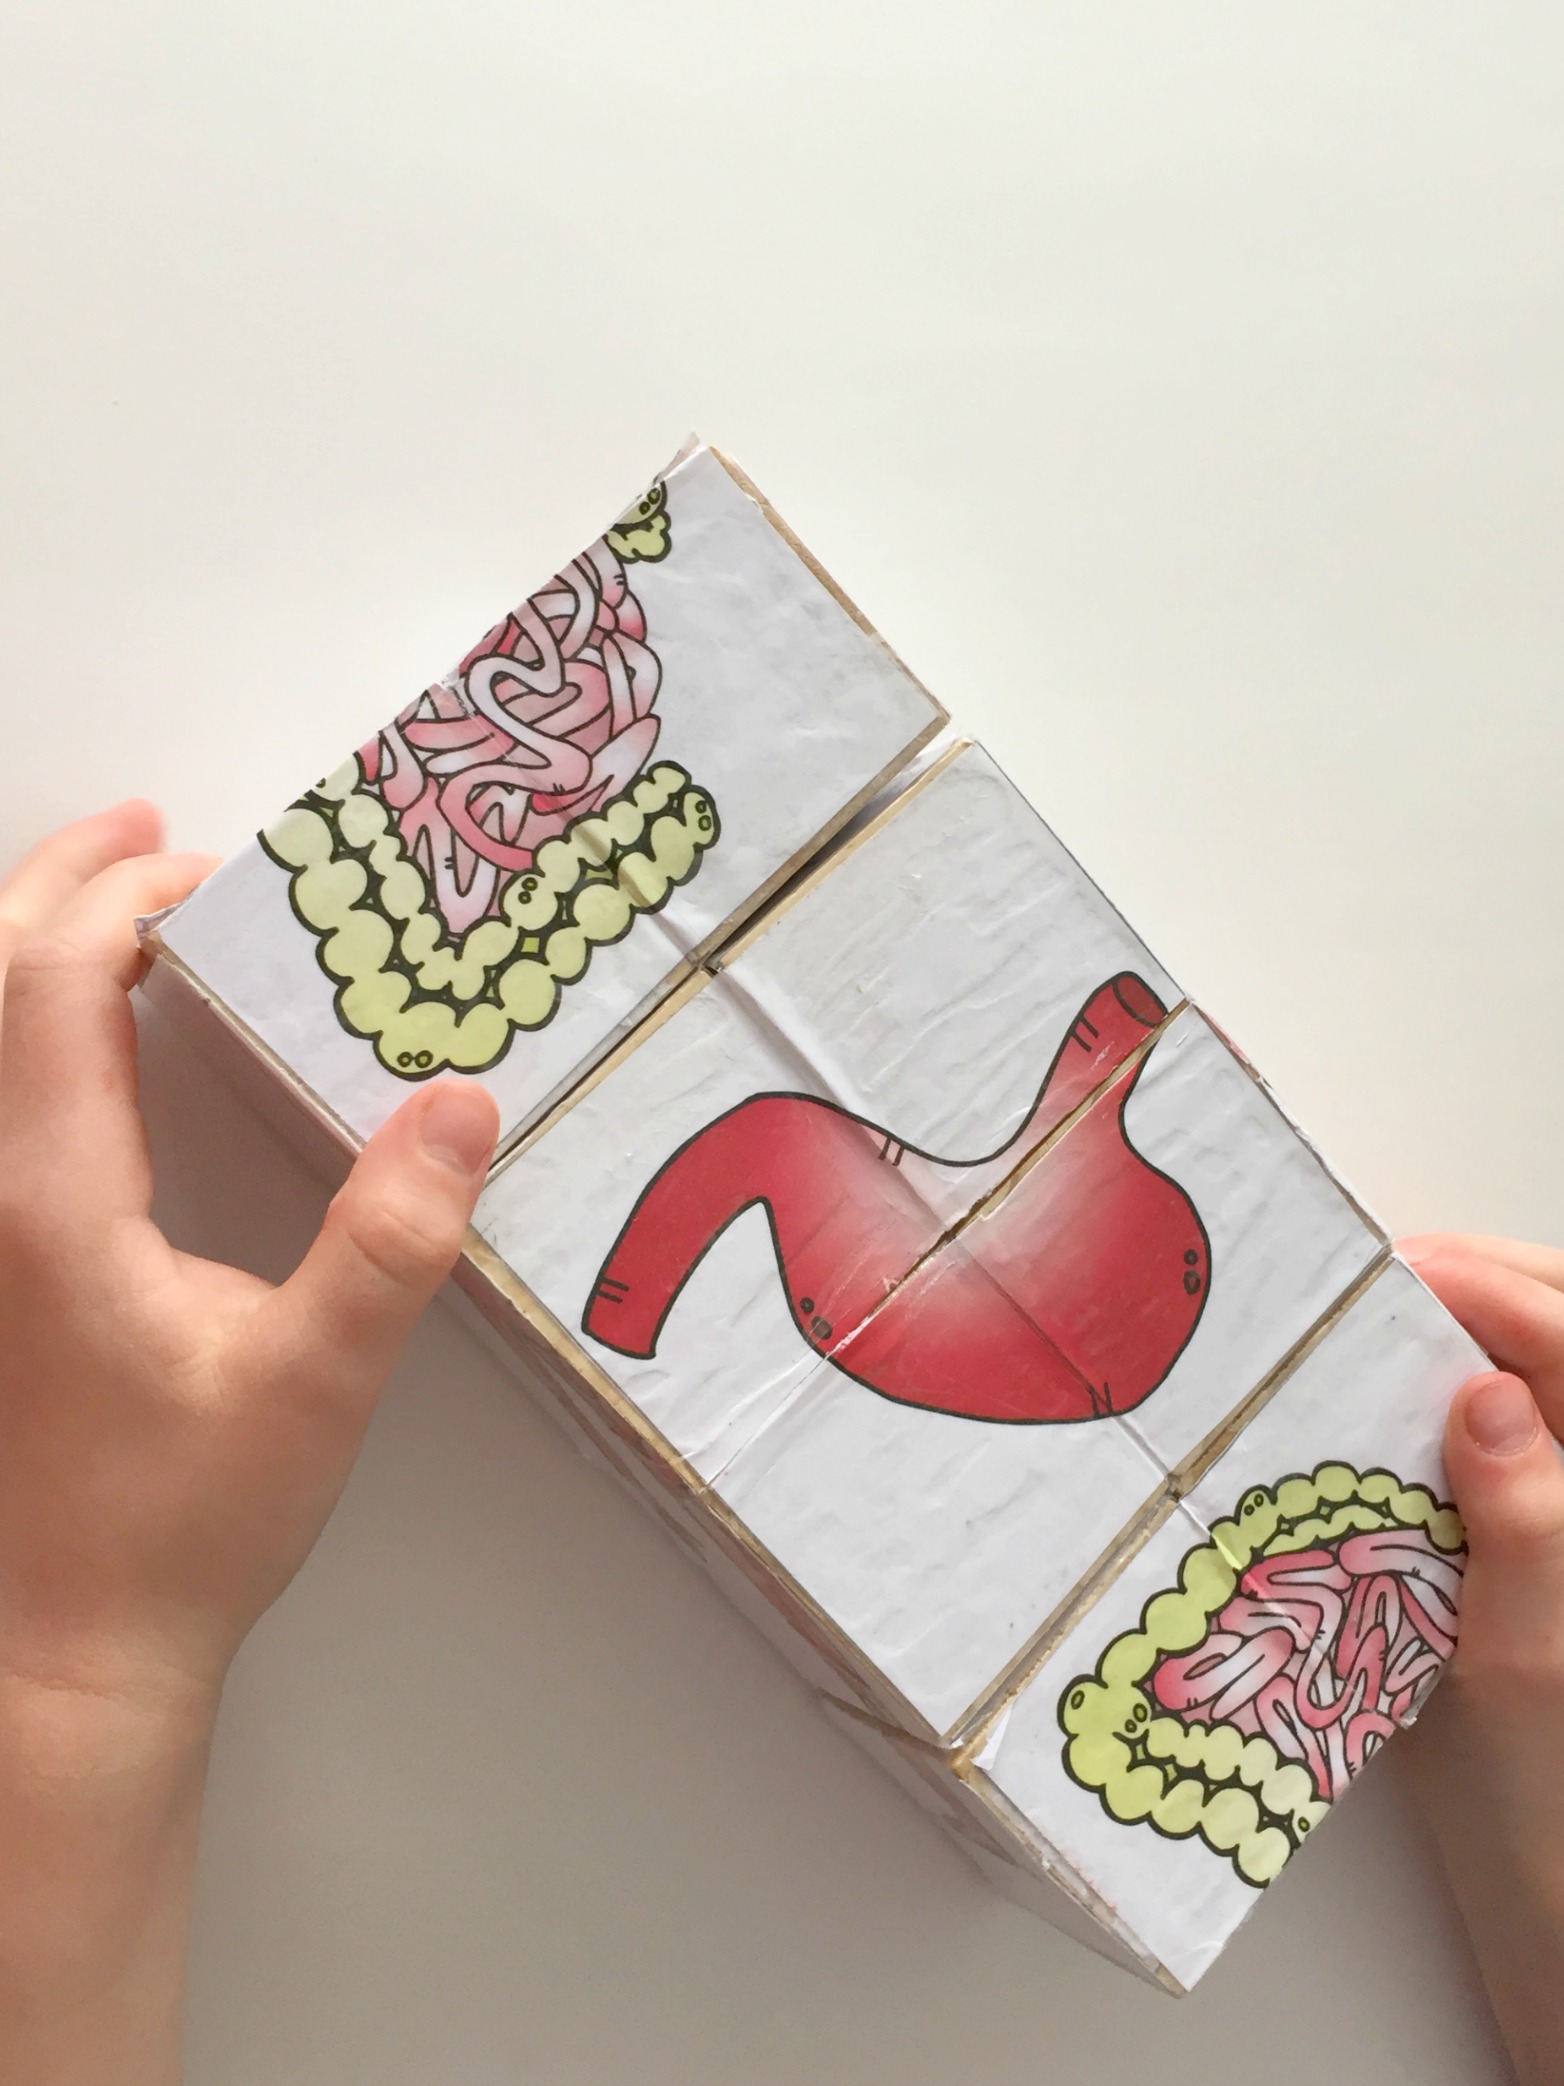
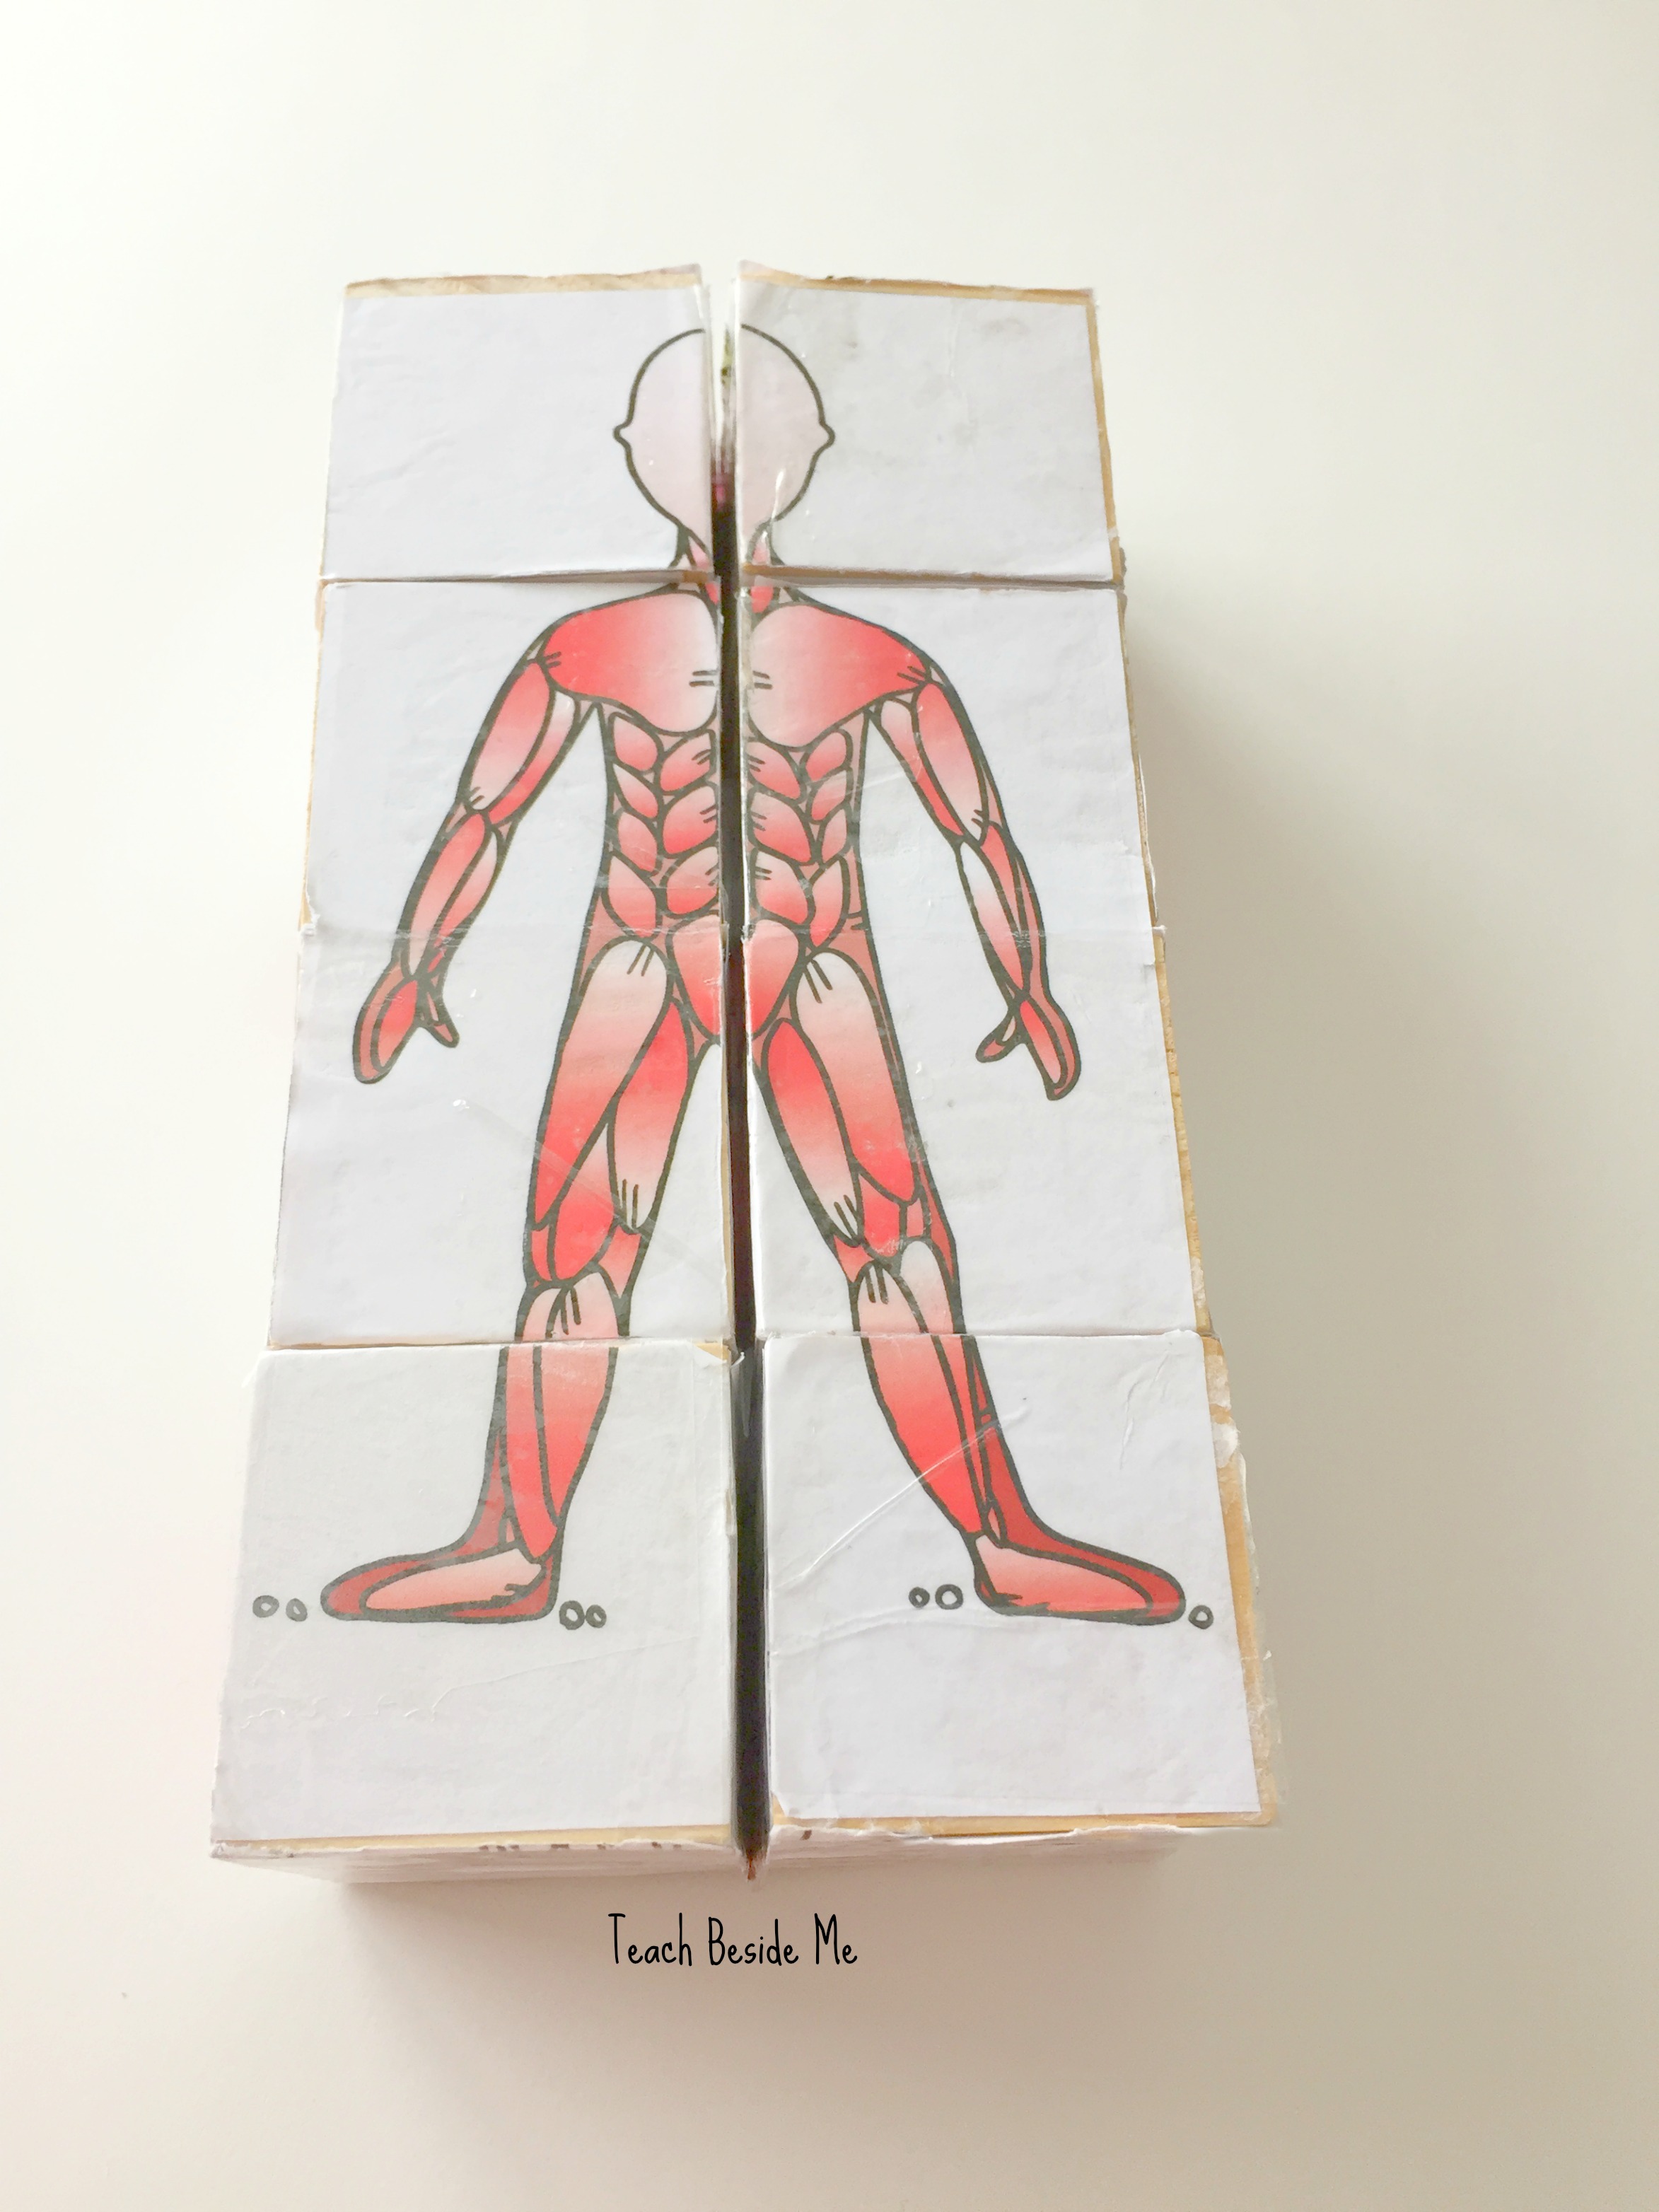
You can really get creative with this photo cube. We chose to use pictures of human anatomy to make it educational. A few other ideas I though of doing were plant & animal cells, chemical symbols, art prints, or family photos, or anything, really!
How to Make the Magic Folding Photo Cube:
To make this cool educational toy, you will need:

8 wooden cubes. Mine are 2 inch cubes, but 1 inch ones would work as well. You can pick them up online or at a craft store.
9 pictures 3 of the pictures need to be 4″ x 8″. The other 6 Should be 4″ x 4″.
Elmer’s Glue-All
X-Acto Knife
Clear Packing Tape
Start by creating the hinges that make this puzzle move around. You will tape hinges in 8 different places. Look at this image to see where they go. There are 2 of each number and you will tape across the the blocks to combine the two numbers.
You will need to tape on the front and the back of each set of blocks to reinforce them. Use smaller pieces of tape because you will need to glue on your pictures and the glue will stick to the wood, but not the tape as well. The hinges with the numbers 1 and 4 you will tape horizontally and the others (2,3,5,6) will be taped vertically.
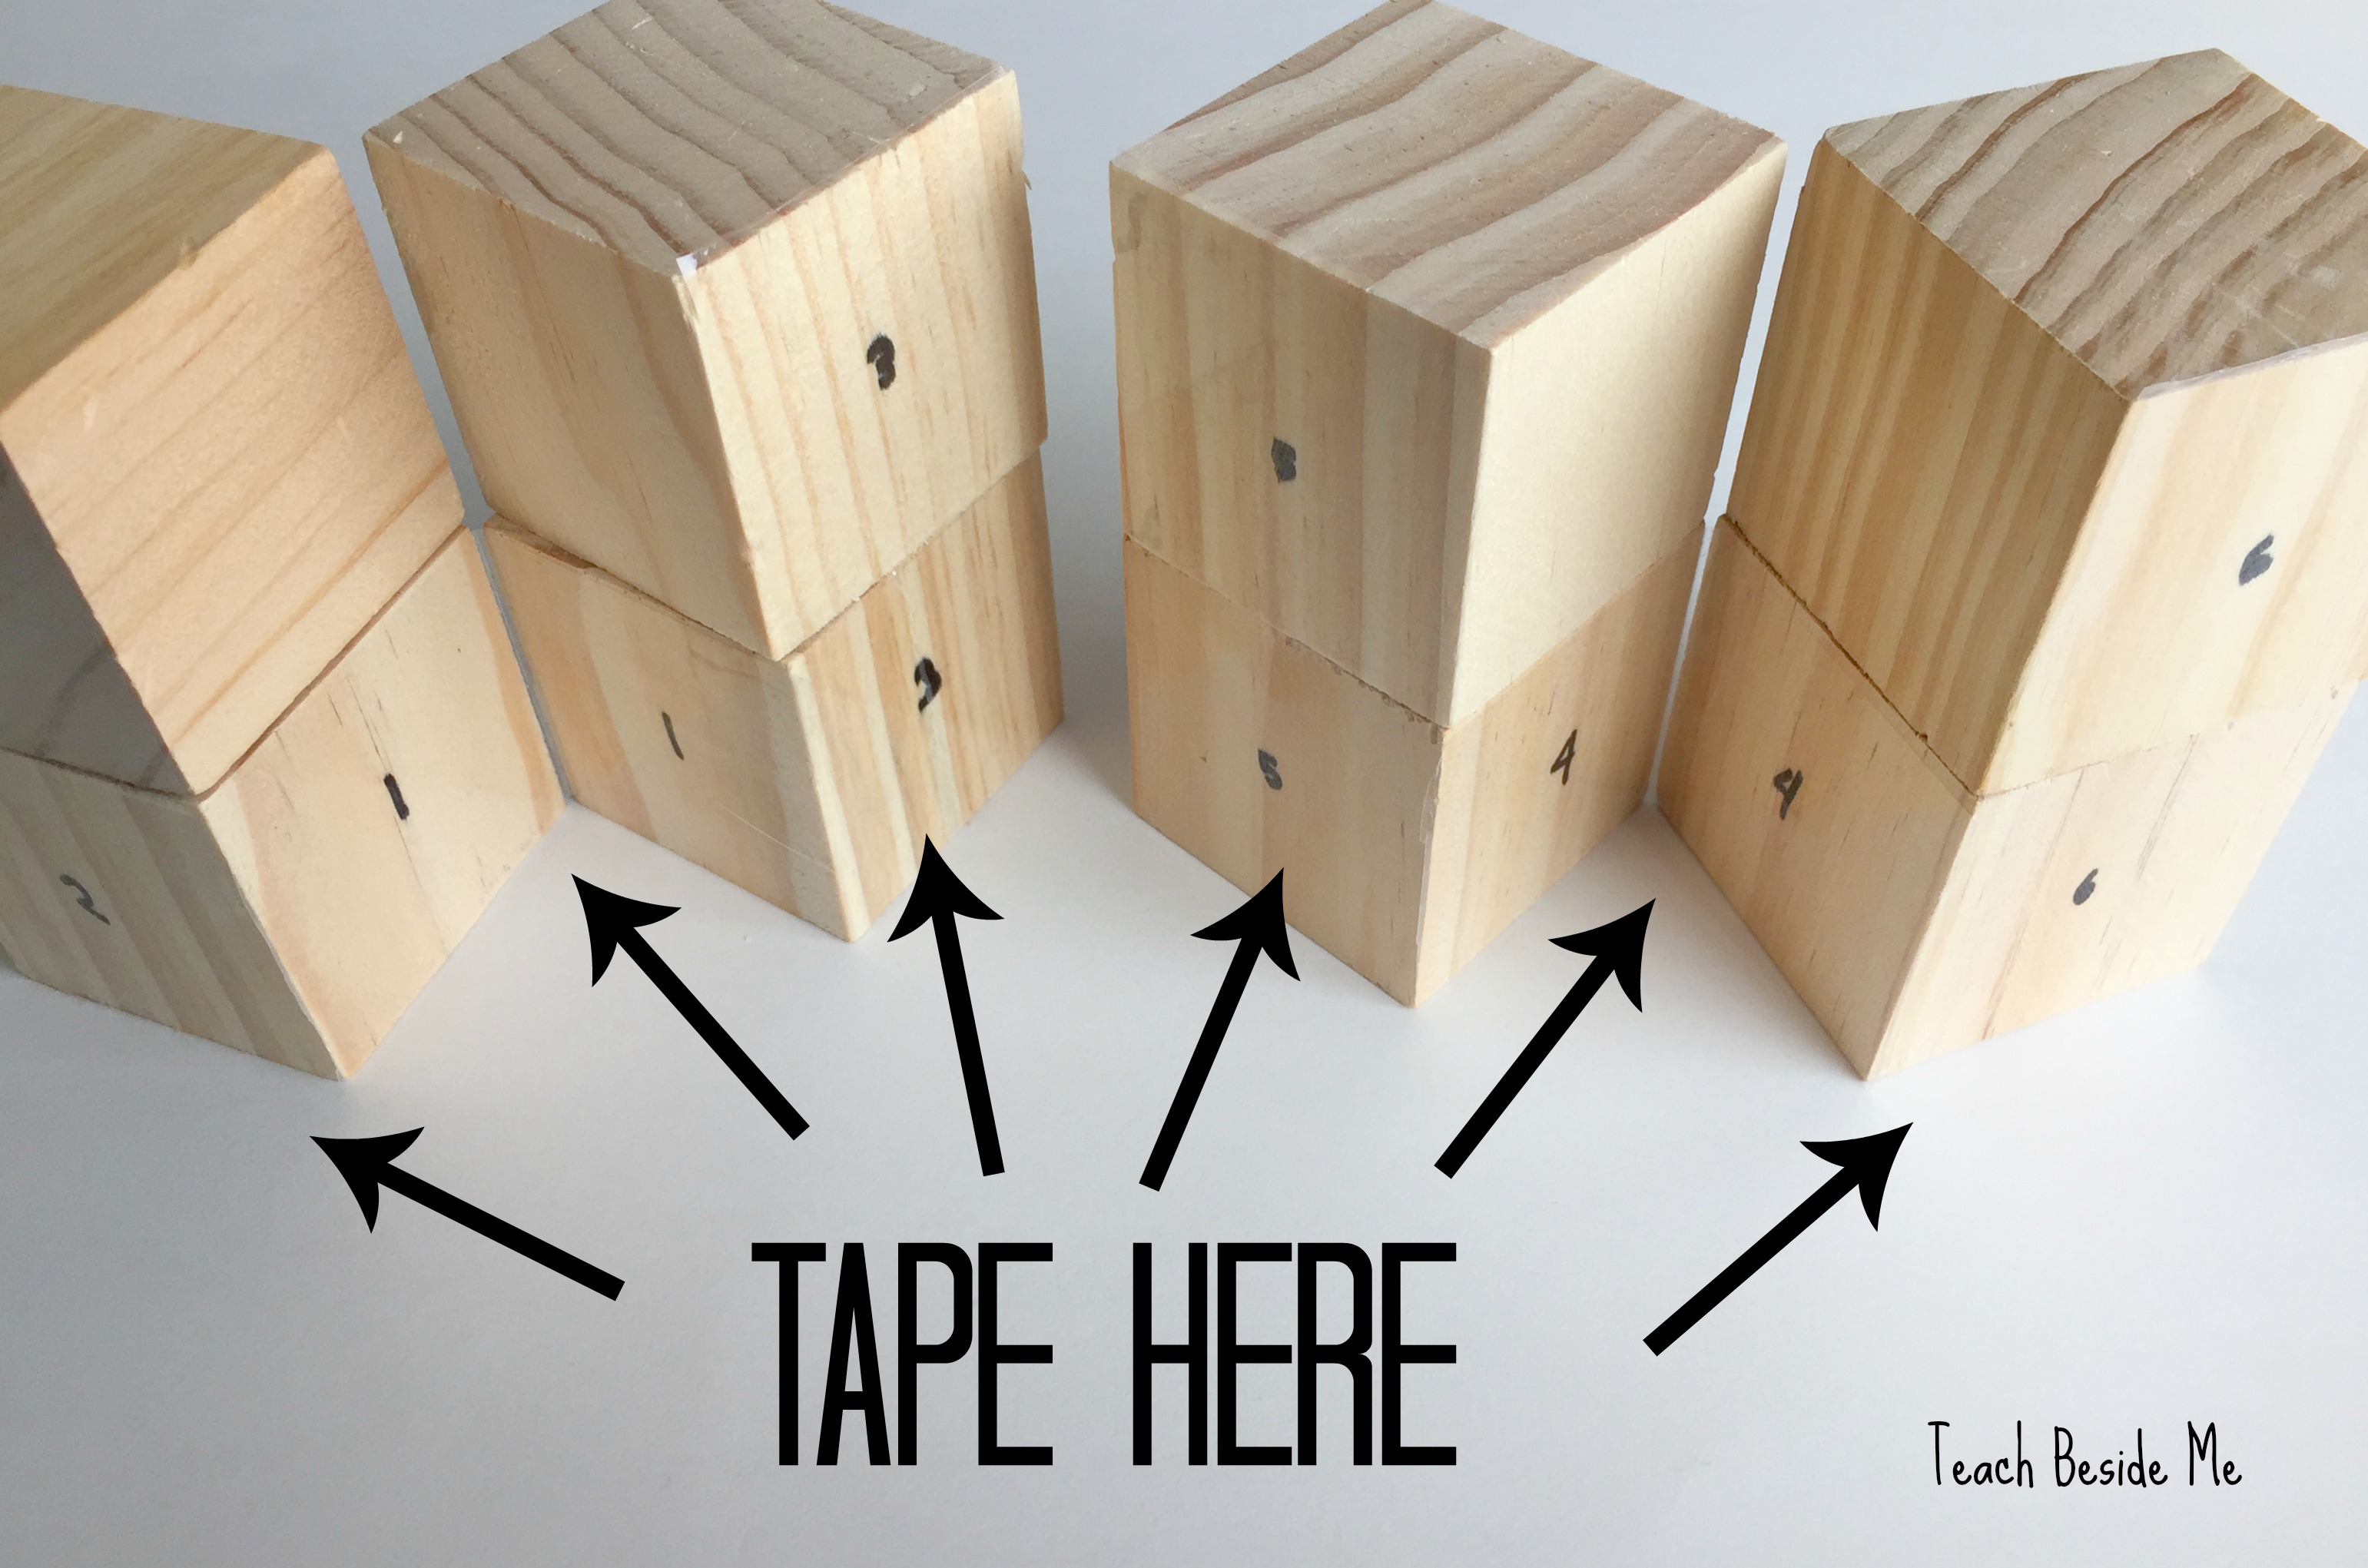
Once those hinges are done, you will have two more on the top of the cube to combine them all together. Remember to tape from and back on all of them so they stay together.

When it is all taped, you will decide how you want the pictures to go on. This is the tricky part. You need to make sure that they all fit.
You can download the ones I used here. They are scaled to the right sizes for this project.
DOWNLOAD: Anatomy Magic Photo Cube Graphics
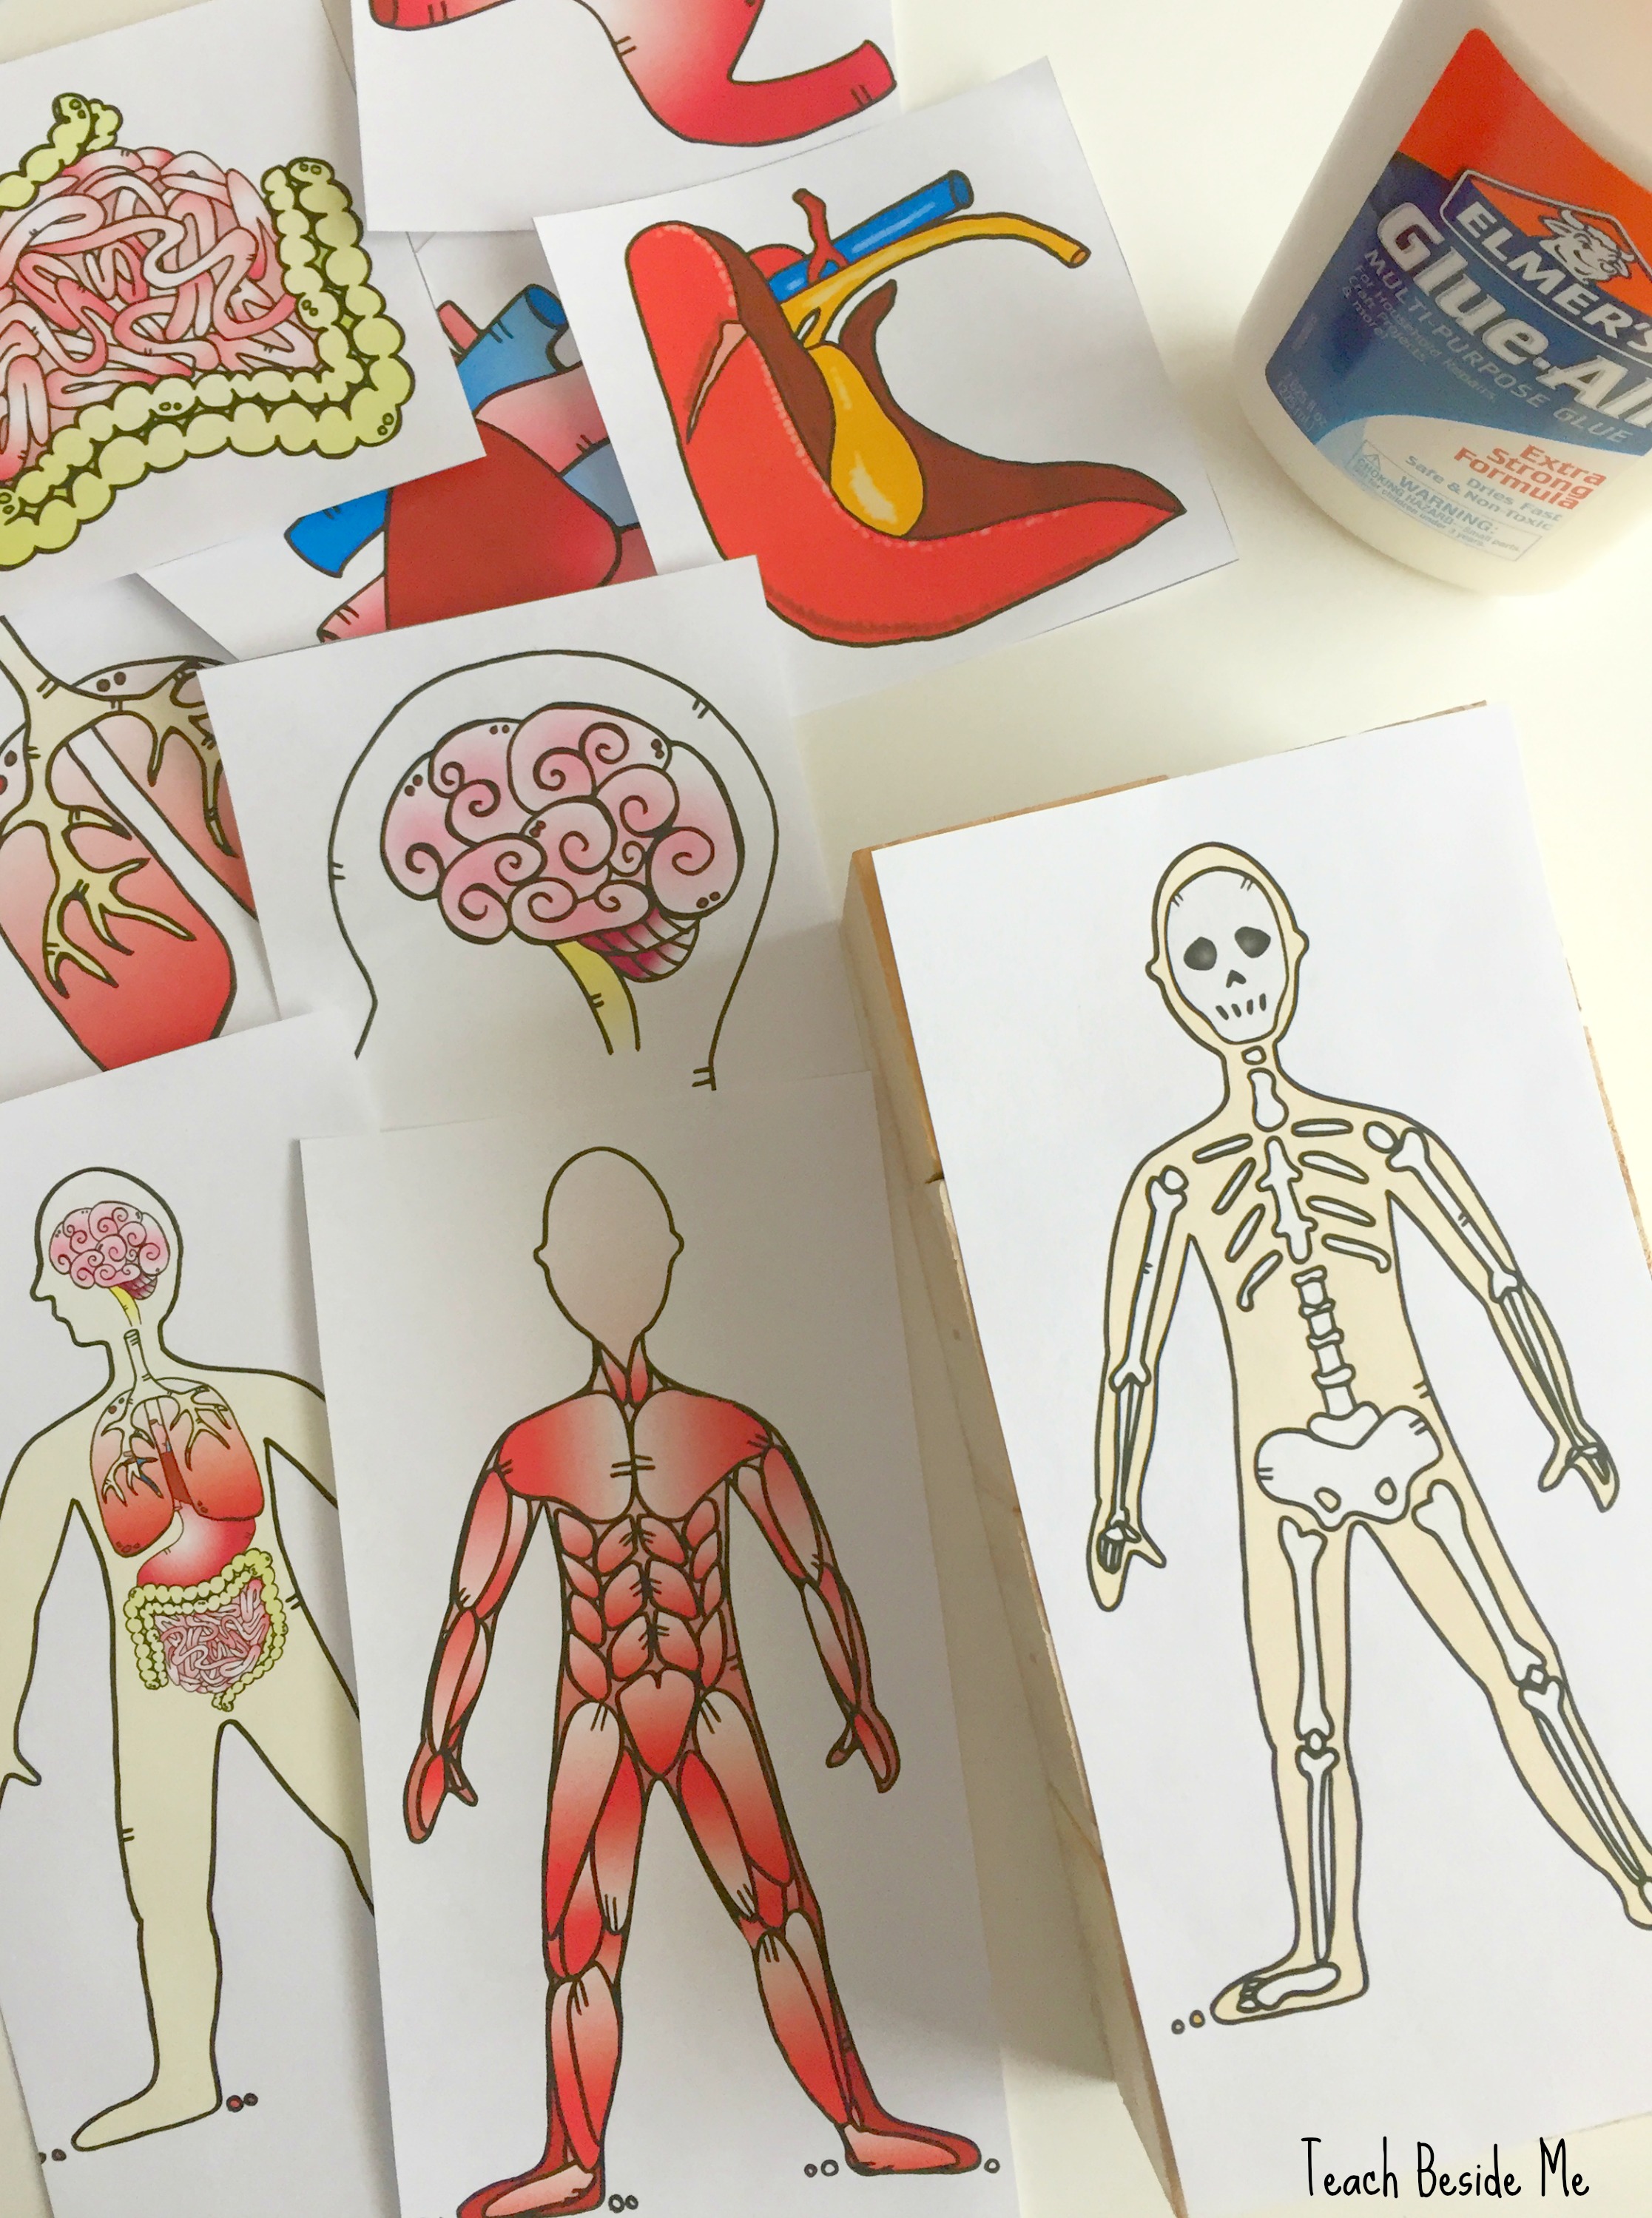
Choose three of the long surfaces for your larger pictures and then the square sized pictures will fill in the rest. You will glue them down. Pay close attention to where the hinges are when you glue the picture on.
Everywhere the hinges are NOT taped, you will make an incision with the knife so it can still be folded. Wait until the glue is mostly dry before cutting or the paper does not cut well.
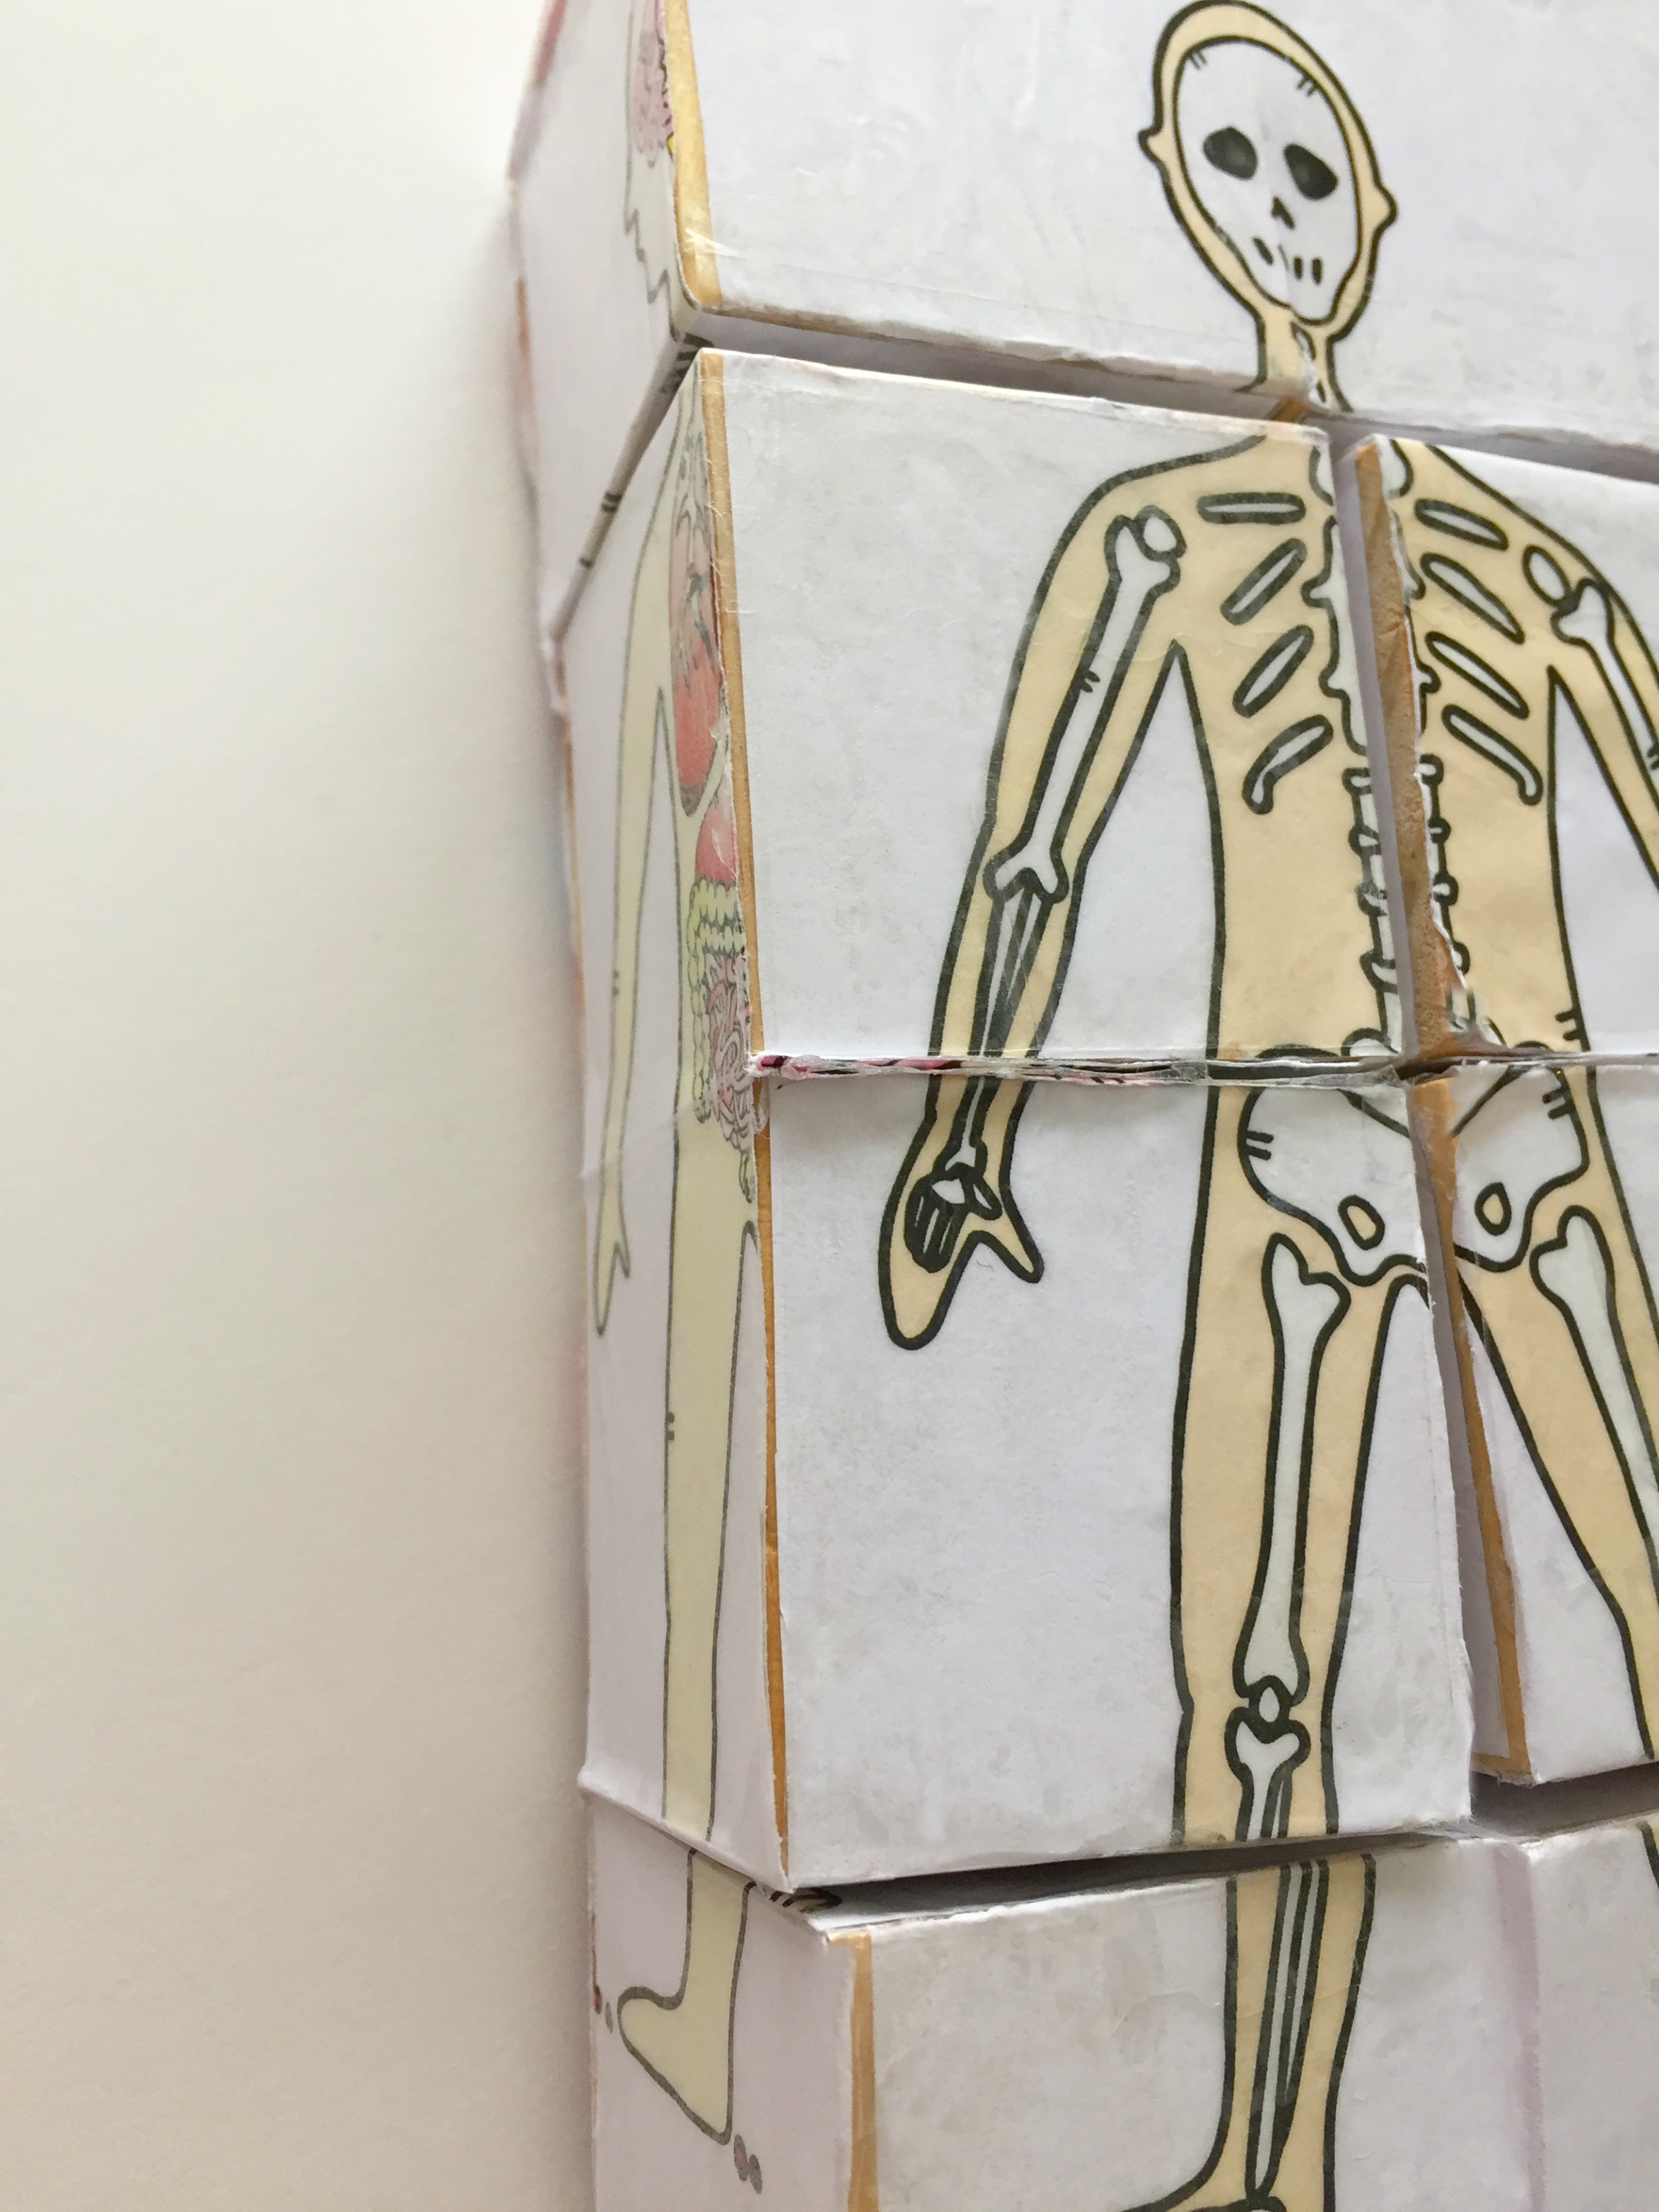
After all of the sides are glued and cut, reinforce the pictures by covering them with packing tape or a thin layer of watered down glue. The glue will be trickier because you don’t want any sides sticking together, so I just used tape.
Now it will fold and bend in all directions and you have to match up the pictures on the cubes.
Why Kids Love This Folding Puzzle Cube
This cube is fascinating for kids because it constantly changes as they play with it. Every fold reveals a new combination of pictures, which keeps kids curious and engaged.
It’s also a wonderful fidget toy for kids who like to keep their hands busy while listening to a story or lesson.
My kids couldn’t WAIT to get their hands on it!
Tips for Making the Cube
- Use strong clear packing tape for the hinges so the cube can fold smoothly.
- Allow the glue to dry before cutting along the hinge lines.
- Use sharp scissors or a craft knife to carefully cut the folds.
- Laminating or covering the pictures with tape will make the cube much more durable.

Skills Kids Practice with This folding Puzzle Cube Toy
It’s definitely an educational toy, and not just fun to play with. Here are some of the skills kids use while playing with it.
- spatial reasoning
- problem solving
- pattern recognition
- fine motor skills
- visual memory

Teachers can also customize the cube with educational images such as:
- human anatomy
- plant or animal cells
- historical figures
- math symbols
- geography images
This magic folding puzzle cube is one of those projects kids never get tired of playing with. Once you understand how the hinges work, you can make many different versions with new pictures and puzzles.
Try creating cubes with educational themes, family photos, or artwork — the possibilities are endless!
See More Homemade Toys:
Homemade Jacob’s Ladder Toy
Homemade Bubble Blower Machine
Ribbon Rocket
Homemade Catapult


Could you use the packing tape on top after glueing down the paper, then only cut where necessary?
I think it would give a clean look and make it washable.