Peter Rabbit Felt Easter Craft for Kids
This post may contain affiliate links.

Looking for a simple and sweet Easter craft for your kids? This Peter Rabbit Felt Easter Craft is the perfect hands-on activity to pair with a springtime read-aloud of The Tale of Peter Rabbit by Beatrix Potter. It’s a charming sewing project that encourages fine motor skills, storytelling, and seasonal fun—ideal for homeschool, classrooms, or a cozy afternoon craft at home.
This bunny-in-a-carrot craft doubles as a storybook-inspired puppet, making it a playful way to bring the classic tale to life!

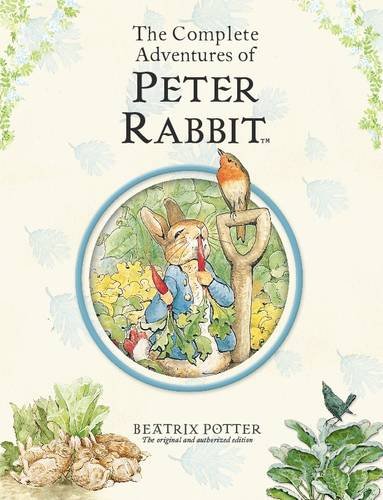
If you have not yet read any of The Adventures of Peter Rabbit with your kids, you should definitely give it a read.
Supplies You’ll Need:
-
Felt fabric – any color (we used orange for the carrot, green for the leaves, and white for the bunny)
-
Needle and thread or embroidery floss
-
Scissors
-
Craft glue or fabric glue
-
Pencil or fabric marker
-
Optional: pink highlighter for bunny cheeks, stuffing or felt scraps
How to Make the Peter Rabbit Felt Easter Craft
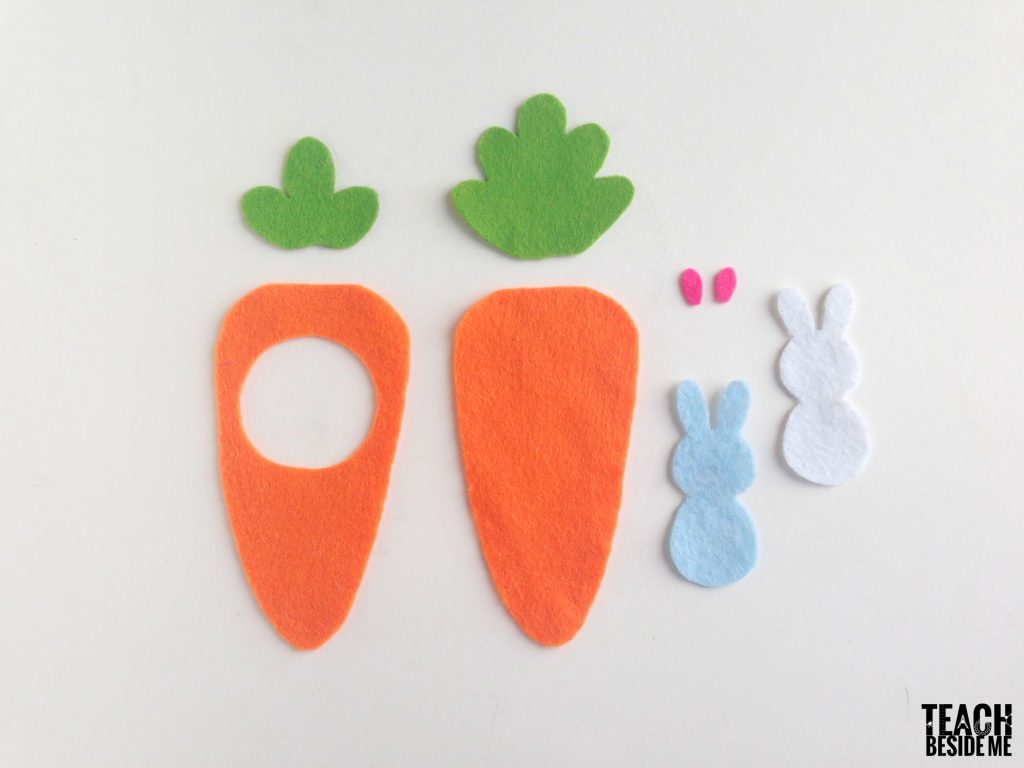
1. Prep Your Pattern Pieces
Print and cut out the Peter Rabbit template. Use it to trace and cut the felt pieces:
-
Two bunny body pieces
-
Two carrot shapes (one with a hole cut in the middle)
-
Two green leaves
-
One small round circle for the carrot hole border
-
Two inner ear pieces

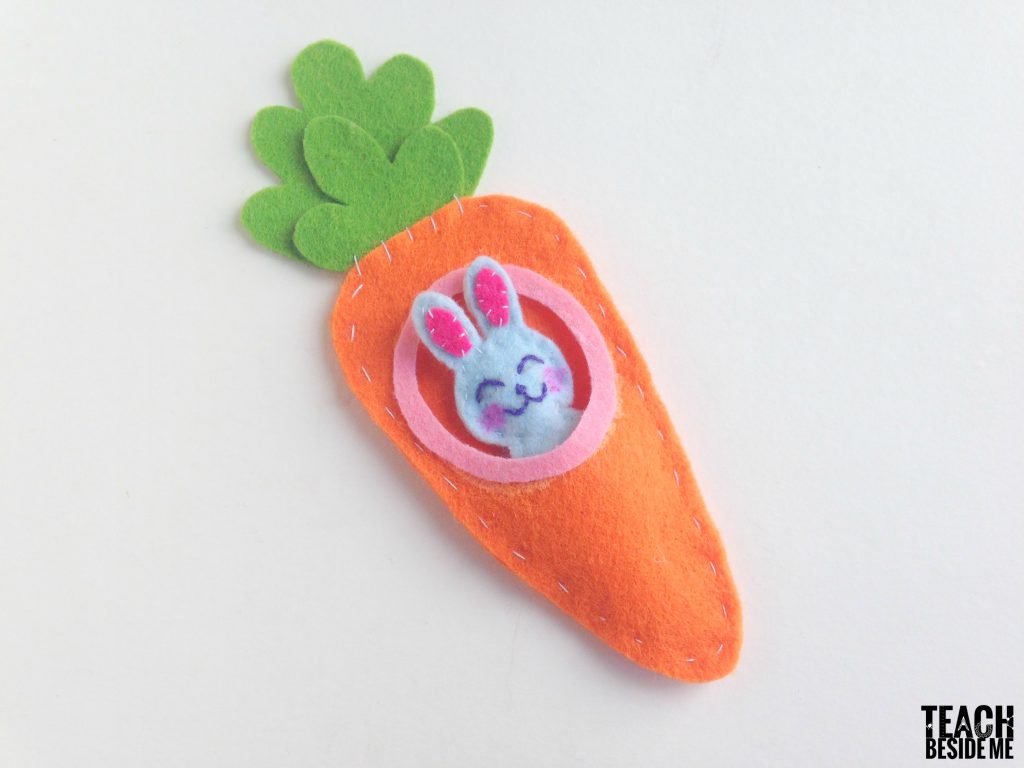
2. Assemble the Carrot Pouch
Layer the leaves between the two carrot shapes so they peek out the top. The carrot piece with the hole should go on top.
Use glue or stitch the pieces together, starting at the top and working down the sides to create a little carrot pocket.

Stitch all four felt pieces (2 leaves and 2 carrot patterns) together.
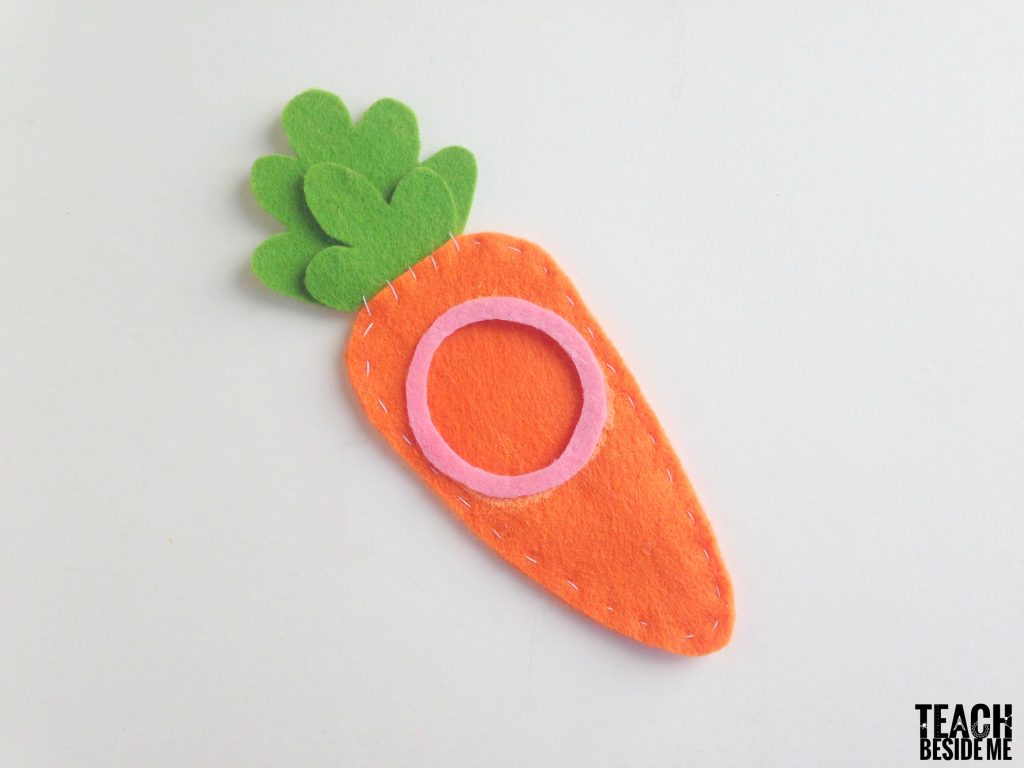
Then glue or stitch the circle around the hole to create a border. This is the opening where Peter Rabbit will peek through!
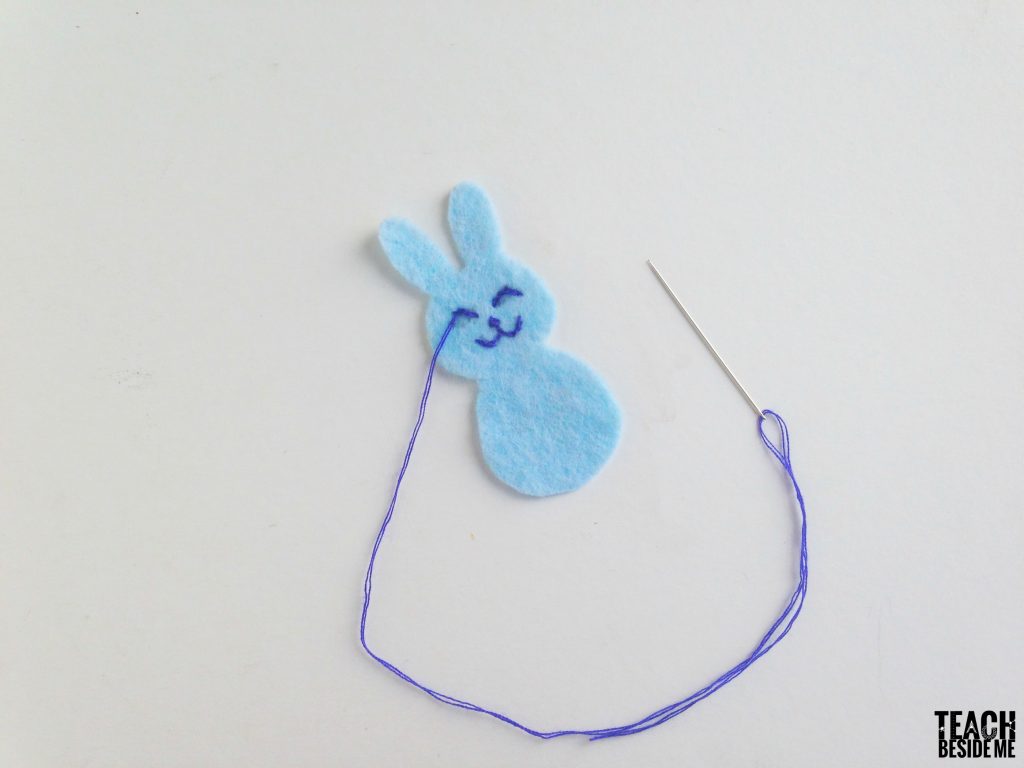
3. Sew the Bunny
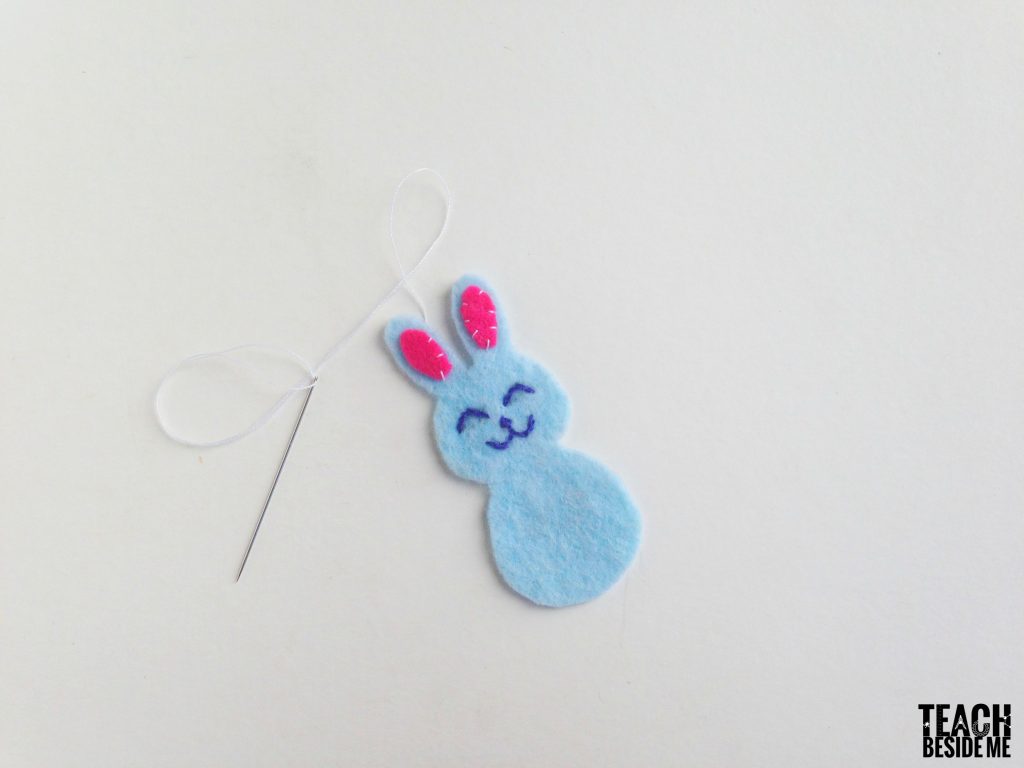
On one bunny body piece, stitch on the face with dark thread. Add the pink inner ears..
Layer the two bunny pieces and stitch around the edges, leaving a small space open to stuff lightly with felt scraps or cotton.

I used small bits of left over felt pieces to stuff the bunny. Finish stitching to close.
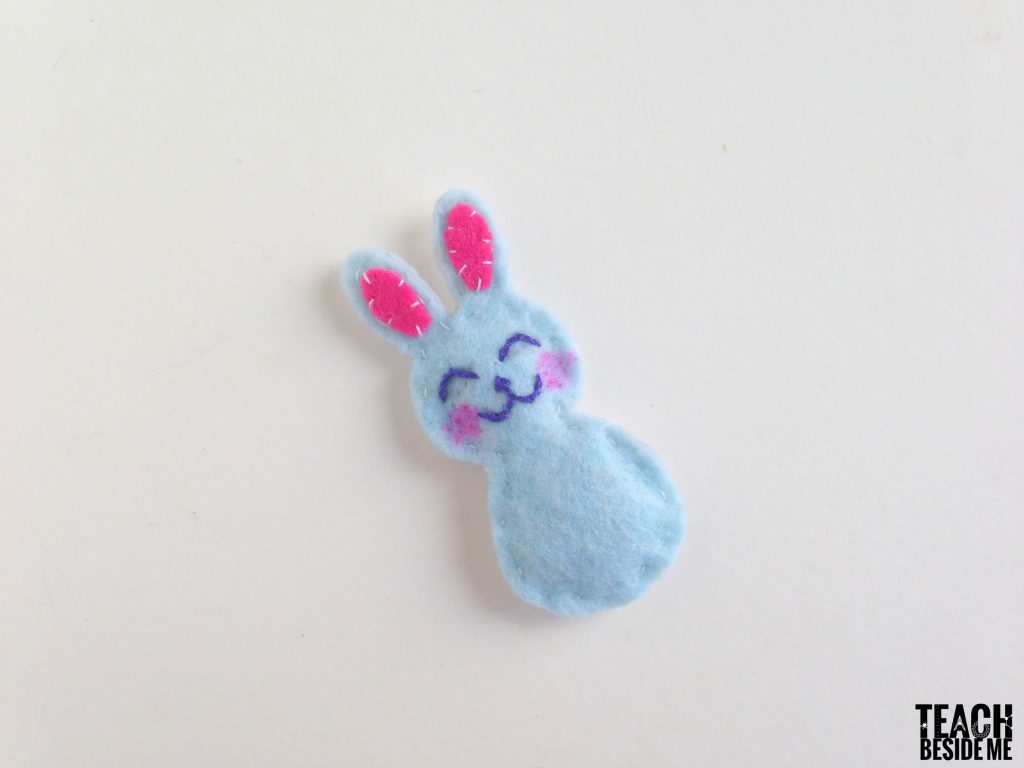
Use a pink marker to add blush on the cheeks for a little extra charm
4. Play and Display!
Slip Peter Rabbit into the carrot through the hole. You now have an adorable felt bunny-in-a-carrot puppet—perfect for imaginative play, storytelling, Easter baskets, or spring decor.

Why This Craft Is Great for Kids:
-
Encourages fine motor skill development through hand stitching
-
Reinforces sequencing and following instructions
-
Sparks creativity and imaginative play
-
Ties literacy to hands-on learning
-
Makes a thoughtful Easter gift or decoration
Also check out my Bunny Hop Number Line post!
& my Printable Bunny Cracker Counting Pages
If you want another cute animal craft, check out this cute Cat Popsicle Stick Craft.
This week’s featured book, as I am sure you figured out, is Peter Rabbit. <3 It’s a favorite around here, so we loved creating a project to go along with it.
See what the other bloggers shared this week about Peter Rabbit:
Hop the Alphabet Bunny Game – Mama Smiles
Peter Rabbit Inspired Movement Game- My Storytime Corner
Peter Rabbit Shape Matching Activity – School Time Snippets
DIY Peter Rabbit Inspired Math Game– Rainy Day Mum
Peter Rabbit Map Making and Modeling Activity– Inspiration Laboratories
Fine Motor Bunny Stamp Paint Activity– The Educators’ Spin On It
Toddler Bunny Color Hunt – Toddler Approved!