Foaming Polymer Science Experiment: Make Expanding Foam Creatures!
This post may contain affiliate links.
Looking for an unforgettable hands-on science experiment? This foaming polymer activity is a fun and slightly messy way to explore chemistry with kids! Watch a growing, expanding, hardening foam come to life—and then turn it into silly foam creatures with eyes and antennae. This experiment is sure to WOW your kids and get them curious about chemical reactions.

What Is Expanding Foam?
This activity uses polyurethane foam, a type of plastic formed through a chemical reaction between two liquids. It’s the same foaming polymer material used in furniture, car seats, insulation, and even surfboards!
When you mix the two parts (labeled A and B), a polymerization reaction occurs. This reaction releases a gas that makes the foam expand rapidly—up to 30 times its original volume! Within about 15 minutes, the foam hardens into a durable, plastic-like structure.
What Kids Learn from the Foaming Polymer Experiment:
-
Basic chemistry: monomers and polymers
-
How gases and chemical reactions can cause expansion
-
Real-world connections to insulation, plastics, and construction
-
Observation and prediction skills
-
Creative expression through decorating their foam creatures
Supplies
-
Polyurethane foam kit (comes with Parts A & B)
-
Measuring cups or graduated cylinders
-
Disposable cups or containers for mixing
-
Craft sticks or spoons for stirring
-
Food coloring (optional)
-
Googly eyes and pipe cleaners (for decorating)
-
Protective gloves (recommended)
-
Drop cloth, newspaper, or disposable table cover (it can get messy!)

How to Make Expanding Foam Creatures
-
Prep Your Space
Lay down paper or a tablecloth and wear gloves to protect your skin and surfaces. -
Measure & Mix
Measure equal parts of Liquid A and Liquid B (we used 30 ml of each—just under ¼ cup). Pour them into your mixing container. -
Add Color (optional)
Stir in a few drops of food coloring to make your foam more fun! -
Mix Quickly
Stir the mixture for about 10 seconds. The reaction starts FAST, so don’t wait! -
Watch It Grow
Pour it into your desired mold or onto a tray—and step back! The foam will begin to rise, grow, and expand right before your eyes. -
Decorate While Soft
Before it fully hardens (about 5 minutes in), stick in googly eyes, pipe cleaners, or other fun additions to turn your foam into a goofy monster, alien, or creature of your choice. -
Let It Cure
After about 15 minutes, the foam will be fully hardened and ready to display or play with.

We mixed about 30 ml of each liquid- less than 1/4 cup. We also put in a few drops of food coloring to make it more colorful. Color is always better!

Science Behind the Foam
This reaction is a type of exothermic polymerization, meaning it produces heat as the monomers bond to form long polymer chains. As the molecules rearrange, they trap gas bubbles that create the foamy texture. It’s a perfect way to show how chemical changes can result in new materials!

Real-World Connection
Polyurethane foam is all around us. This is the same kind of reaction used to create:
- Spray foam insulation
- Foam cushions and mattresses
- Packaging materials
- Buoyant materials in boats
It’s a fun way to connect everyday products to STEM learning!

Add eyes and pipe cleaner antennae to make them come to life. You’ll have to do it before it hardens, though!

Cleanup Tips
The foam hardens into a permanent plastic-like material, so clean up immediately. Use disposable containers and tools, and be sure to protect your workspace. Don’t pour excess material down the drain.

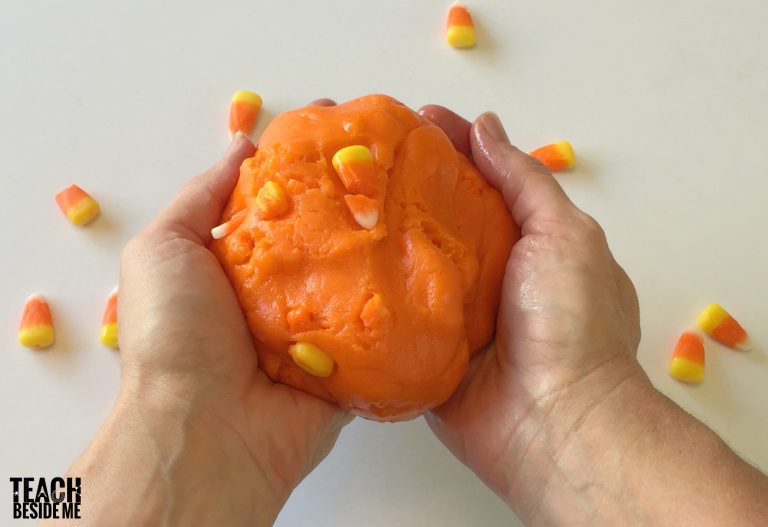
Want more creative chemistry projects like this one? Check out my STEM Activities for Kids section and try our favorites:


How fun! Where do you get the supplies for this?
They are on Amazon. I linked to it above!
Is that the only foam and liquids that i can use ???
That’s the only way I know that it will work, sorry!