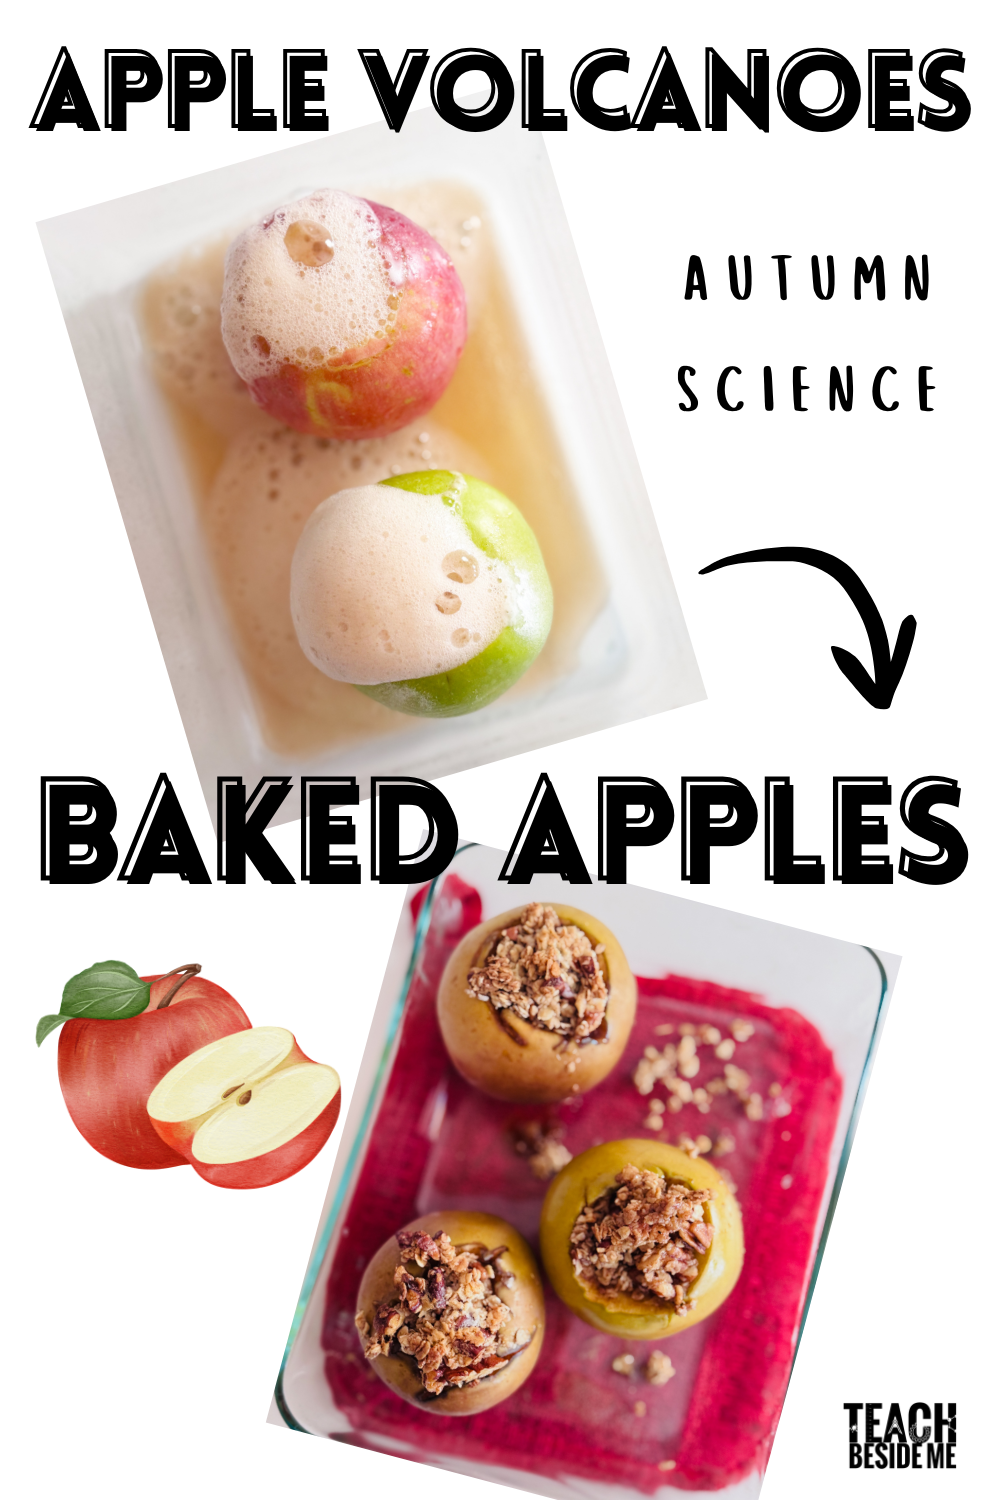
Looking for a fun and easy autumn science experiment? This Apple Volcano Experiment turns ordinary apples into bubbling, fizzing volcanoes — right on your kitchen table! Then, repurpose them into tasty, sweet baked apples!
Kids love the dramatic eruptions, and teachers love how simple it is to set up. Using baking soda and vinegar, this hands-on STEM activity helps kids explore chemical reactions, gases, and the states of matter while celebrating the season’s favorite fruit. You’ll definitely want to add them to your apple unit study!
What You’ll Need for the Apple Volcano Experiment
2–3 medium apples
Baking soda- sodium bicarbonate (about 1 tablespoon per apple)
Vinegar or lemon juice (white or apple cider both work)
Food coloring (optional – red, orange, or yellow)
A spoon or small scoop
A knife (for adult use)
Tray, pie plate, or shallow dish to catch overflow
How to Do the Apple Volcano Science Experiment
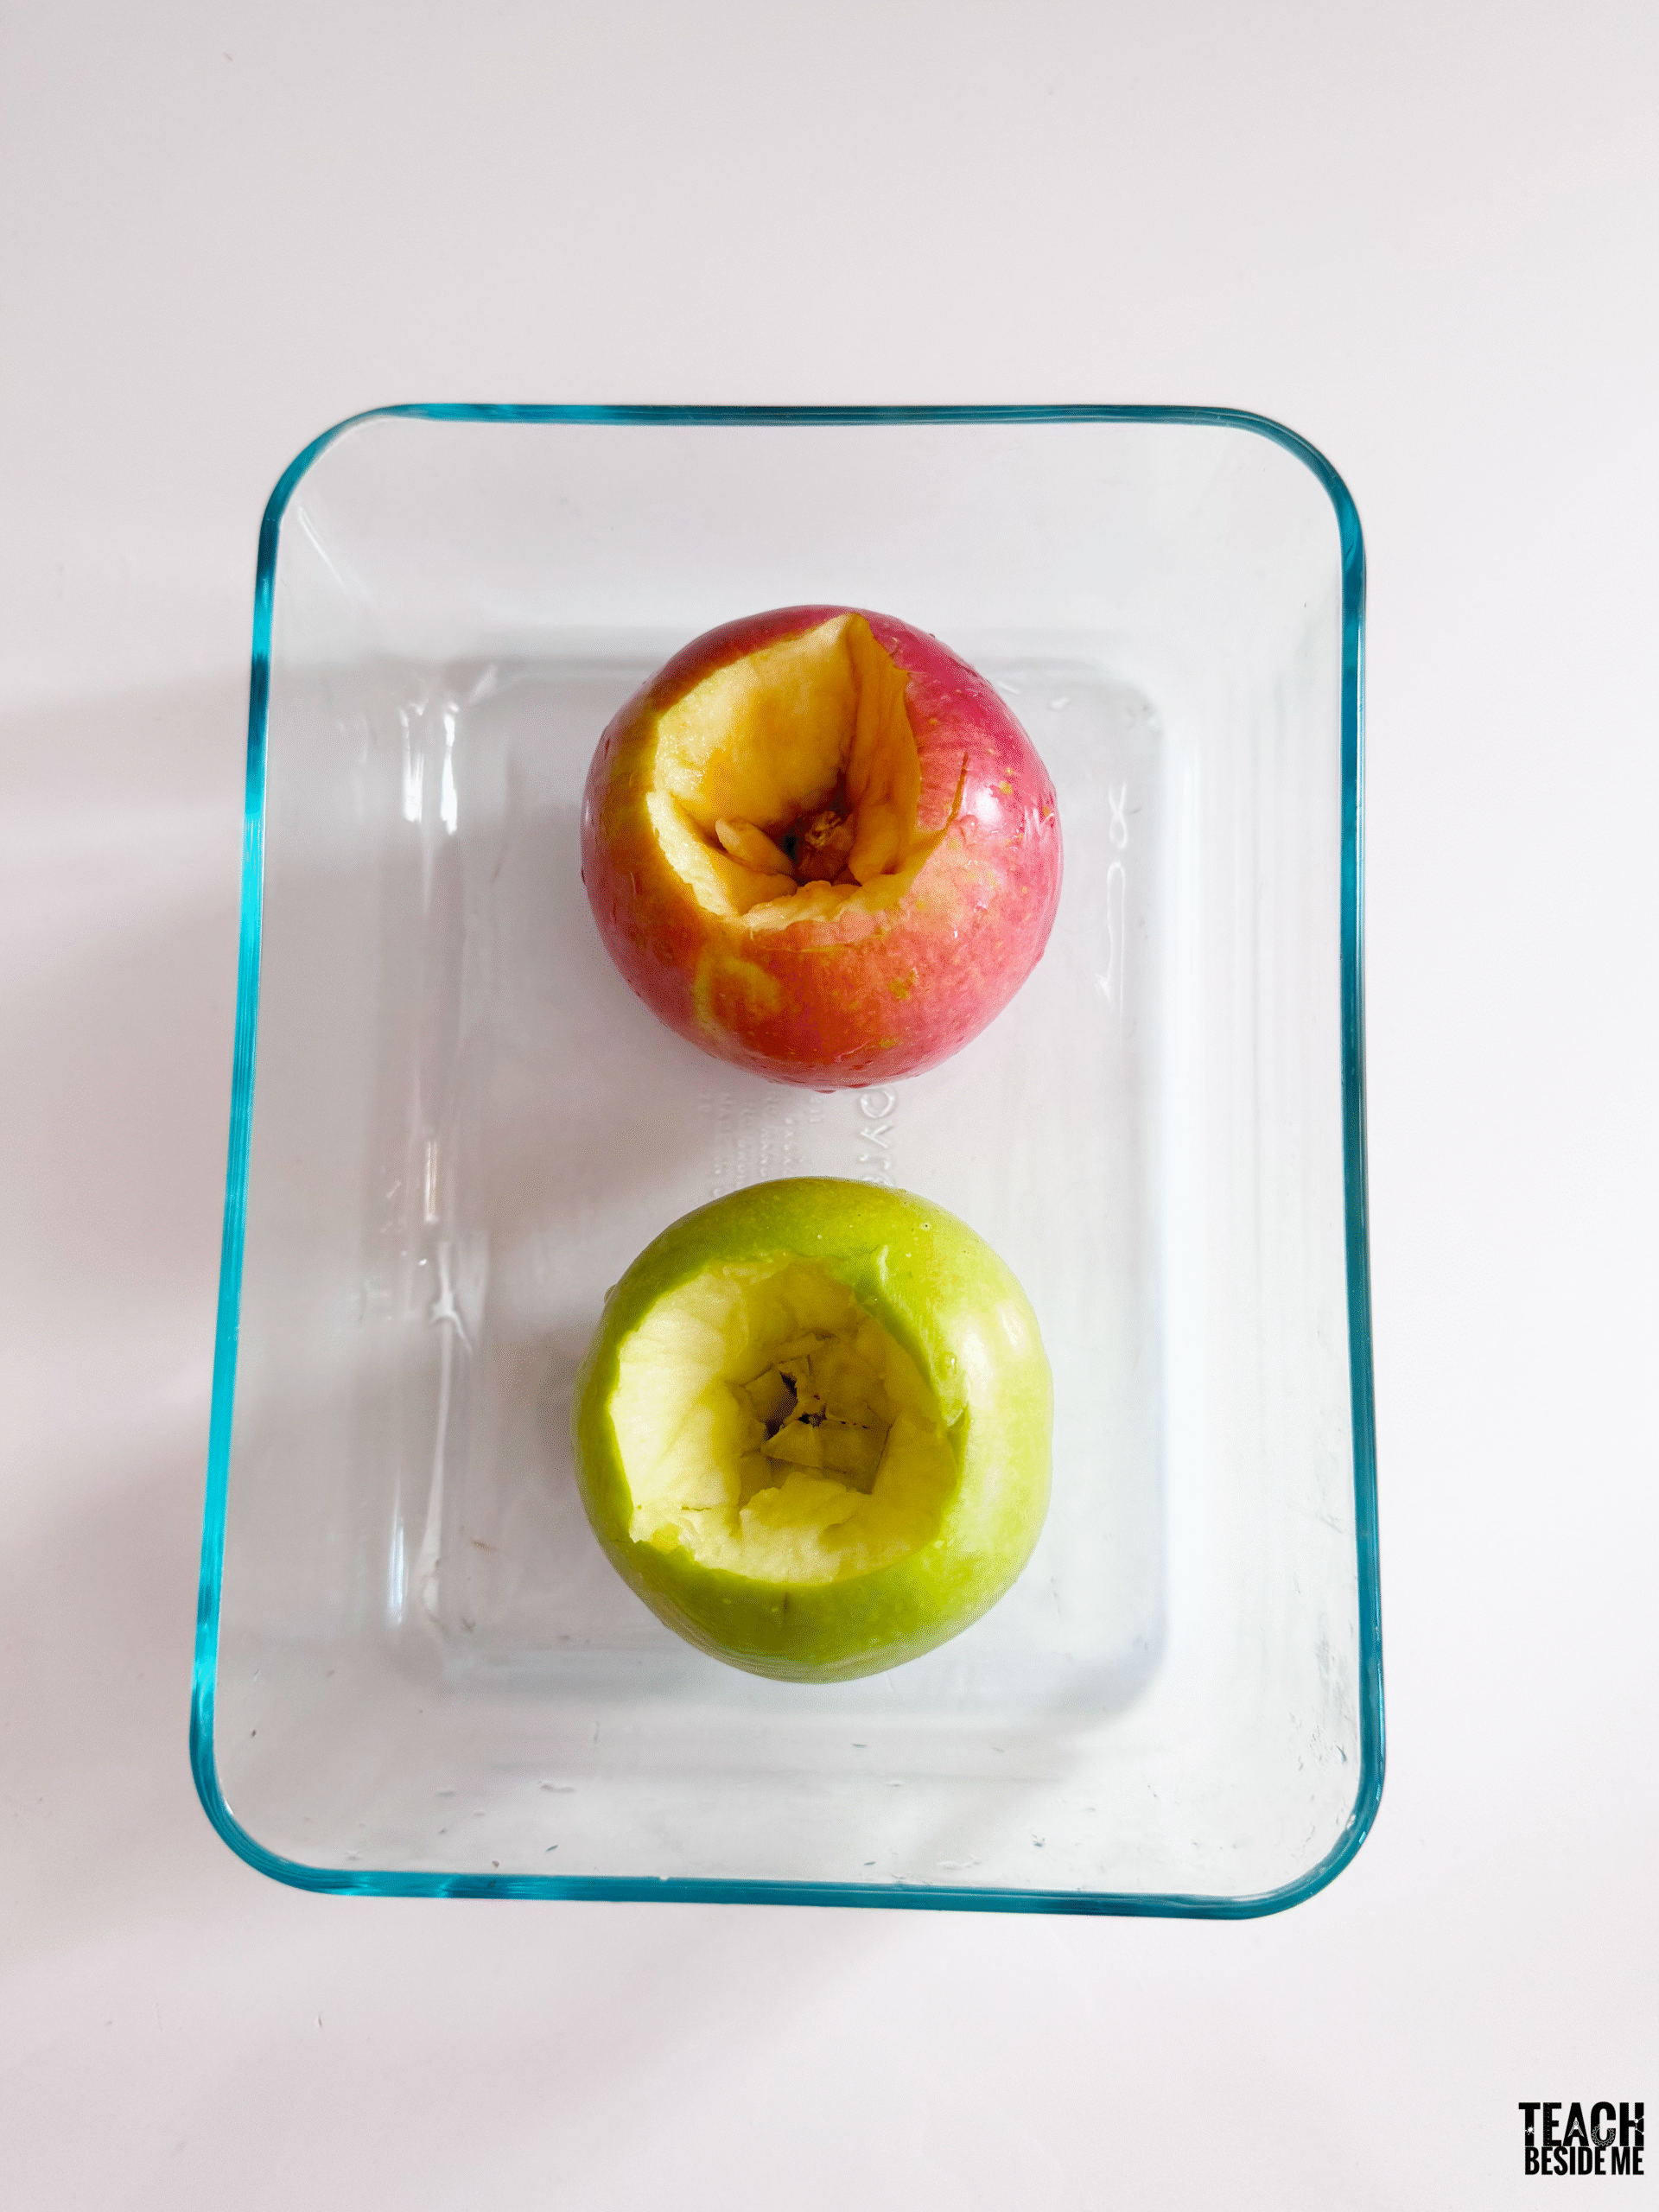
Prepare the Apples Hollow out the center of each apple with a knife and a spoon. Make a well big enough to hold about a spoonful of baking soda.
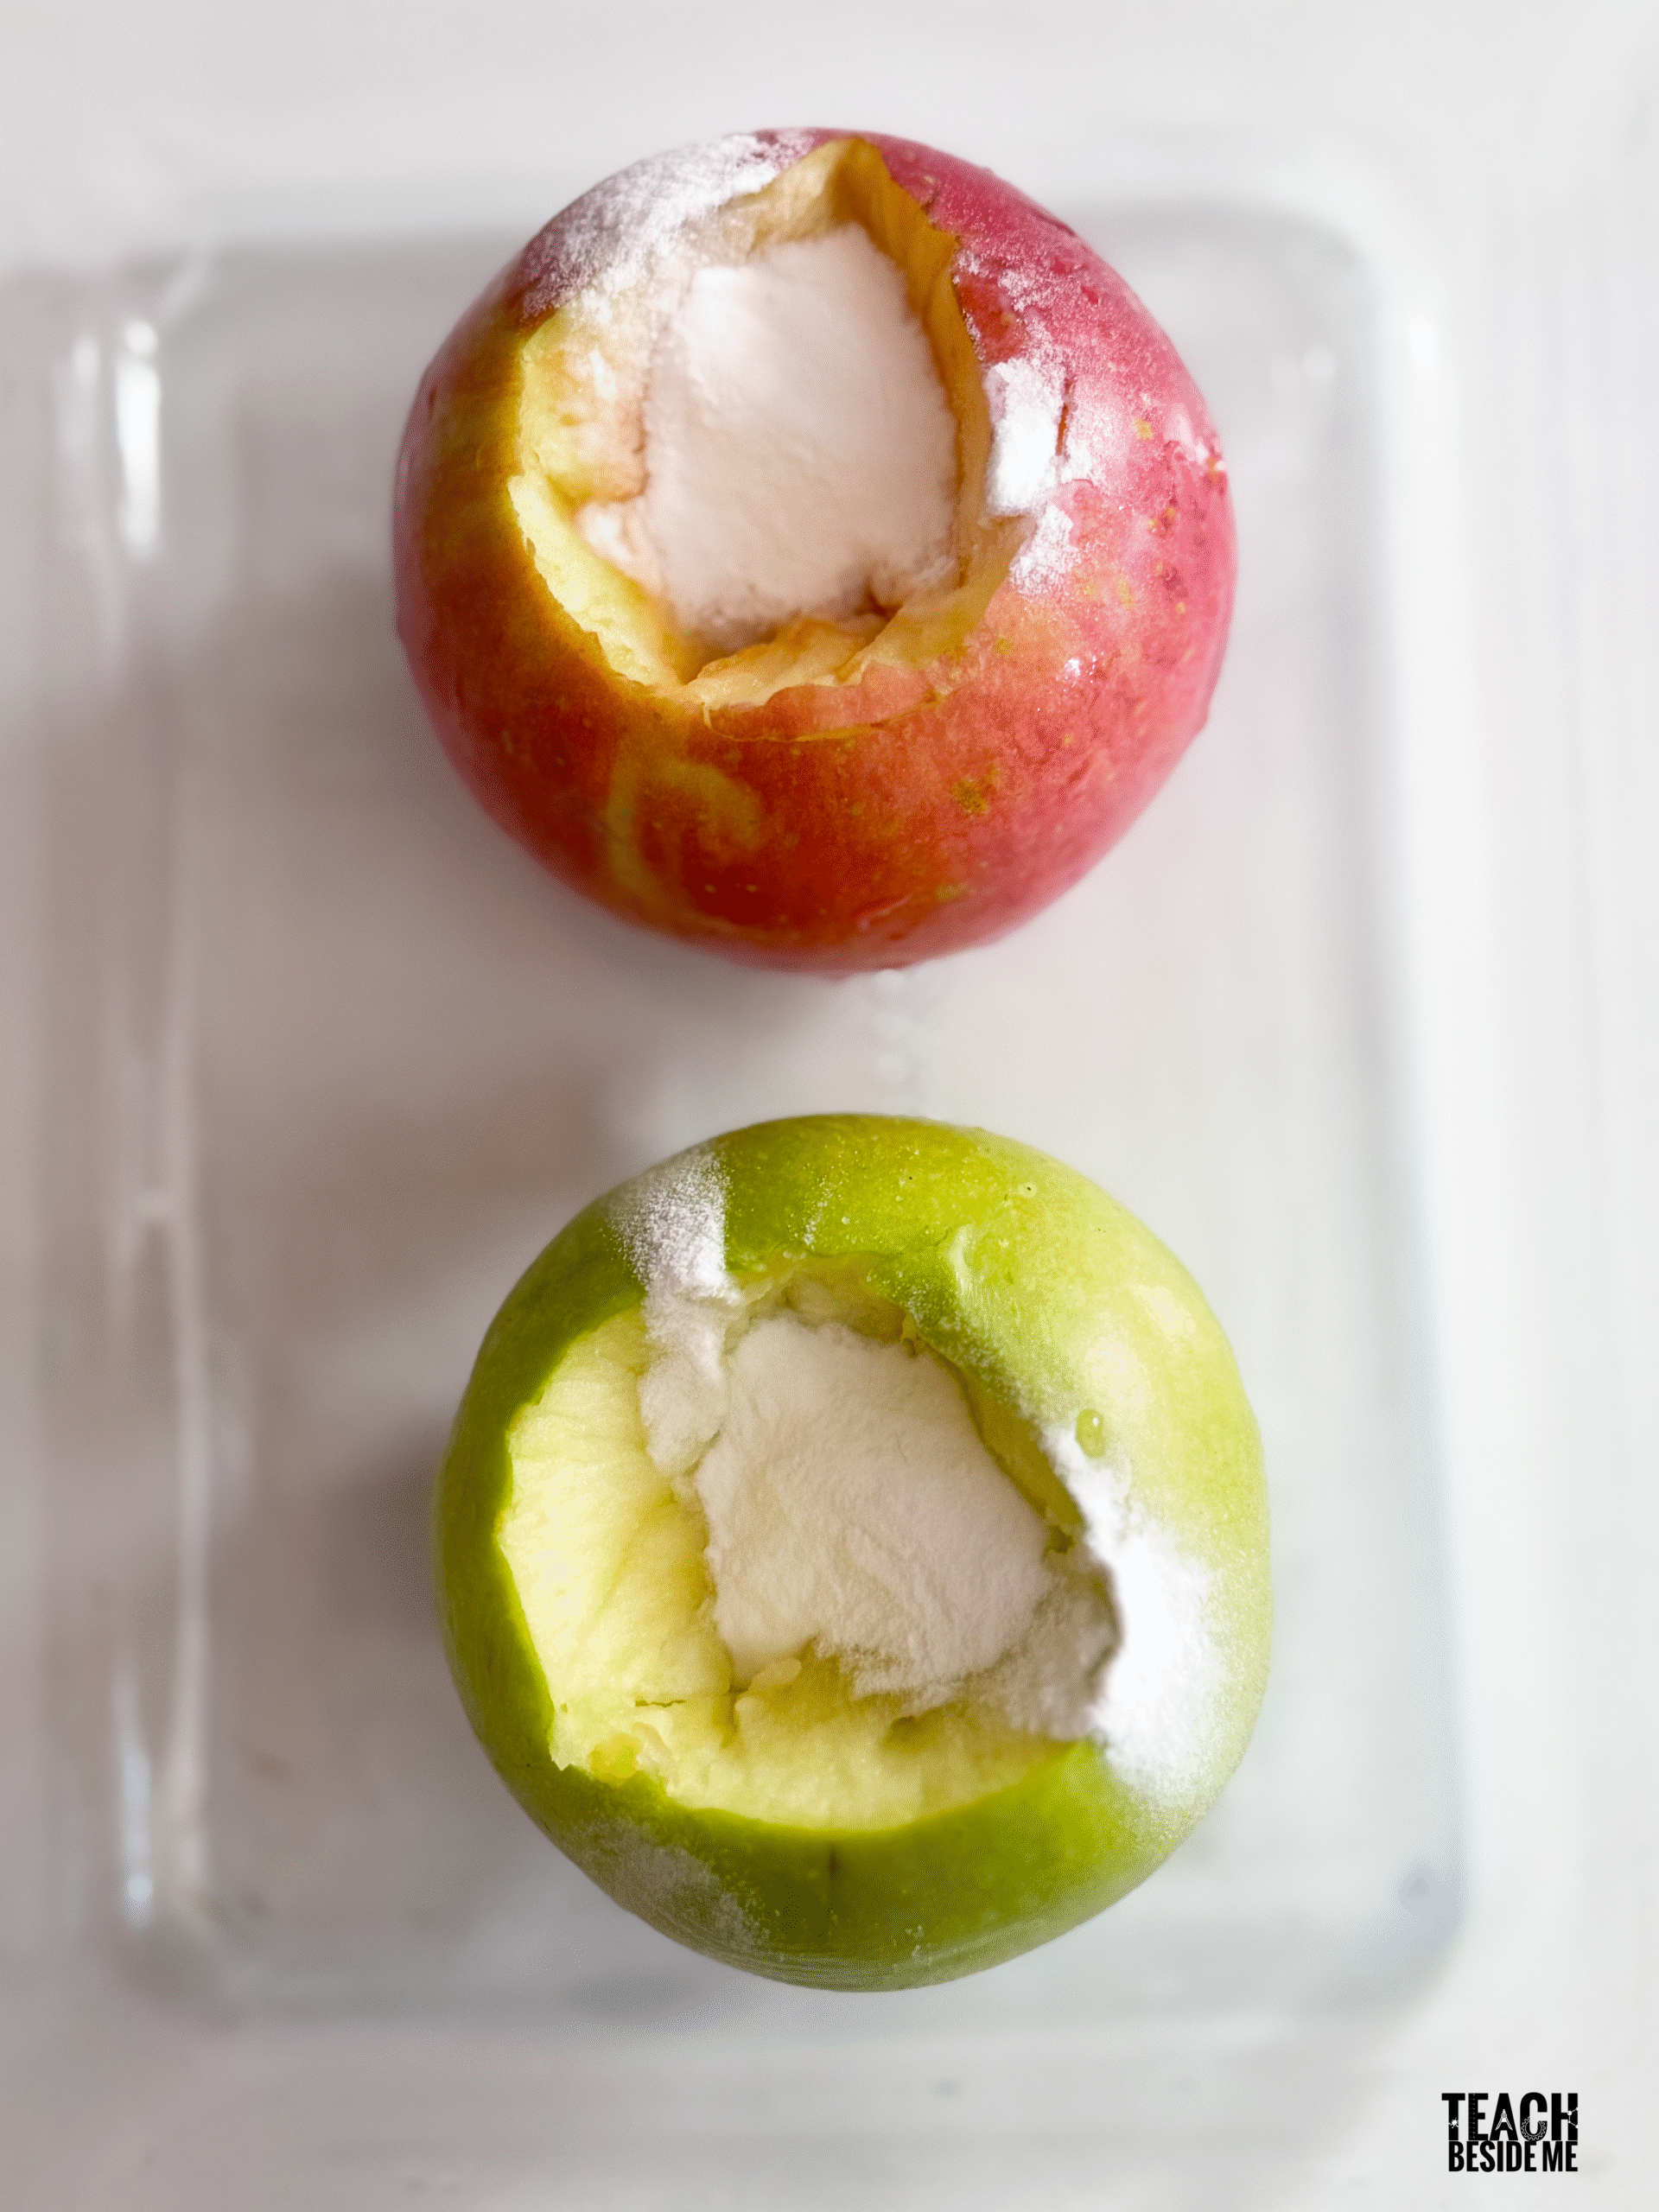
Add Baking Soda Fill the hollow with 1 tablespoon of baking soda. Try adding cinnamon to make it scented!
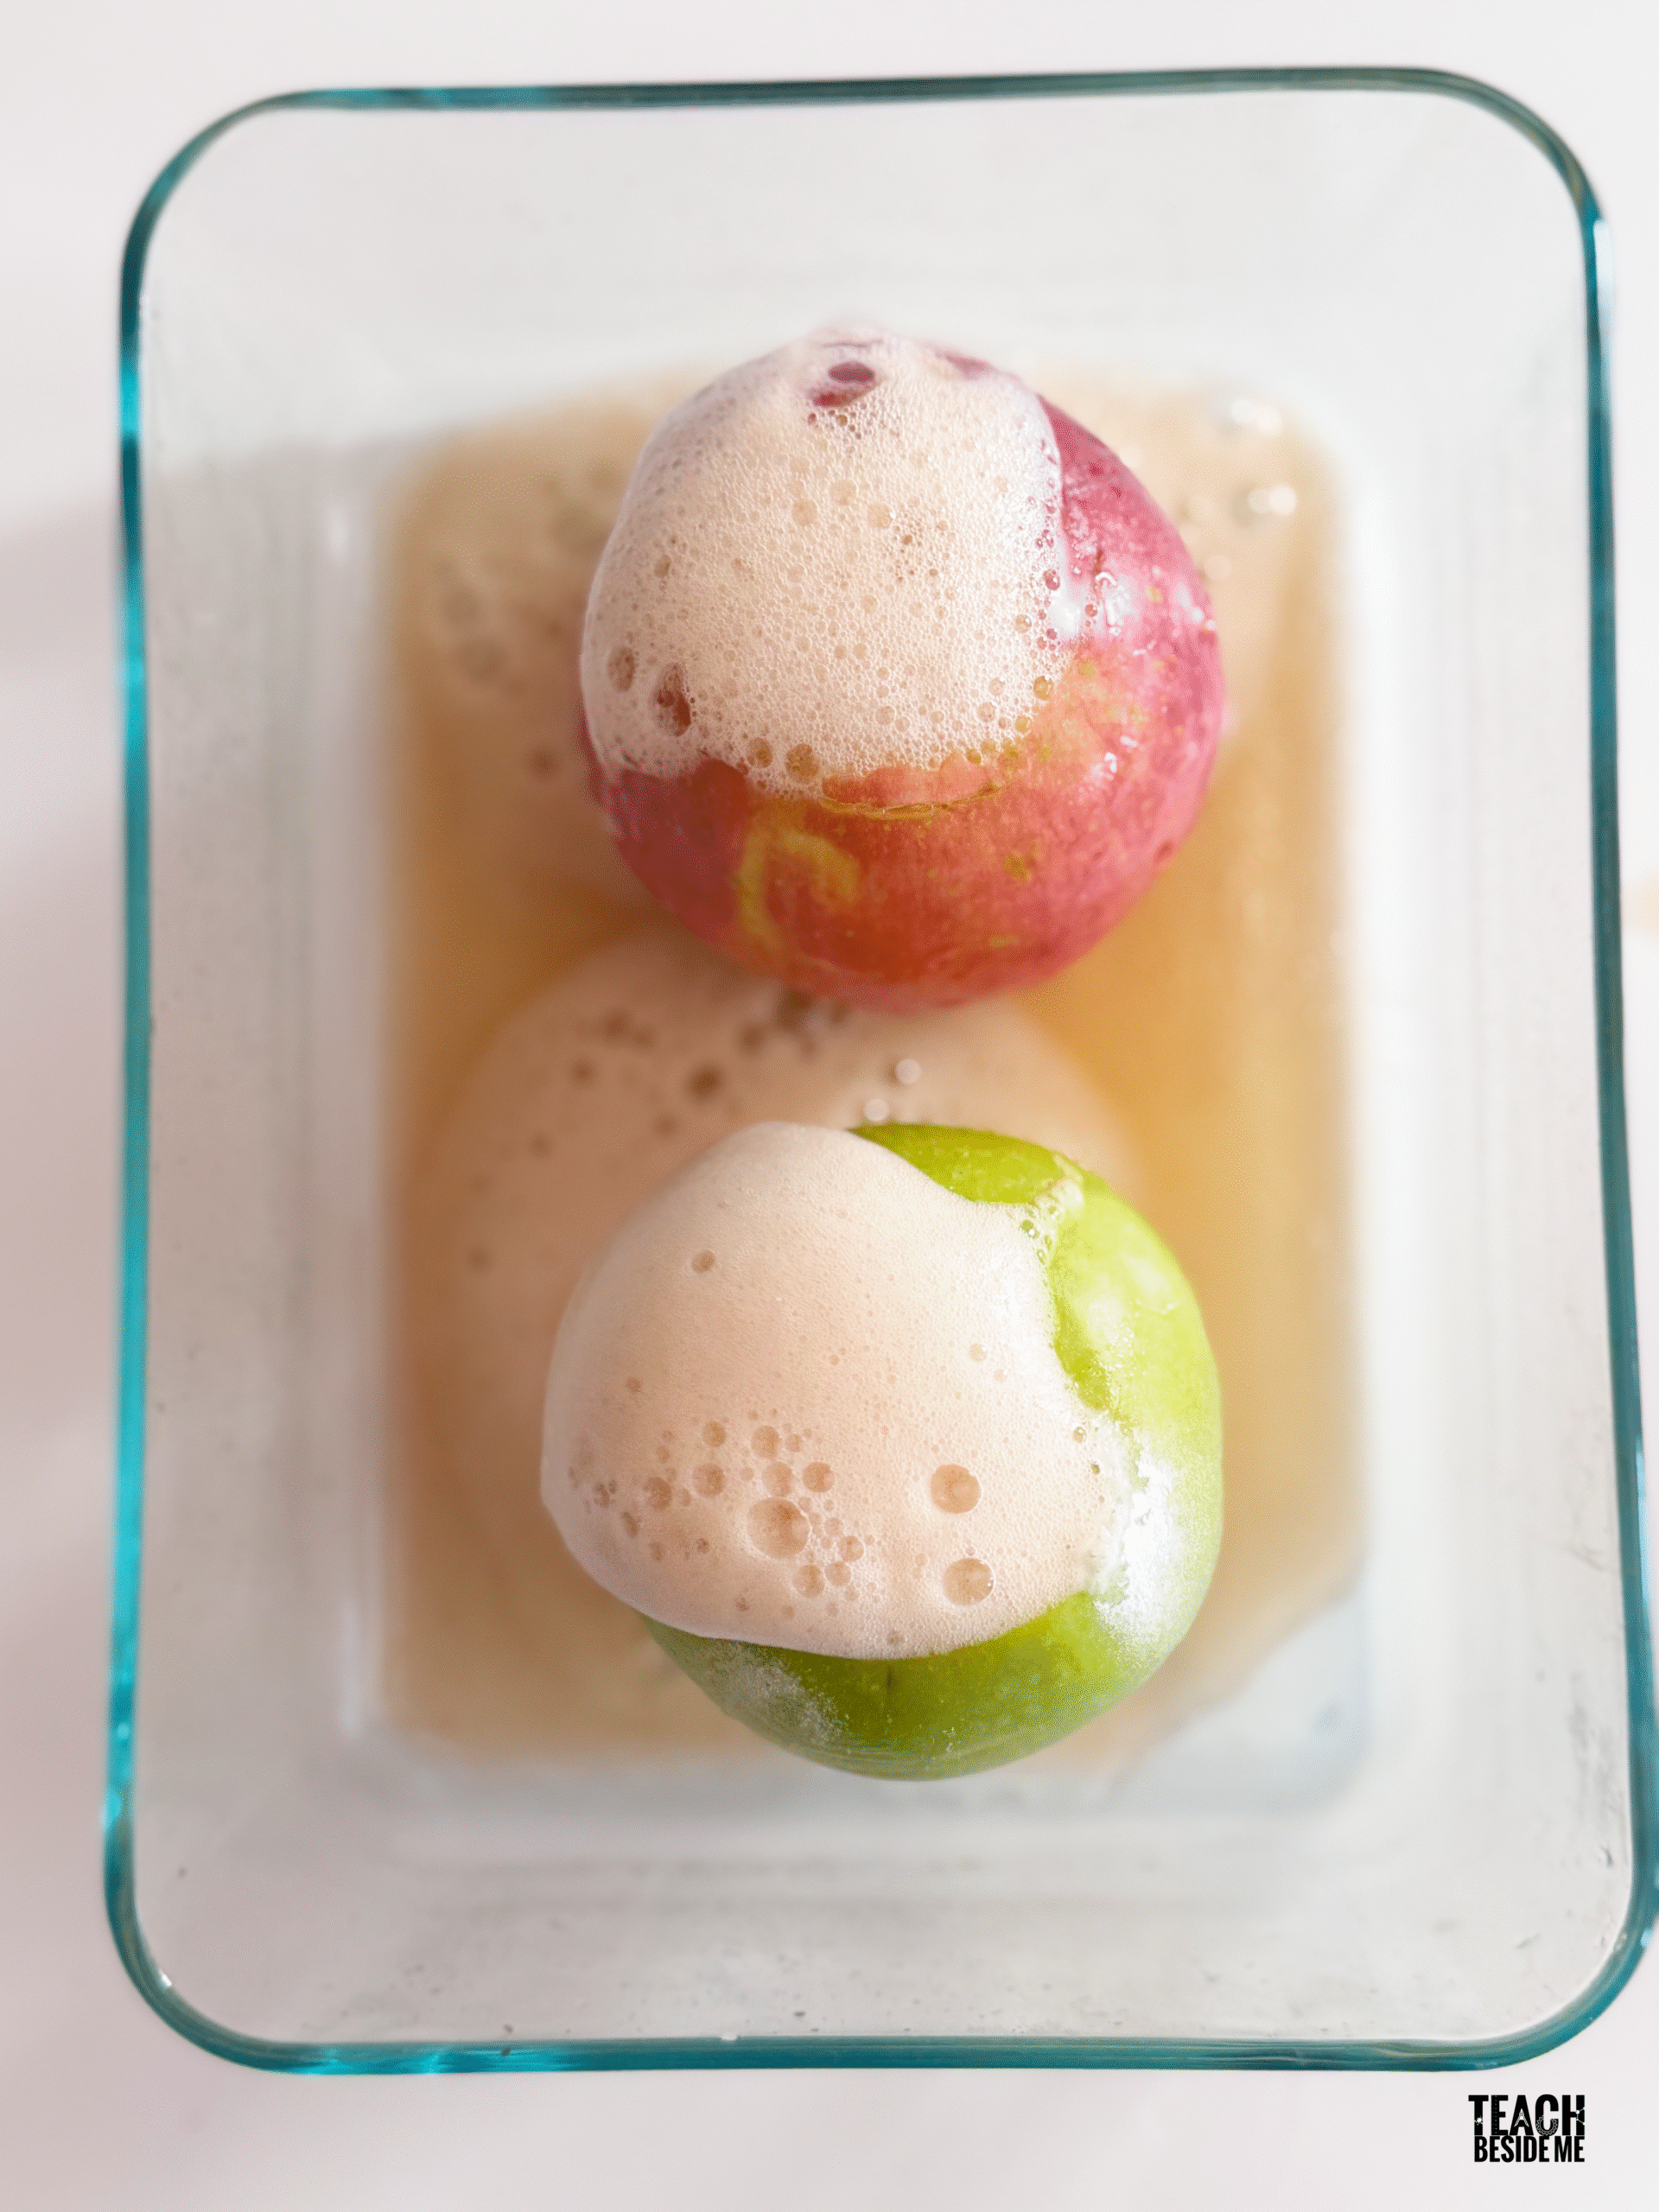
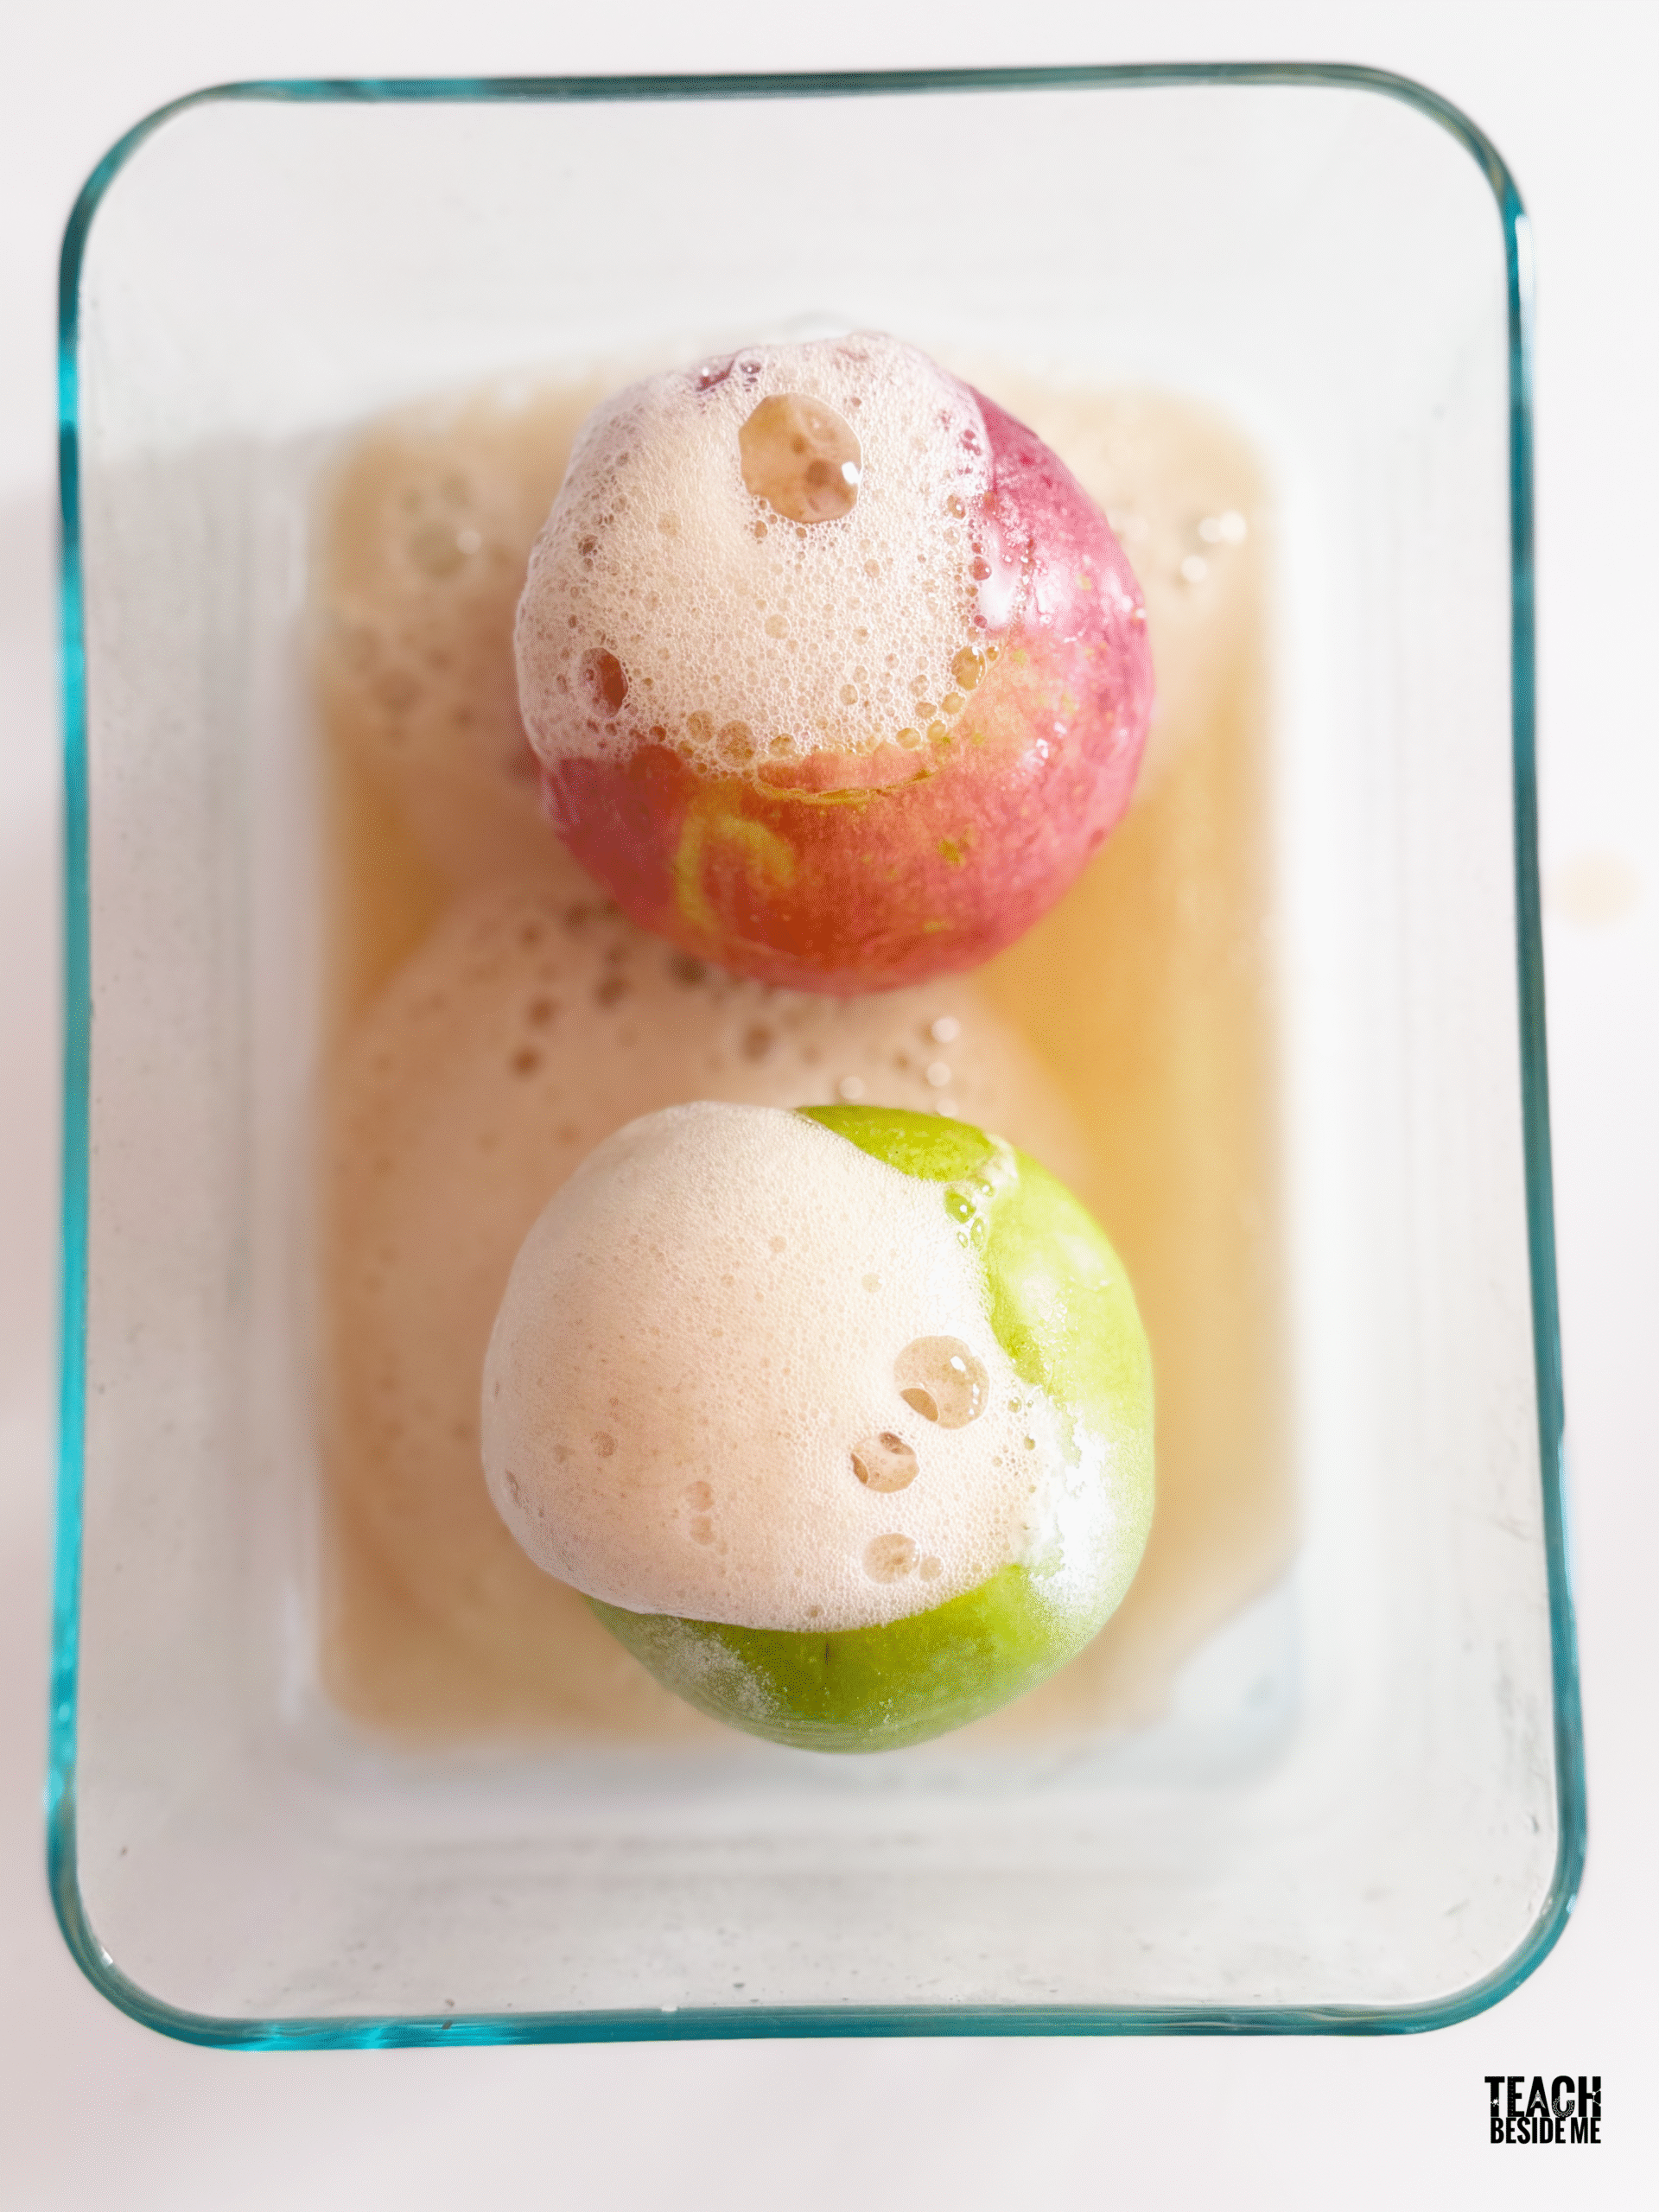
Pour in the Vinegar Slowly pour vinegar into the hollow and watch your apple volcano fizz and overflow! Try using eye droppers, a pipette, or a turkey baster. Watch bubbles form, foam rise, and spill over like real lava in this acid-base reaction. (Some people add a drop of dish soap for a foamier eruption. If you’re not planning to bake these apples after, give it a try!)
Observe and Experiment Do it a few more times! Next, try using different apple sizes or varying the amount of baking soda. Does more vinegar make a bigger eruption? What happens when the apples are cold versus warm?
The Science Behind the Apple Volcano
This classic experiment demonstrates a chemical reaction between baking soda (a base) and vinegar (an acid). When combined, they produce carbon dioxide gas (CO₂) and form bubbles that make your volcano erupt!
You can even point out the three states of matter in action:
The solid (baking soda)
The liquid (vinegar)
The gas (CO₂ bubbles)
It’s a perfect example of how matter changes and interacts — all inside a simple apple.
White Vinegar vs. Apple Cider Vinegar
Both work beautifully!
White vinegar tends to produce a slightly stronger reaction and clearer lava.
Apple cider vinegar adds a warm, fall scent and a golden foam, perfect for a sensory twist.
You can even test both and let kids record which one fizzes longer or higher — a fun variable for a mini science fair project!
From Science to Snack – Turn Your Apple Volcanoes into Baked Apples!
After the fizzing fun, don’t throw away your apples!
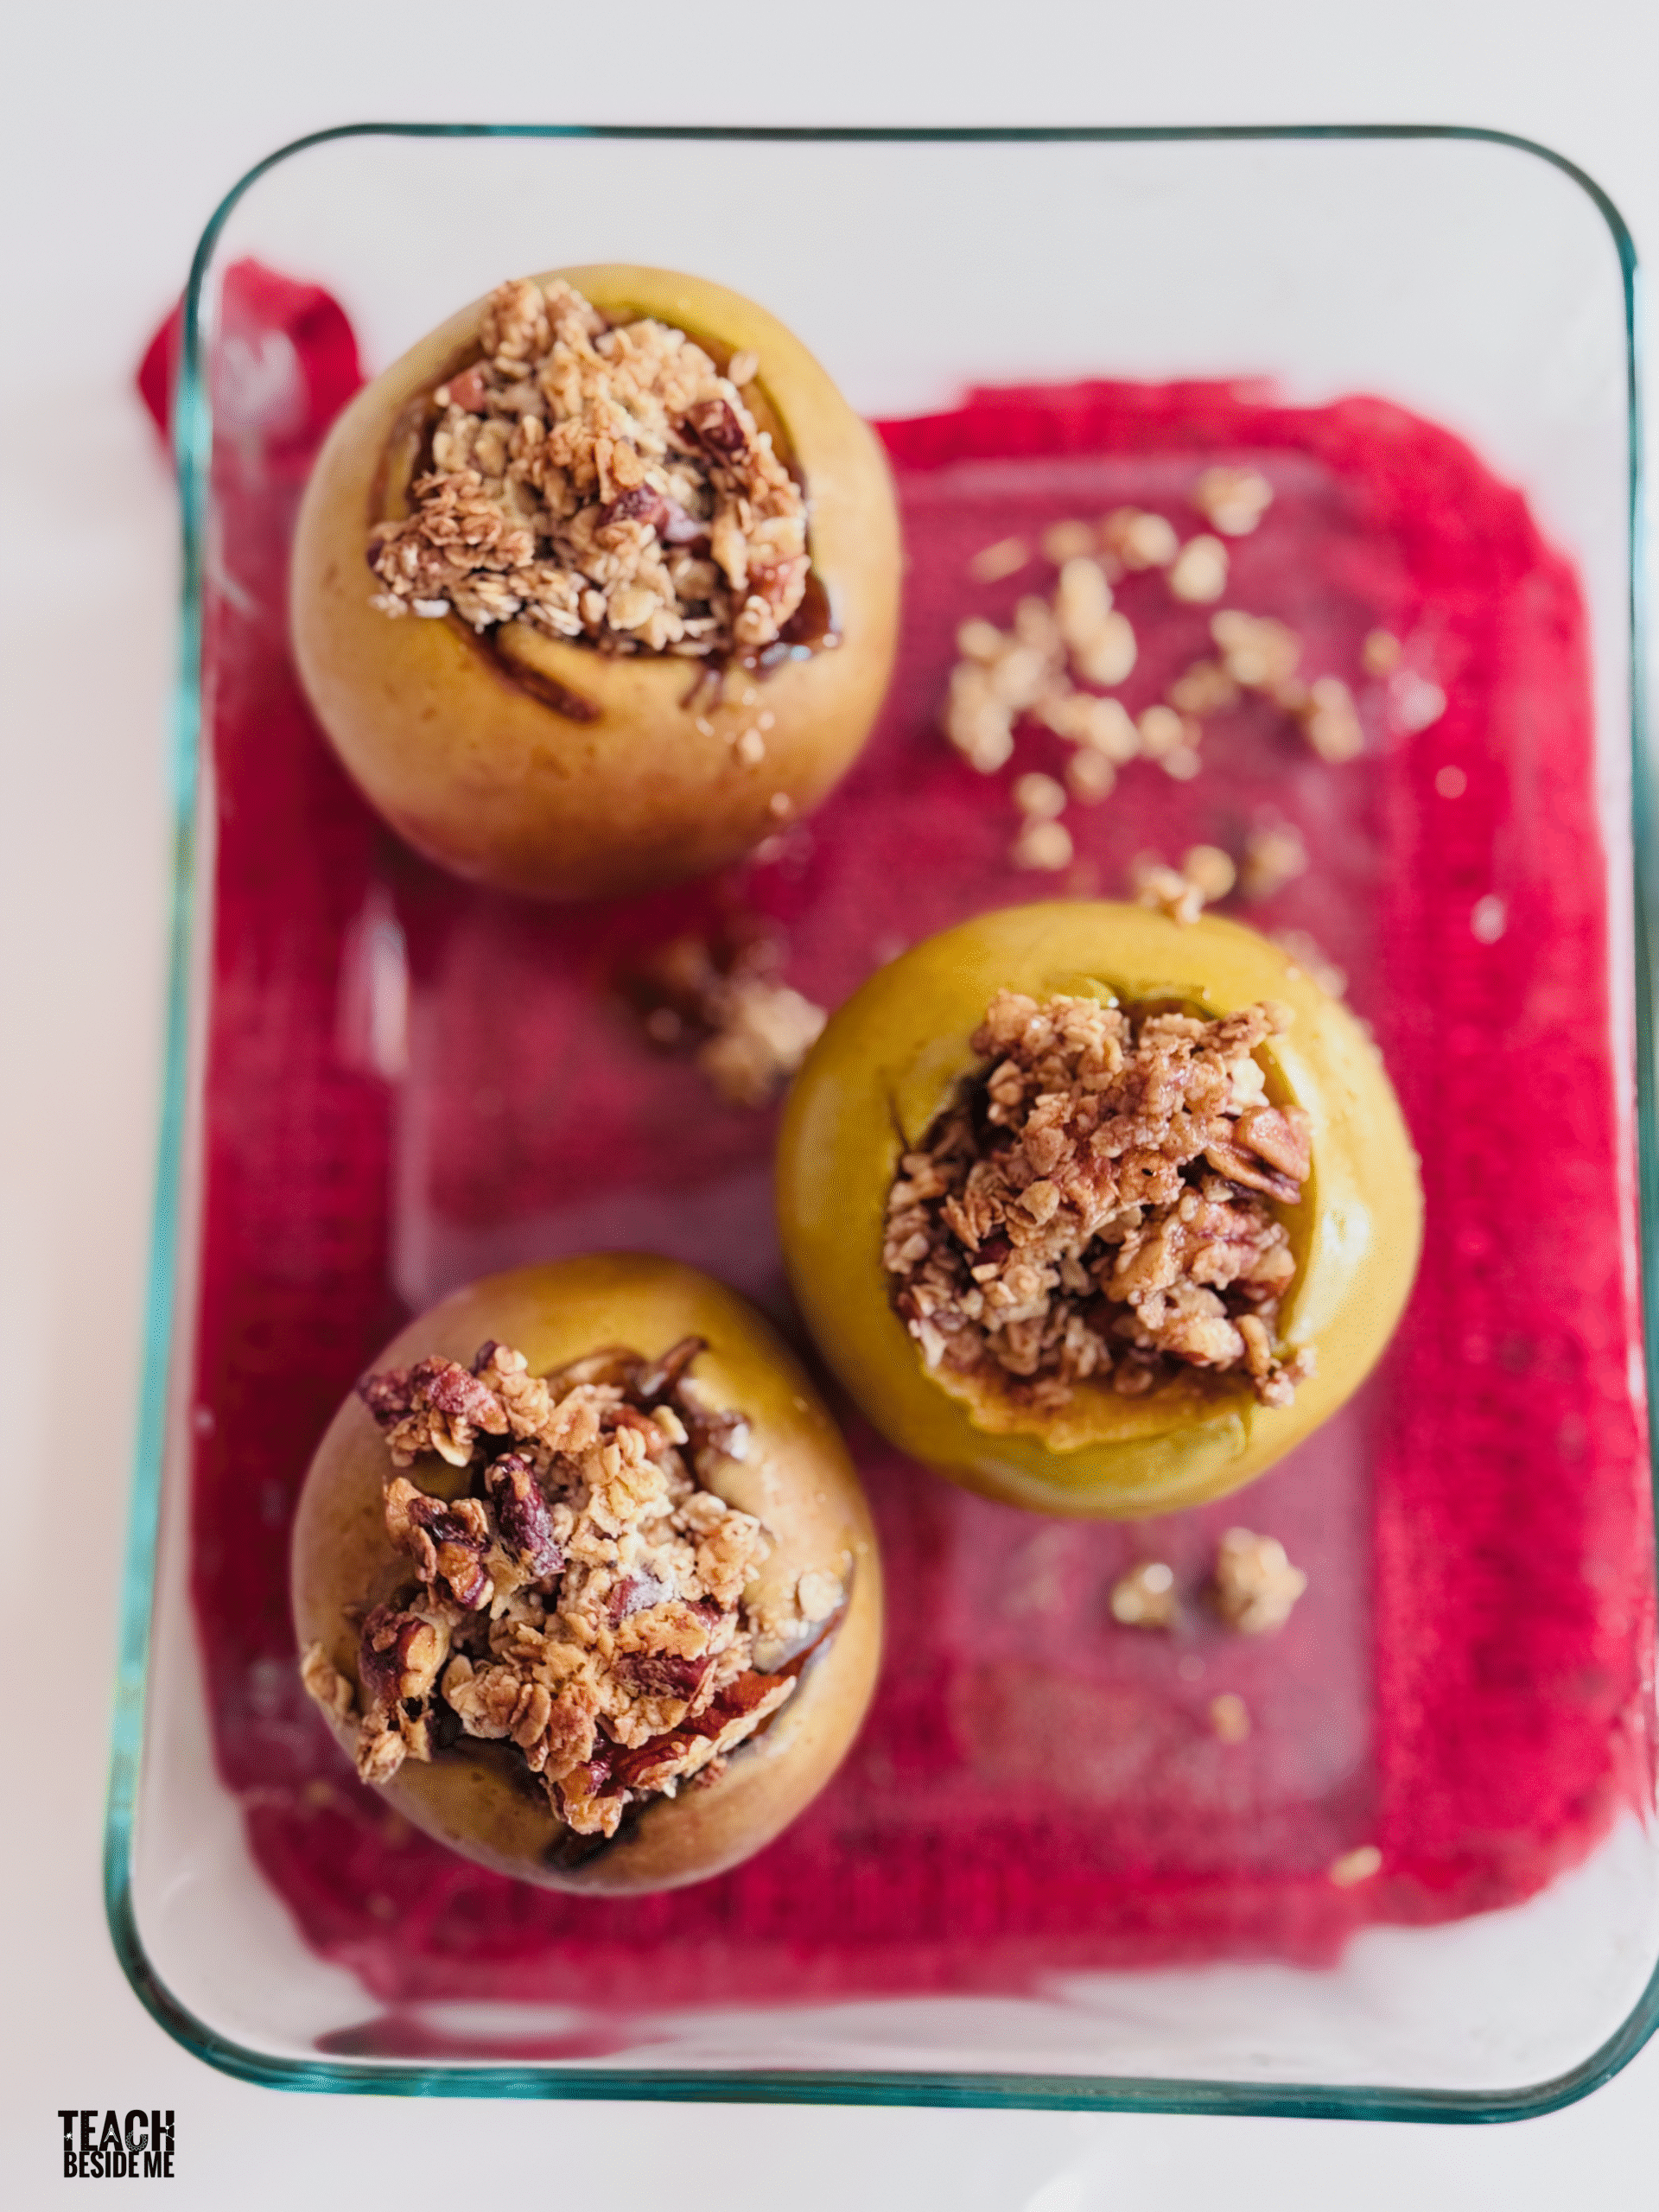
This experiment is a wonderful chance to show kids that science and stewardship go hand-in-hand. Instead of tossing your “erupted” apples, you can easily turn them into a warm, sweet fall baked apple treat- a BAKED apple volcano!
Once the reaction has settled, gently rinse the apples to remove any leftover baking soda taste. Then turn them into sweet baked apple volcanoes — soft, cinnamon-scented, and just right for a cozy autumn snack.
How to Make Baked Apples:
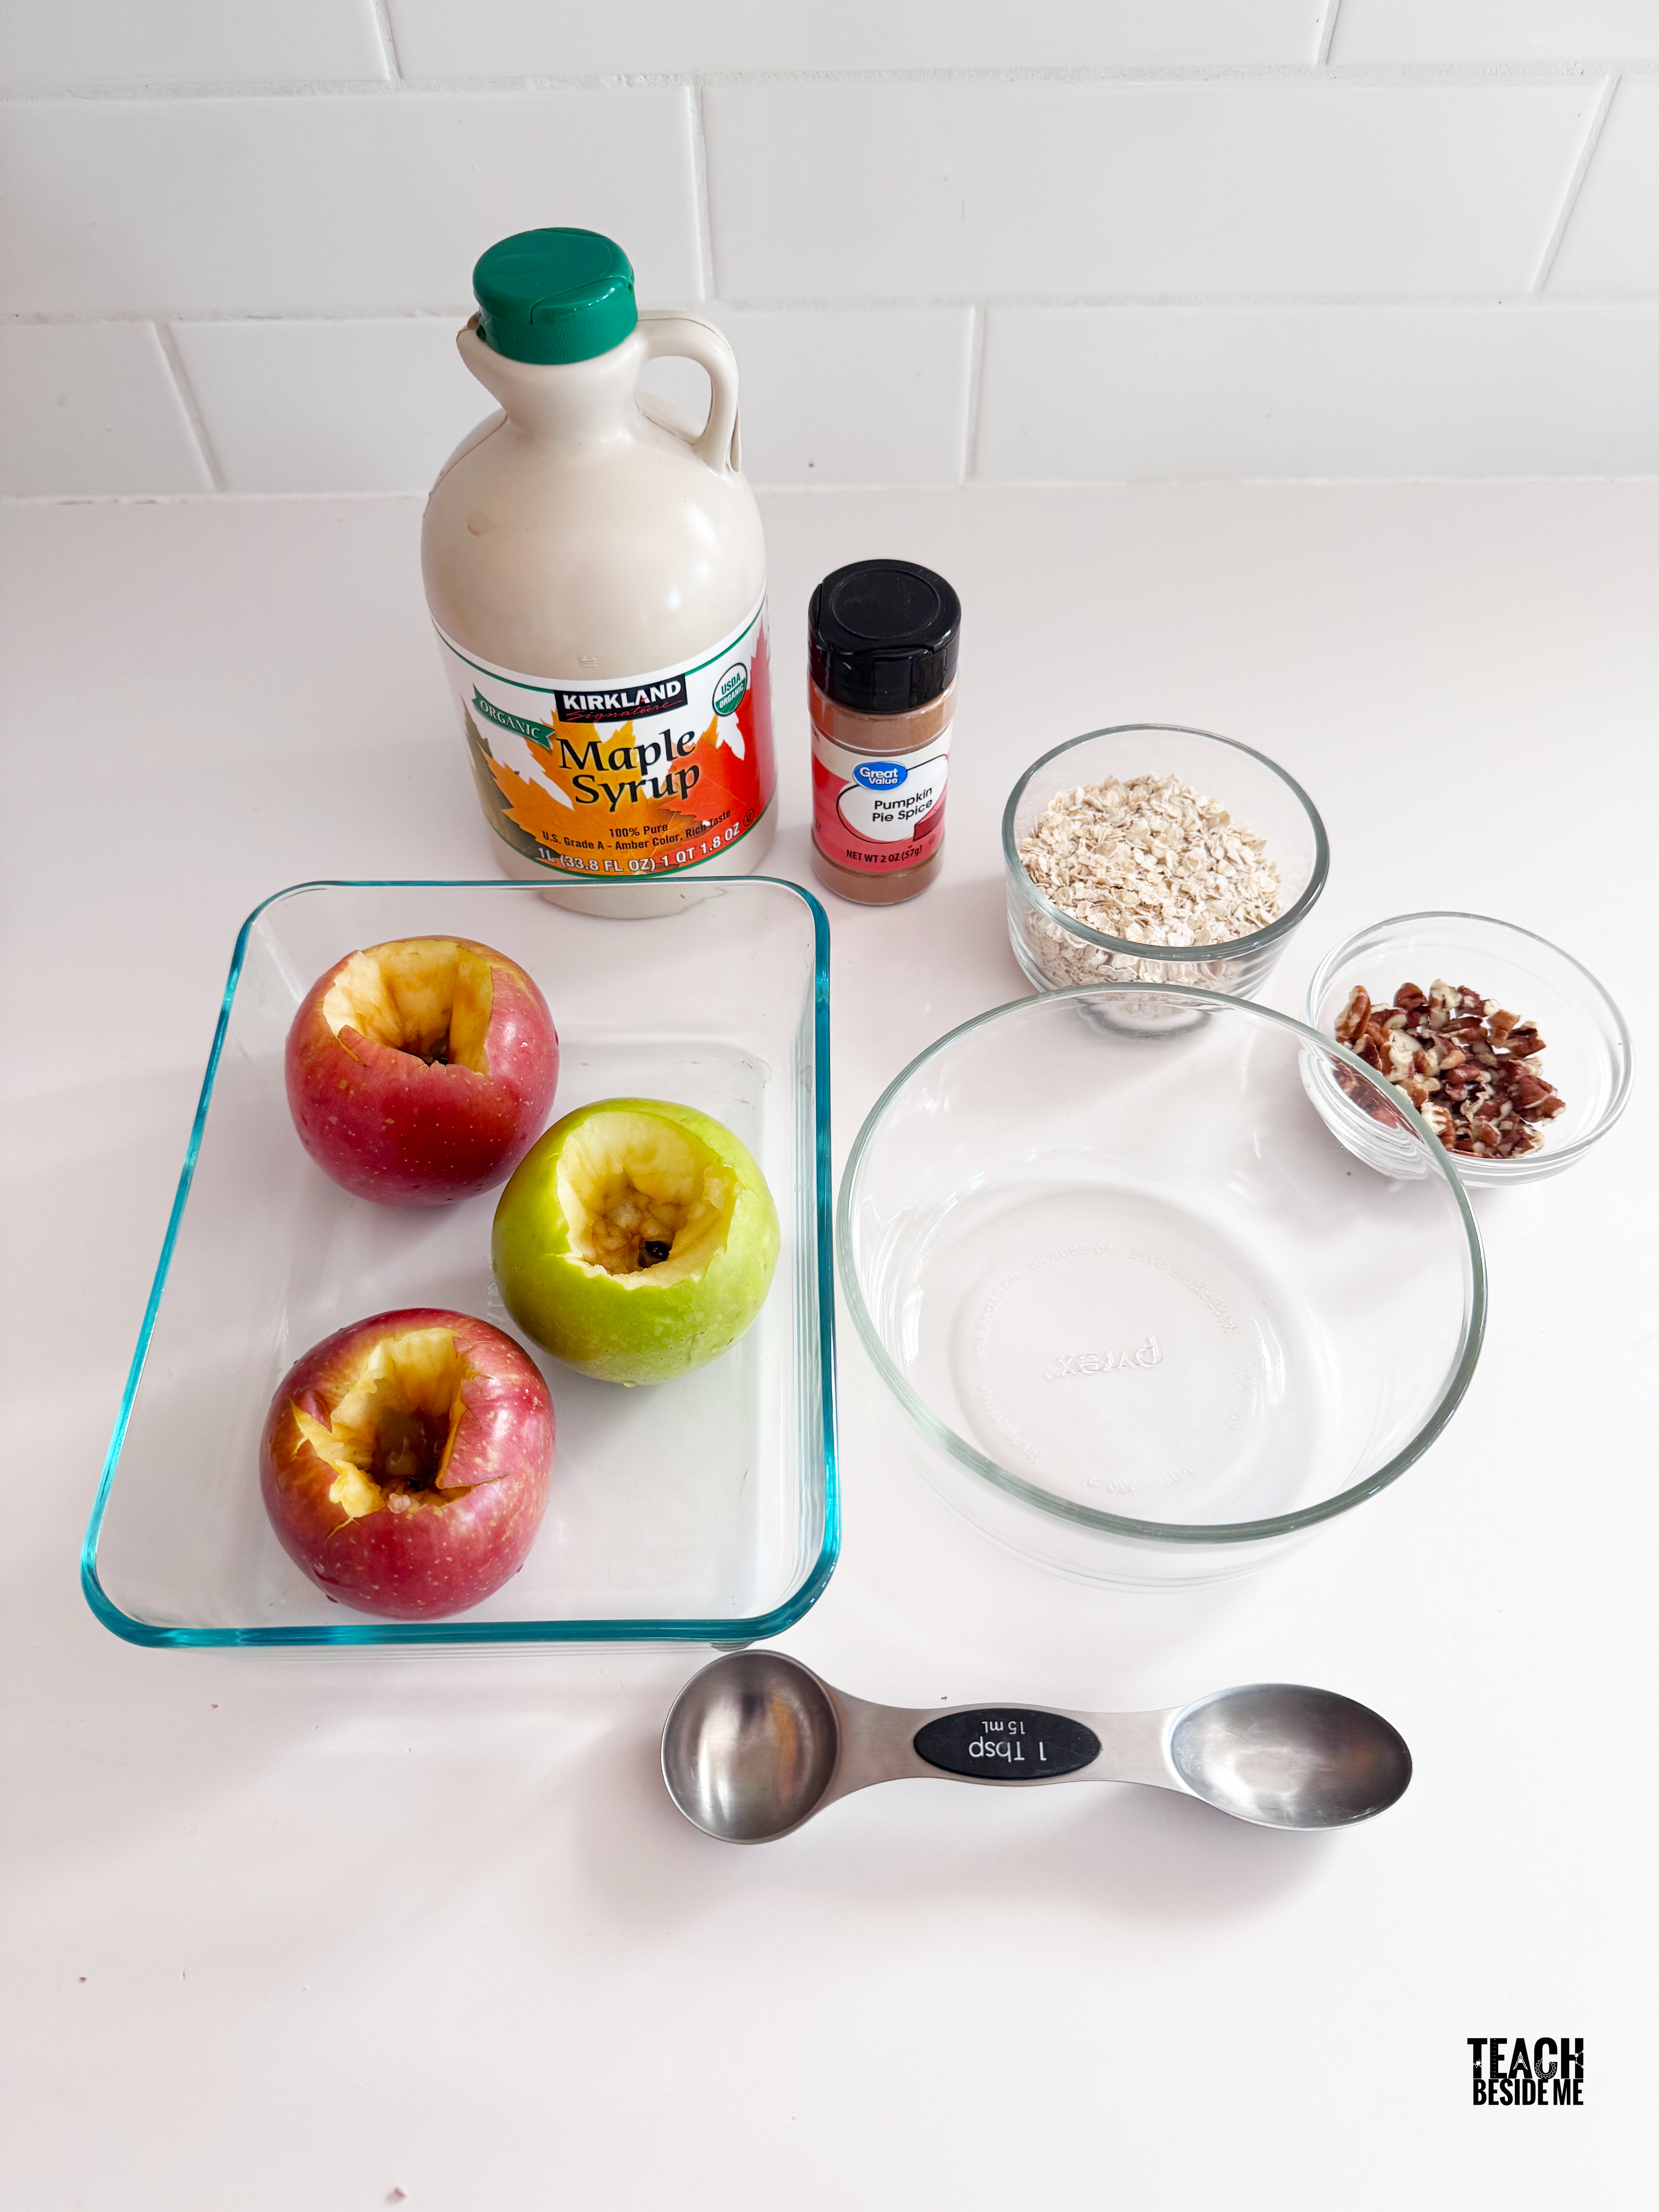
Ingredients for Baked Apples:
The apples from your experiment (rinsed clean)
1 tablespoon brown sugar or maple syrup per apple
1 tablespoon oats (optional, for crisp texture)
Chopped pecans or walnuts- optional
A sprinkle of cinnamon or pumpkin pie spice
A tiny pat of butter or drizzle of coconut oil
Steps to Make the Baked Apples:
Preheat the oven to 350°F (175°C).
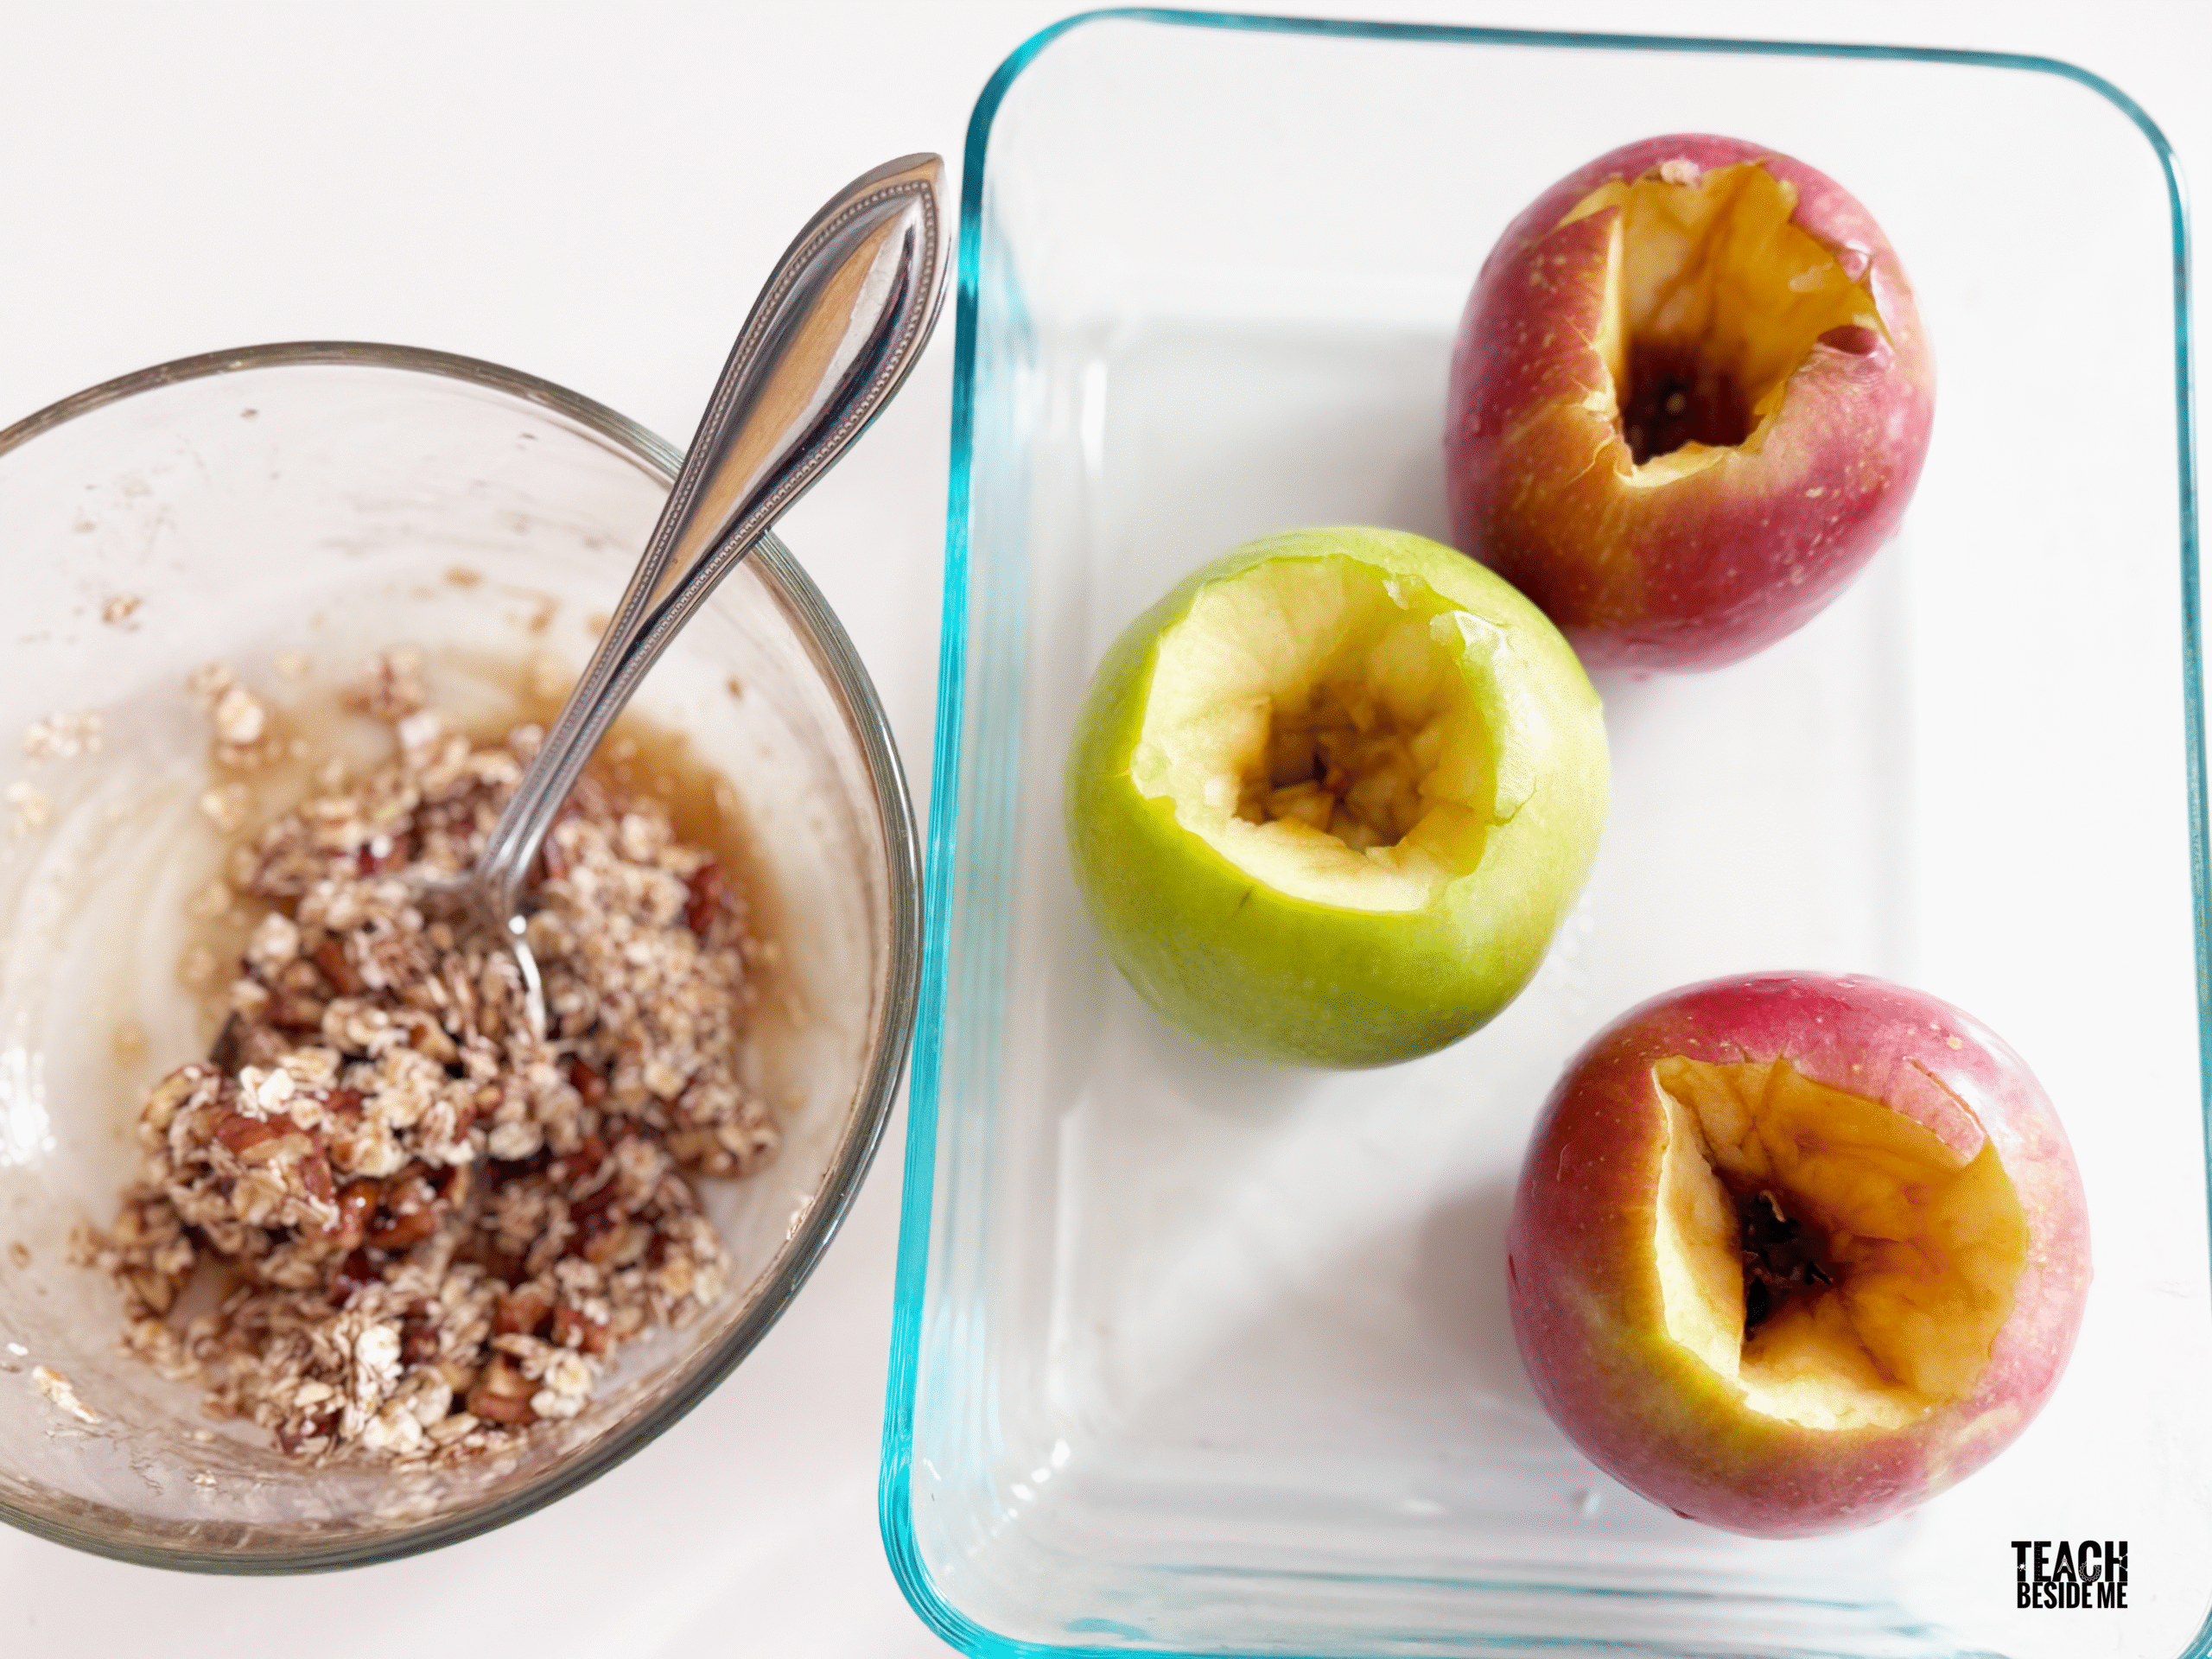
Mix the brown sugar, oats, nuts, and cinnamon in a small bowl.
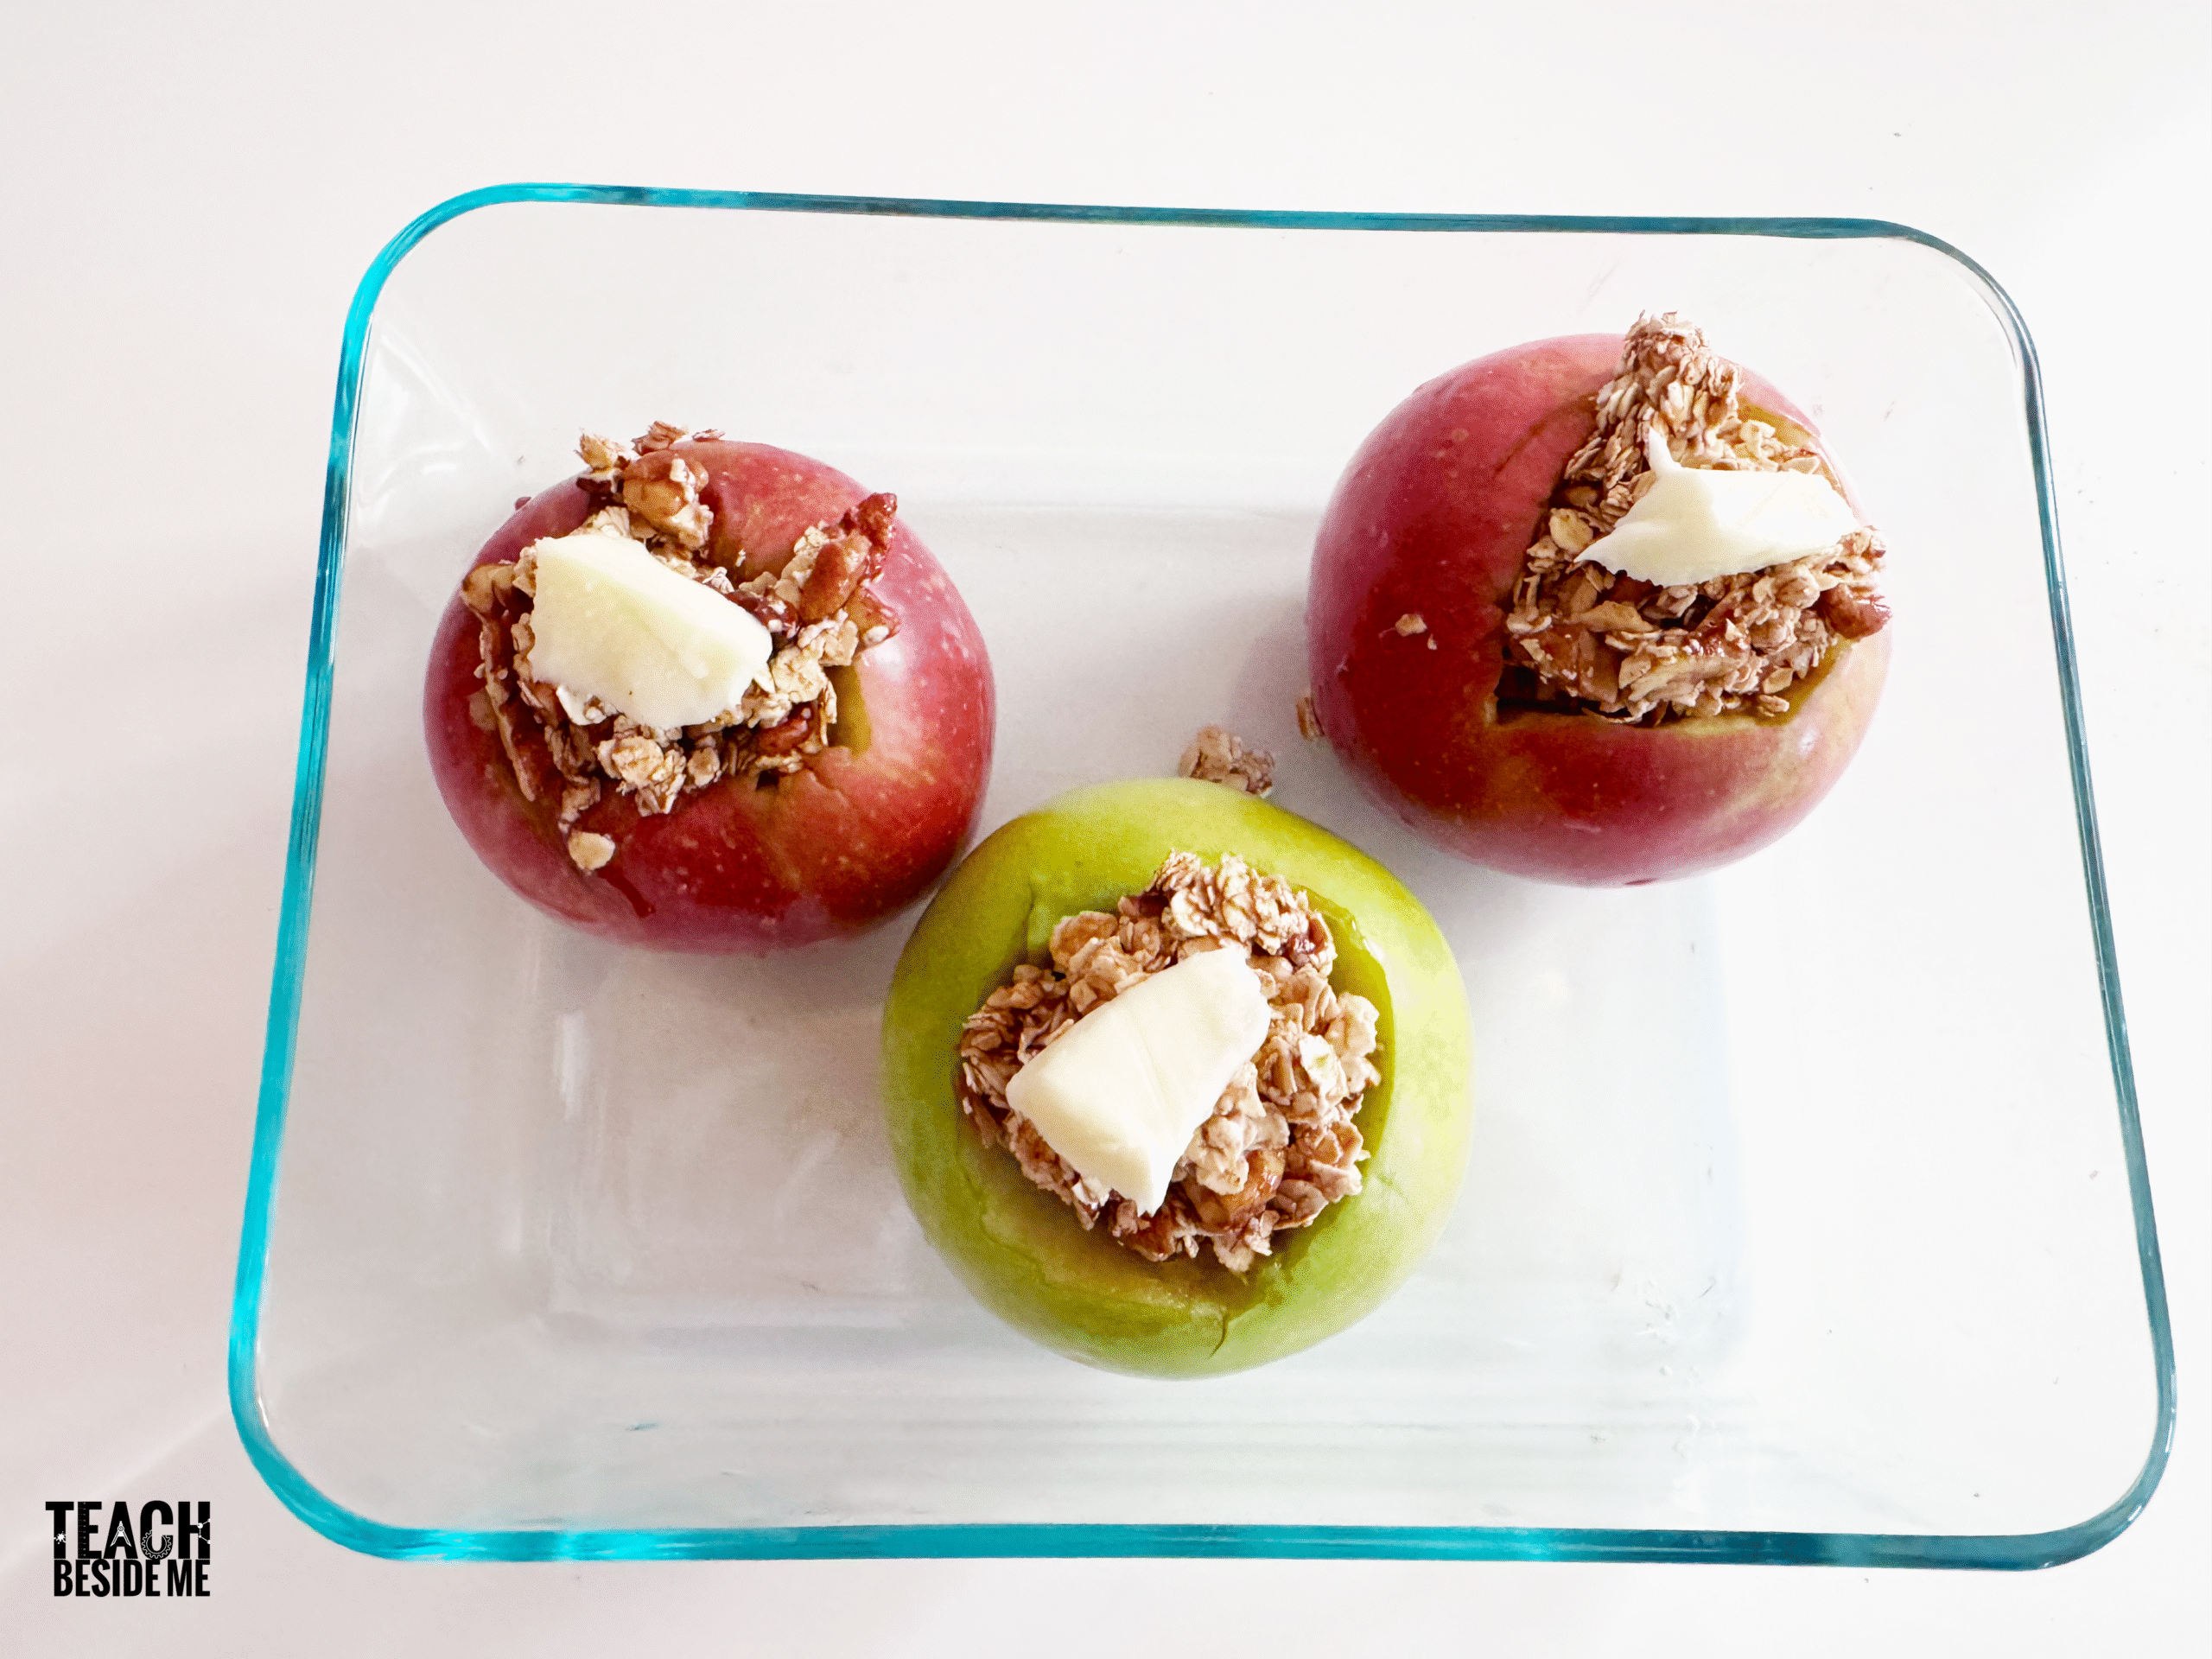
Spoon the mixture into each apple’s center.
Add a little butter or oil on top.
Place in a small baking dish and bake for 20–25 minutes, until the apples are soft and bubbling.
Serve warm as a naturally sweet fall dessert — no waste, just learning and deliciousness.
Teaching moment: Science, and resourcefulness can happen in the same project — learning to make use of what we have is its own kind of experiment!
The Science Behind Baking Apples
When you bake your apples after the experiment, you’re actually watching another kind of chemistry in action — called thermal decomposition and the Maillard reaction.
Science inside the oven:
Heat Changes Matter Just like the vinegar and baking soda caused a reaction, the heat from the oven creates physical and chemical changes too. The solid apple flesh softens as water inside it turns to steam and breaks down the apple. The sugar inside the apple caramelizes, giving it a sweeter flavor.
The Maillard Reaction When sugar and amino acids (from the fruit and any added oats or butter) are heated together, they create new flavor compounds and brown colors. That’s why baked apples smell so good — it’s the same process that browns other baked goods.
Evaporation and Texture As moisture evaporates, the sauce thickens and bubbles, turning into that glossy, syrupy coating that makes baked apples so irresistible.
States of Matter in the Oven Even in baking, you can observe solids (apple and oats), liquids (melted butter, juice, & syrup), and gases (steam) interacting — just like in your volcano, but this time in a delicious way!
The Apple Volcano Experiment is the perfect blend of learning, creativity, and seasonal fun. Kids get to experience the excitement of a real chemical reaction, explore the states of matter, and enjoy the sights and smells of fall — all with supplies you probably already have at home.
What makes this science project even better is that it ends on a sweet note. By baking your used apples into a sweet treat, you’re also teaching a lesson about resourcefulness, and making the most of what we have!
Karyn Tripp is a homeschool mom of four, former teacher, and creator of Teach Beside Me. With a degree in Family and Consumer Science Education and 15+ years of homeschooling experience, she strives to help others teach creatively through hands-on learning.
We use cookies to ensure that we give you the best experience on our website. If you continue to use this site we will assume that you are happy with it.