Crime Scene Science Lab Lesson
This post may contain affiliate links.
Learning about crime scenes can be an exciting and different idea to make science a little more interesting. This Crime Scene Science Lab will teach you some tips and tricks to help you on your way!
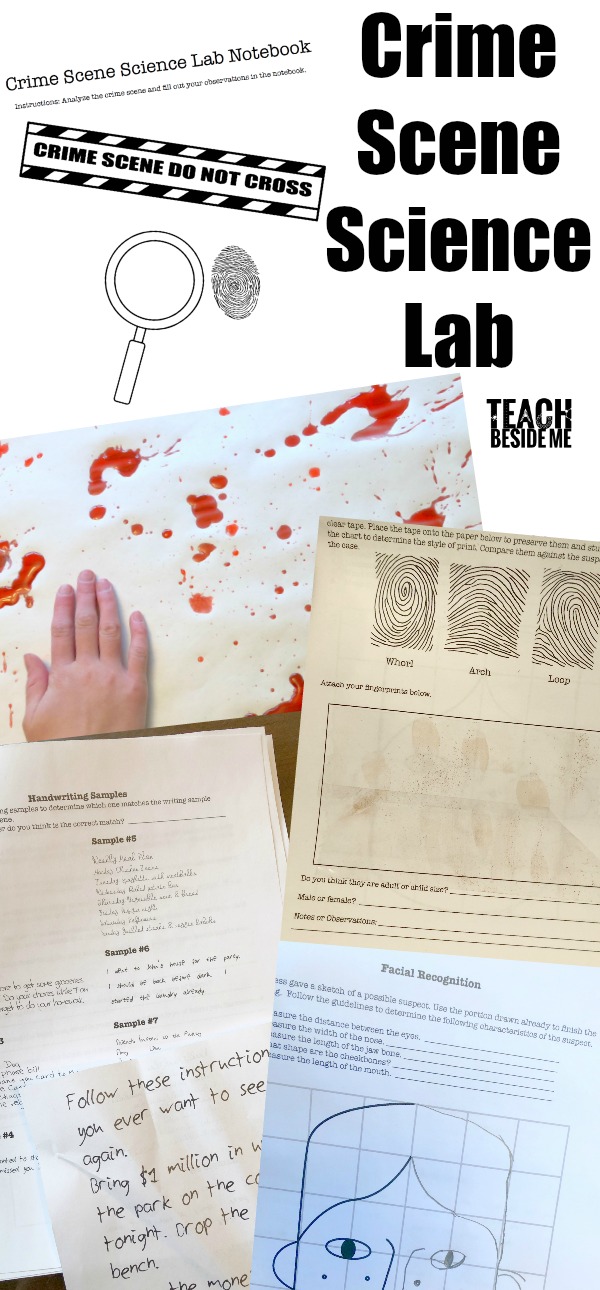
I created a printable pack with a teacher guide as well as a student lab notebook to use if you want to make this an official lesson. I will show you some of the fun things we did, too! You can find how to print this lab notebook at the end of the post.
What We Did for Our Crime Scene Science Lab
Blood Spatter Analysis

We made some homemade blood with corn syrup, water and food coloring. On a large piece of butcher paper I splattered the fake blood on with an eye dropper. I left a space while splattering to show where a hand or arm could have been. Then I had my kids try to recreate the blood splatters to determine the distance they were splattered from.
Handwriting Analysis
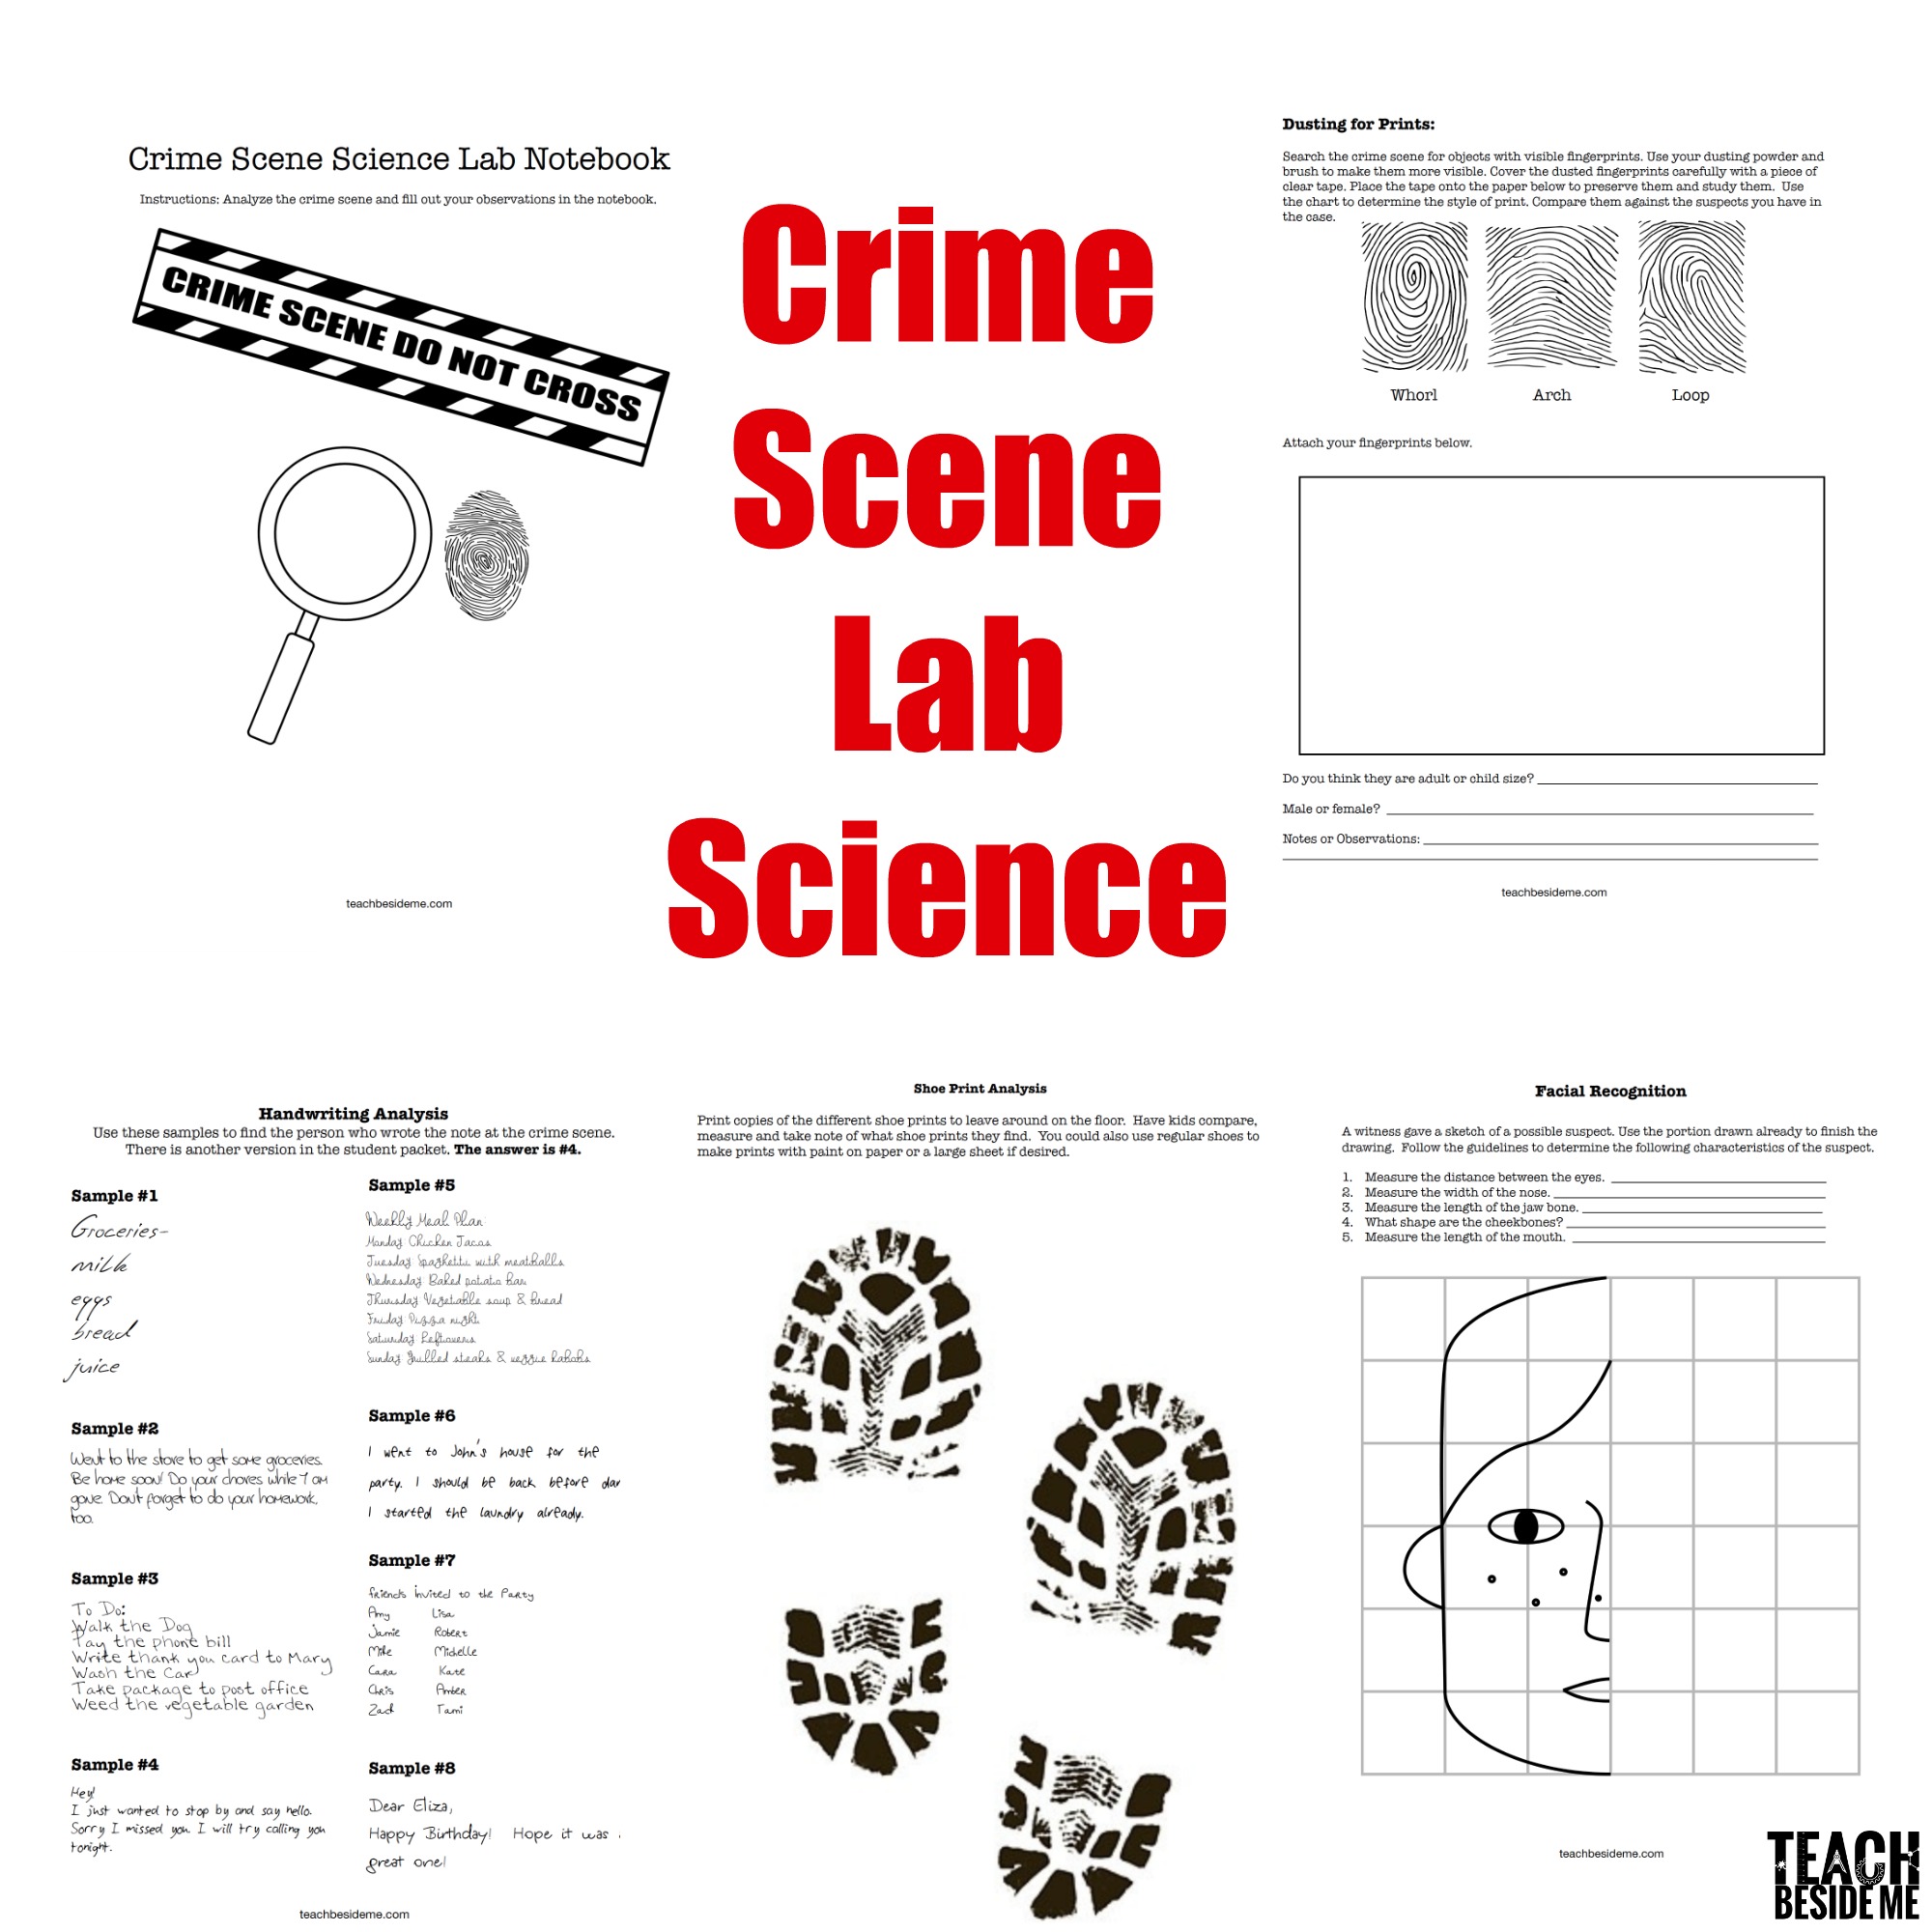
This was a fun one! In my printable pack I included a page with a handwritten note that can be put at the crime scene. There is also a page with 8 different handwriting styles to compare with the note. My kids thought this was a fun one!

Fingerprinting
Teach your kids how to dust for fingerprints! I created some visible handprints on the table by rubbing lotion on my hands first. To dust for it, the kids used a makeup brush and some cocoa powder. Brush it over the top of the fingerprints.

Next use a piece of clear packing tape. Stick it on top of the dusted prints then put the tape on some white paper or in the lab notebook.

Shoe Print Analysis
In my printable pack there are four styles of shoe prints that can be use dat the crime scene. You can use these or create your own with shoes and paint on a tarp, cloth or butcher paper. Print several of each style and lay them around the scene.

The students will sketch, measure and analyze the different shoe prints. As a crime scene investigator they would compare shoe prints to the shoes of suspects.
Facial Recognition

Fabric Investigation
When I was in college, I took a textiles class. We did burn tests as a lab one time and I always remembered how much fun it was and how surprising it was to see the different ways that fabric burns. I decided it would be fun to try this with my own kids.

For the crime scene you can leave some small swatches of fabric that were “torn from the suspect”. Included in my printable pack are the descriptions of what happens when different fabrics burn. You can compare natural and synthetic fabrics and try to determine what kind of fabric it is.
To do a fabric burn test safely, use tweezers to hold the fabric while burning. Do it over a metal pan or tin can to prevent the fire from spreading. Synthetic fabrics give off a strong chemical smell, so you may want to wear or mask or do it outside for safety purposes.
We had so much fun with our crime scene lab and I hope you will enjoy trying it out, too!
This month I am participating in the 28 Days of STEAM Activities for Kids. Follow along this month and see more posts in the series.

Want to Print the Crime Scene Science Lab?


Can you share how long this lesson may take?