Make a Cloud in a Jar: Easy Weather Science for Kids
This post may contain affiliate links.
Creating a cloud in a jar is one of those classic but magical science experiments that kids never forget. It’s simple, visual, and demonstrates real meteorological principles in a hands-on way. Whether you’re working through a weather unit, studying the water cycle, or just looking for a rainy day science project, this activity is a perfect fit.
This cloud-in-a-jar experiment uses everyday household items to help kids see how clouds form in the atmosphere—right before their eyes!

What Is a Cloud in a Jar?
A cloud in a jar is a simple weather science experiment that models cloud formation through condensation. When warm water vapor meets cool air, it condenses into tiny water droplets. In the atmosphere, these droplets form around dust, pollen, or smoke particles—just like the hairspray in our experiment acts as a particle for condensation.
What Kids Learn from This Cloud Science Experiment
-
Condensation & Evaporation – See how water vapor becomes liquid again.
-
Cloud Formation – Understand how clouds are created in the atmosphere.
-
The Role of Temperature & Pressure – Learn how heat rises, cool air sinks, and why clouds form high in the sky.
-
Scientific Inquiry – Observe, predict, and experiment with real results.
-
Introduction to Meteorology – This experiment sets the stage for learning about the weather, storms, and the water cycle.
You can also connect this experiment to lessons on:
-
States of Matter
-
Precipitation
-
Climate vs. Weather
-
The Water Cycle (Evaporation → Condensation → Precipitation)
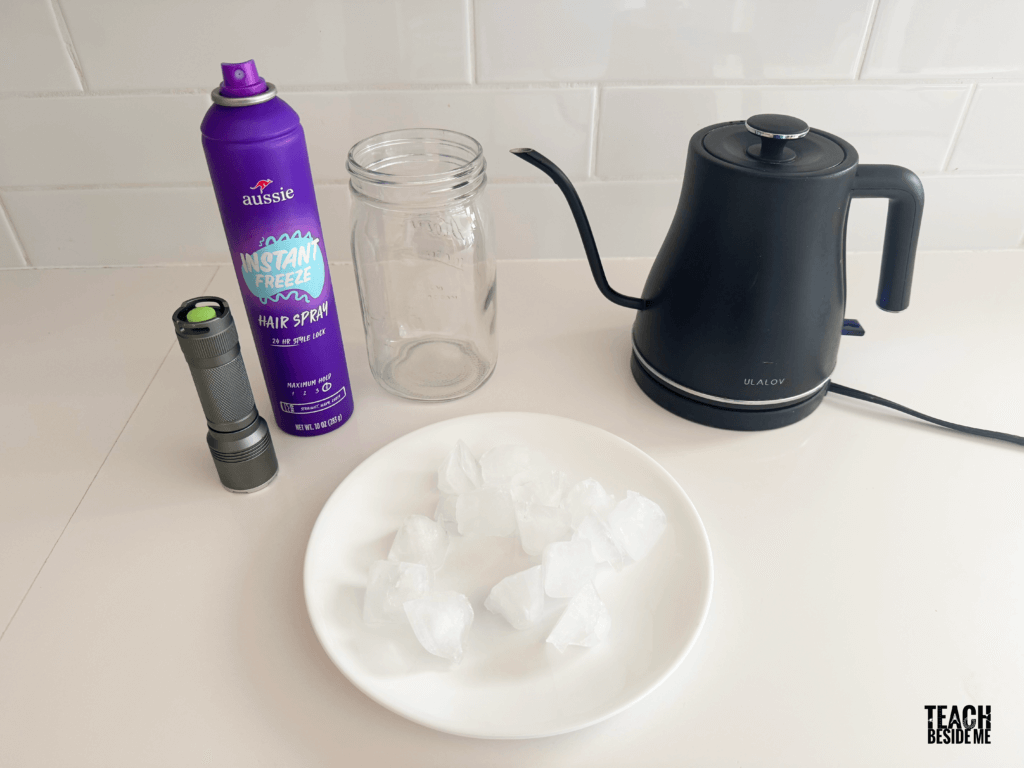
Supplies for Cloud in a Jar Experiment
-
1 large glass jar (quart-size works best)
-
Lid or plate (to cover the jar)
-
Boiling or very hot water
-
A few ice cubes
-
Hairspray (or another aerosol spray)
-
Flashlight (optional, to see the cloud more clearly)
WATCH THE EXPERIMENT HERE:
Instructions: How to Make a Cloud in a Jar
1. Warm the Jar
Pour about 1/3 of the jar full of very hot water. Swirl it around gently to warm up the sides of the jar. This creates the warm moist air that will rise.

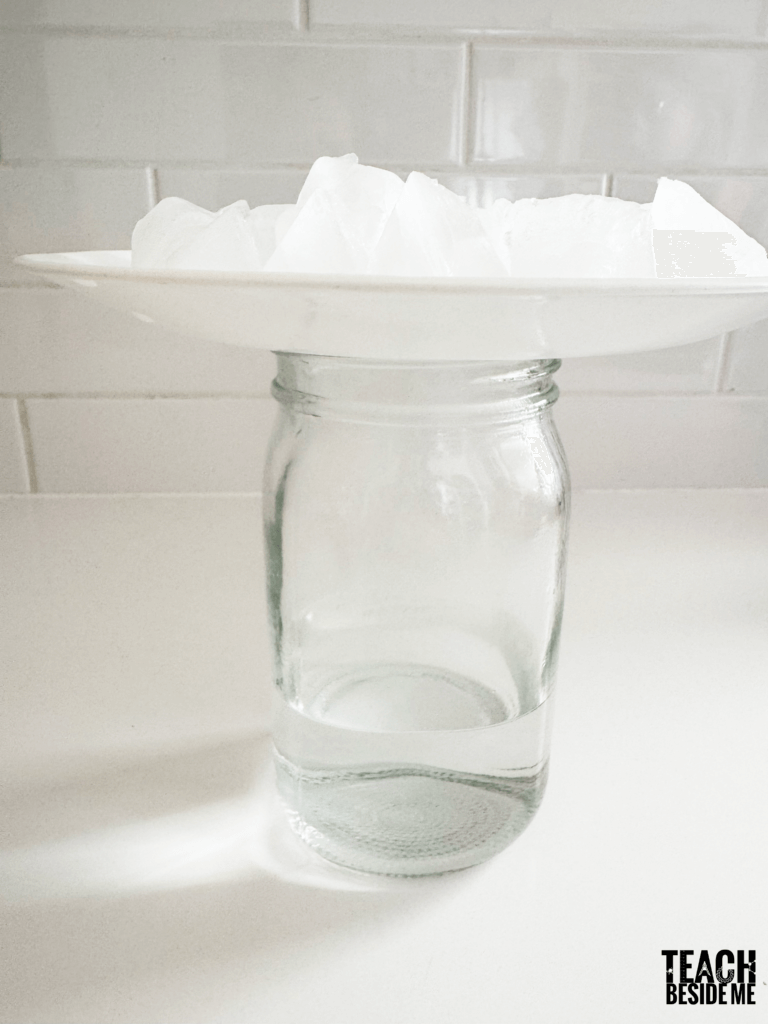
2. Trap the Cold
Place the lid or plate upside down on top of the jar. Place a few ice cubes on the lid and let it sit for 20–30 seconds. This mimics the cool upper atmosphere.
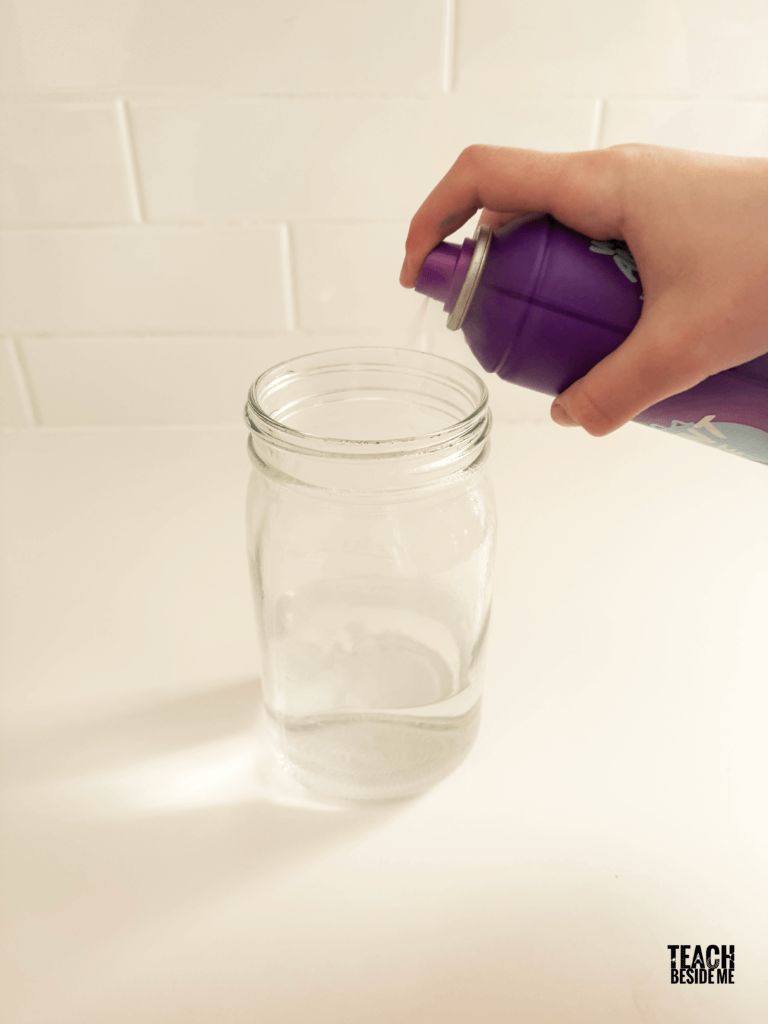
3. Add Aerosol Particles
Remove the lid quickly and spray one quick squirt of hairspray into the jar. Immediately place the lid and ice cubes back on top.
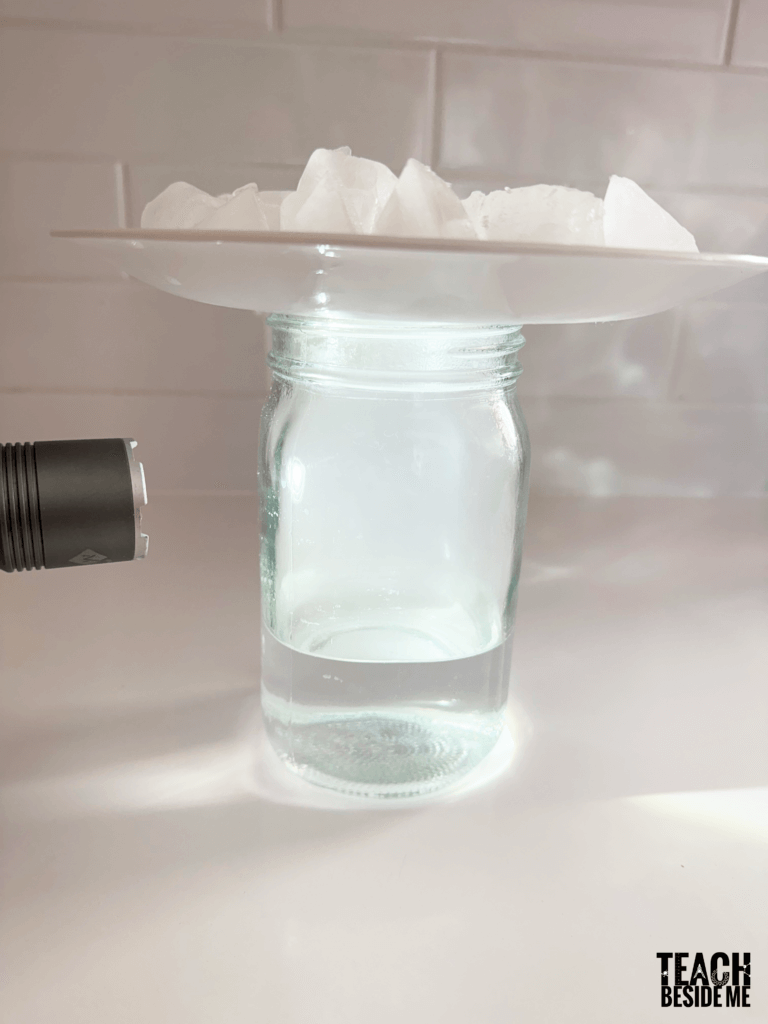
4. Watch the Cloud Form
Within seconds, a cloud will begin to appear inside the jar! Shine a flashlight through the side of the jar to better see the swirling mist.
When you remove the plate from the top of the jar, you will see the steam rise!

Try This: Cloud in a Jar Science Extension Ideas
-
Test Different Temperatures – Try using cooler water to compare how much cloud forms.
-
Test Without Hairspray – What happens if you leave out the aerosol spray? (Spoiler: Clouds need particles!)
-
Keep a Weather Journal – Track daily weather and record your cloud experiment results.
You can also find my video of this Cloud in a Jar Experiment on YouTube:
https://youtu.be/ndAnRoZ0vqI
Recommended Books to Pair with This Experiment
Related Activities
- Homemade Wind Vane or Weather Vane Science
- Weather Handwriting Workbook
- Hurricane Science Experiment
This experiment is a perfect blend of science exploration and wonder. Creating a cloud in a jar not only teaches weather science, but also encourages curiosity and observation—key scientific habits of mind. Plus, it’s quick, exciting, and uses simple supplies you likely already have at home!.
This experiment is ideal for homeschool lessons, weather units, or rainy day science fun.


