Rock Cycle Cookie Bars Edible Science + Diagram
This post may contain affiliate links.
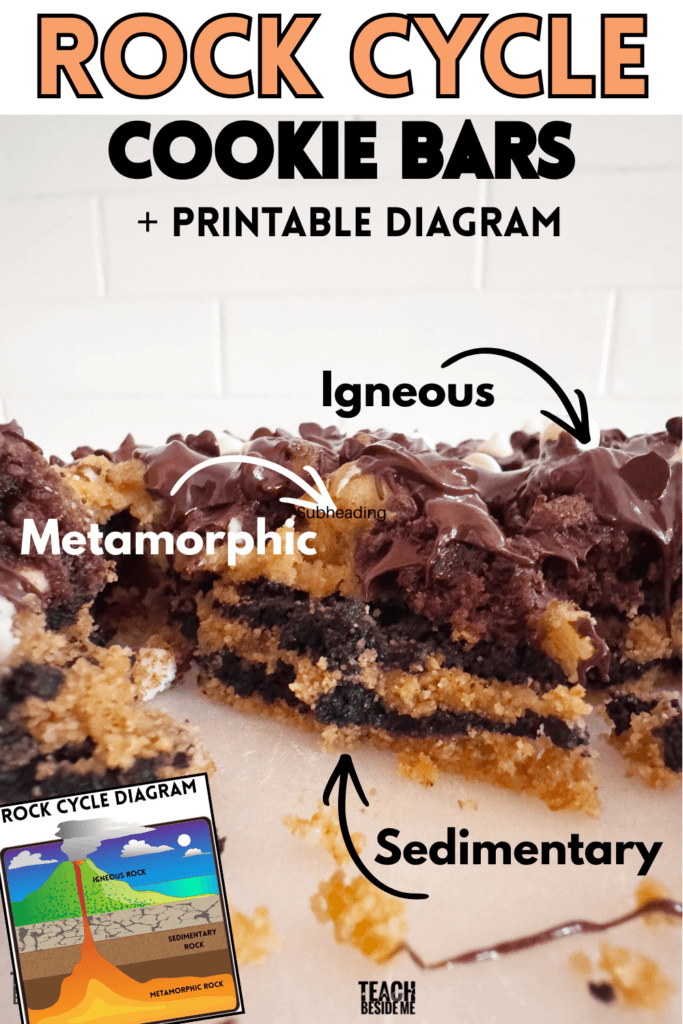
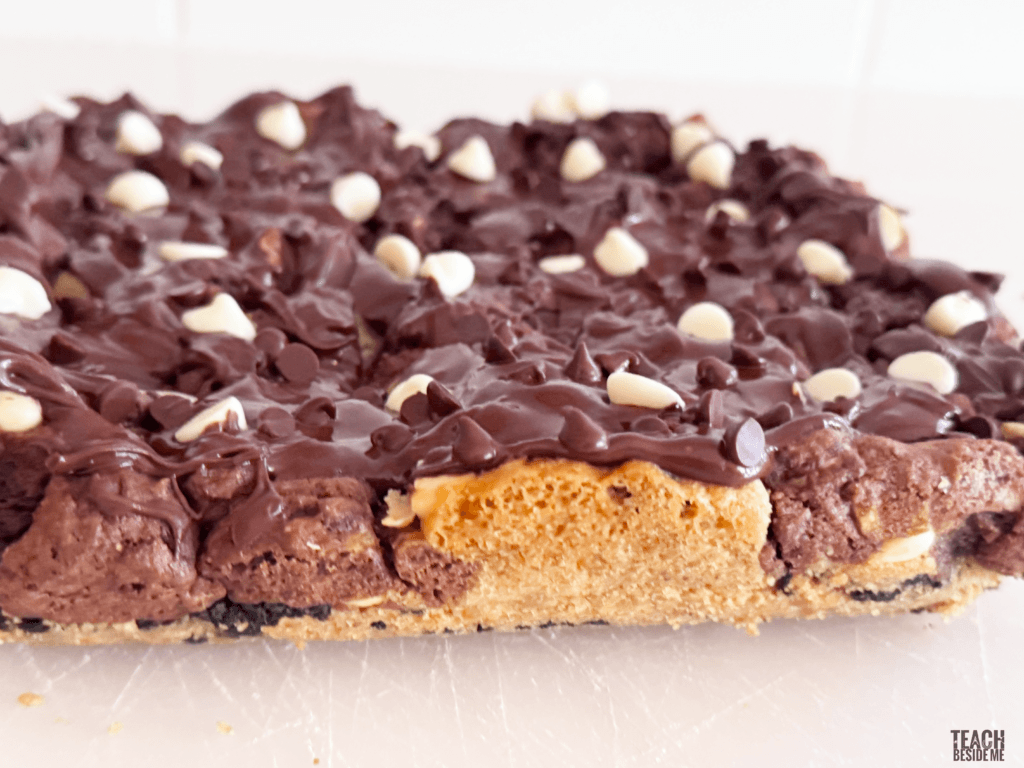
Can you eat the rock cycle? With these rock cycle cookie bars, you can!
This hands-on activity turns earth science into something kids can see, build, and taste. By layering different textures and colors, you can model how rocks form on the earth’s surface and change over time—all in one delicious dessert.
It’s the perfect mix of science, creativity, and a little bit of sweetness. I have a rock cycle diagram printable for you, too!
What Are Rock Cycle Cookie Bars?
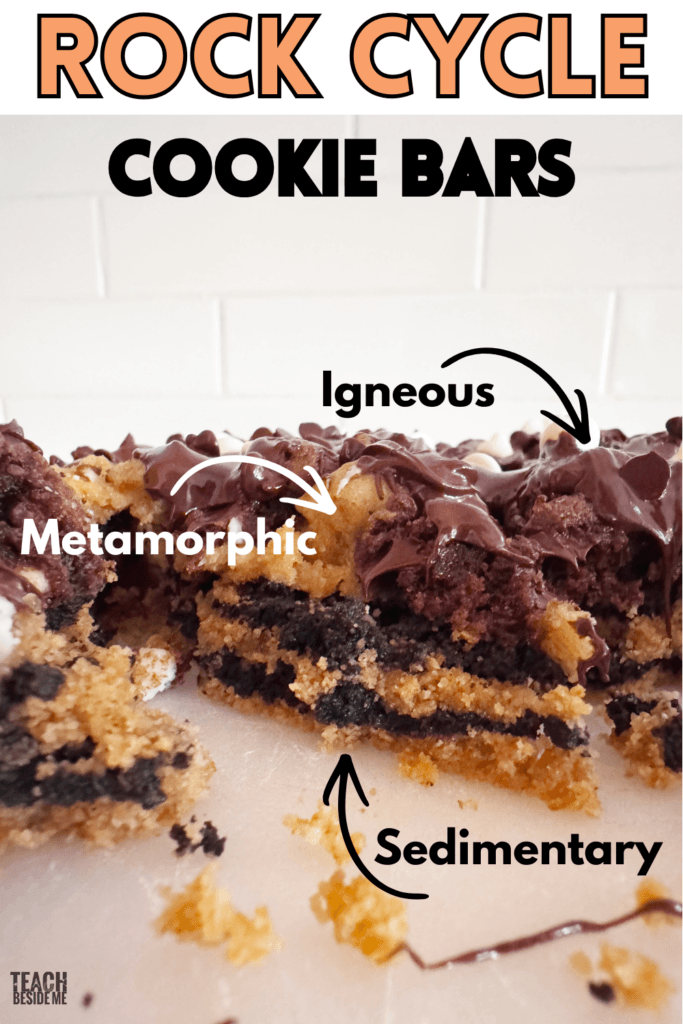
Rock cycle cookie bars are a layered dessert designed to represent the three main types of rocks:
- Sedimentary
- Metamorphic
- Igneous
Each layer uses different ingredients and textures to model how rocks are formed and transformed over time.
Rock Cycle Cookie Bars Ingredients
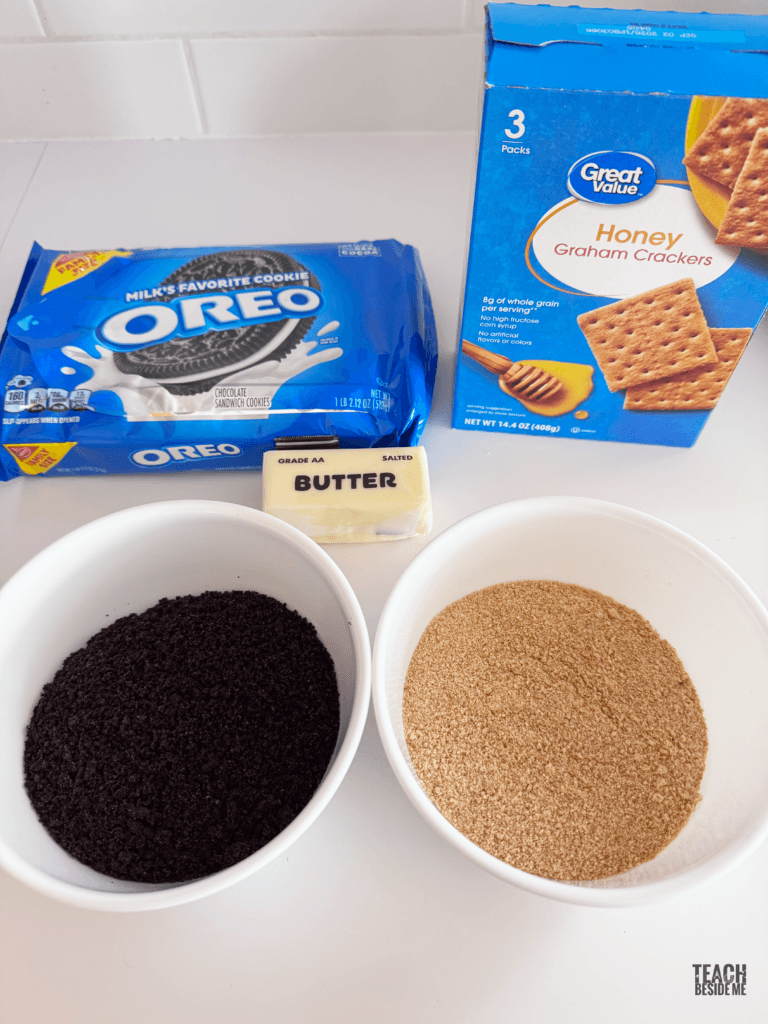
Sedimentary Layer (Bottom)
- 1 c. cups graham cracker crumbs
- 1 c. oreo crumbs
- 6 tablespoons melted butter (or coconut oil)
- 1 tablespoon honey (optional)
Metamorphic Layer (Middle)
- ½ cup butter, softened
- ½ cup brown sugar
- ¼ cup white sugar
- 1 egg
- 1 teaspoon vanilla
- 1 ¼ cups flour
- ½ teaspoon baking soda
- ¼ teaspoon salt
- ½ cup chocolate chips
- optional extras- cocoa powder, pretzels, nuts, white chocolate chips
Igneous Layer (Top)
- 1 cup chocolate chips
- 1 teaspoon coconut oil (optional)
How to Make Rock Cycle Cookie Bars
Step 1: Prepare the Pan
Preheat oven to 350°F and line a 9×9 baking dish with parchment paper.
Step 2: Make the Sedimentary Layer
Pulse graham crackers in the food processor. Mix graham cracker crumbs, half the melted butter, and honey until it resembles wet sand. Do the same with the Oreos, but no honey is needed. Layer the two.
Press firmly into the bottom of the pan.
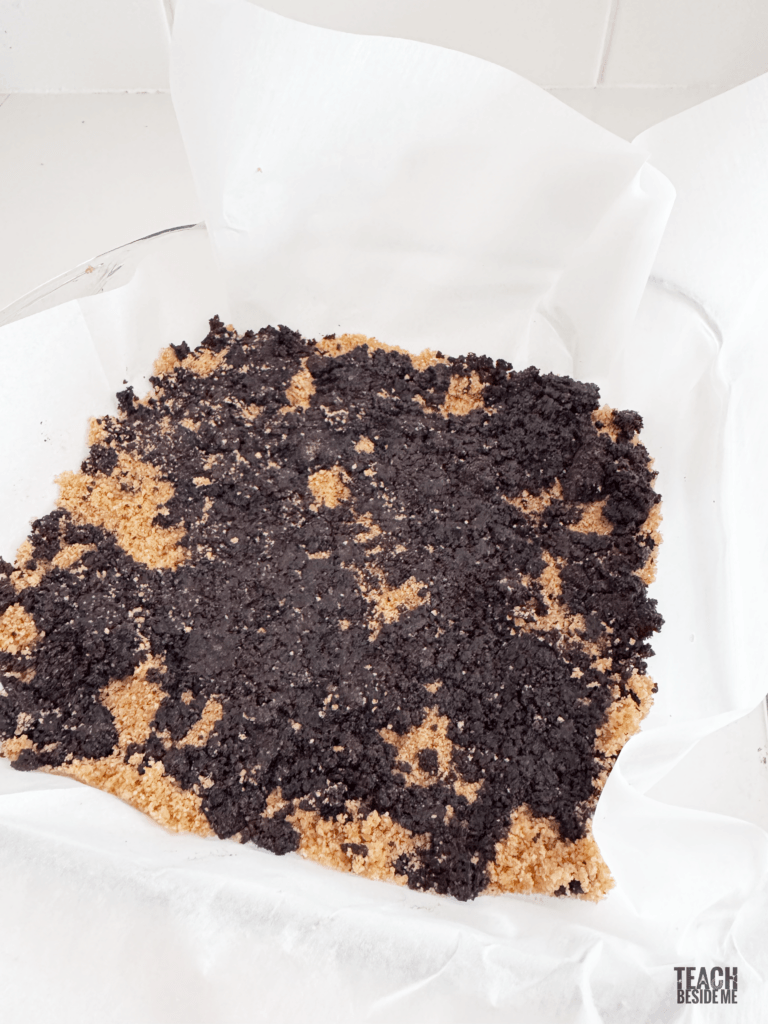
This represents layers of sediment being compacted into sedimentary rock. Chill in the freezer for about 10 minutes.
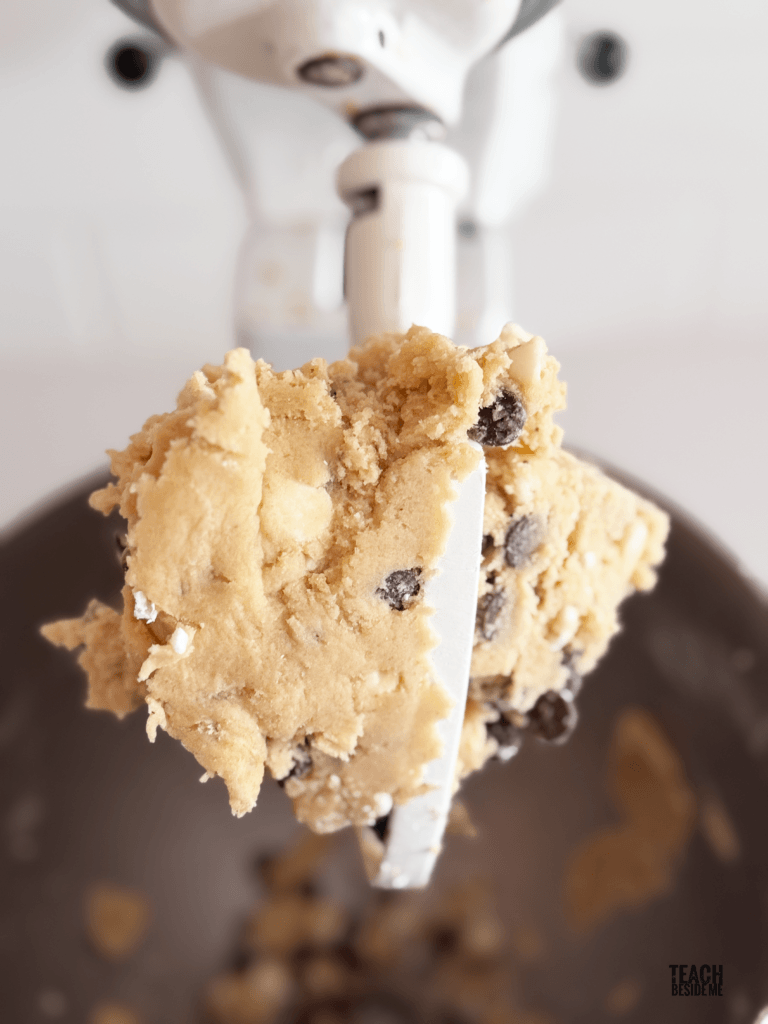
Step 3: Make the Metamorphic Layer
In a bowl:
- Cream butter and sugars
- Add egg and vanilla
- Mix in dry ingredients
- Fold in chocolate chips
- To make it look more realistic, mix cocoa powder into half the dough and swirl them.
- Optional: Add nuts or pretzels if desired to look more like rocks and fossils
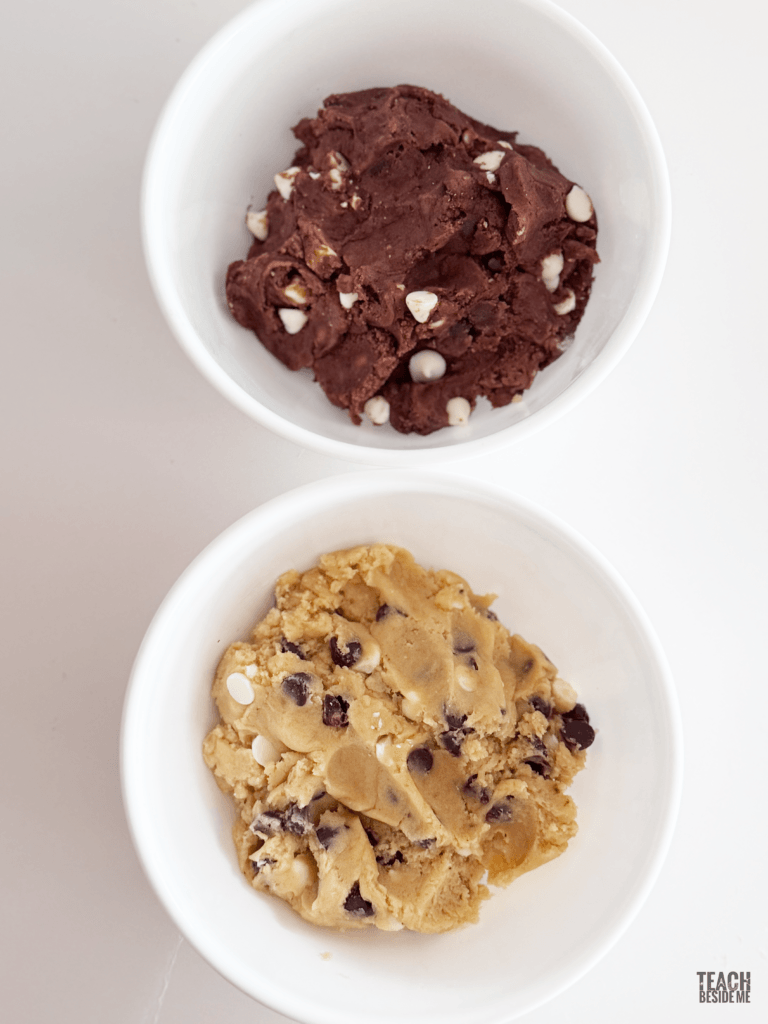
Drop in chunks over the crust mixing the two types of dough. This layer will change during baking, just like rocks under heat and pressure.
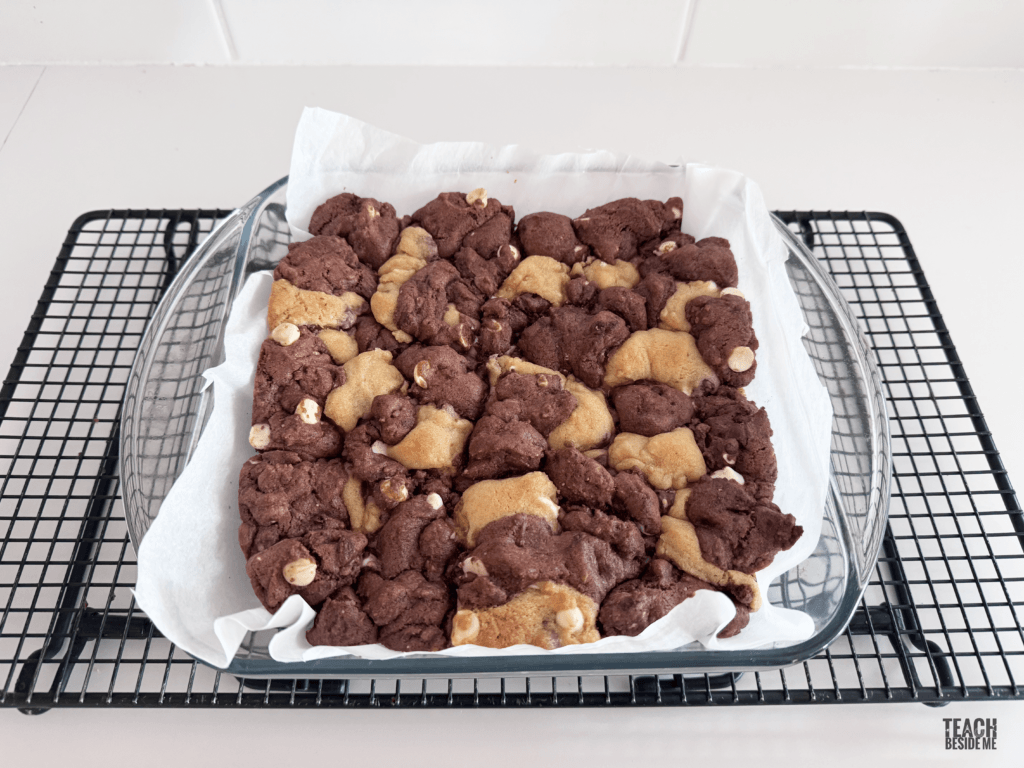
Step 4: Bake
Bake for 18–22 minutes until lightly golden and set.
Let cool slightly.
Step 5: Add the Igneous Layer
Melt chocolate chips (with coconut oil if using) and spread or drizzle over the top.
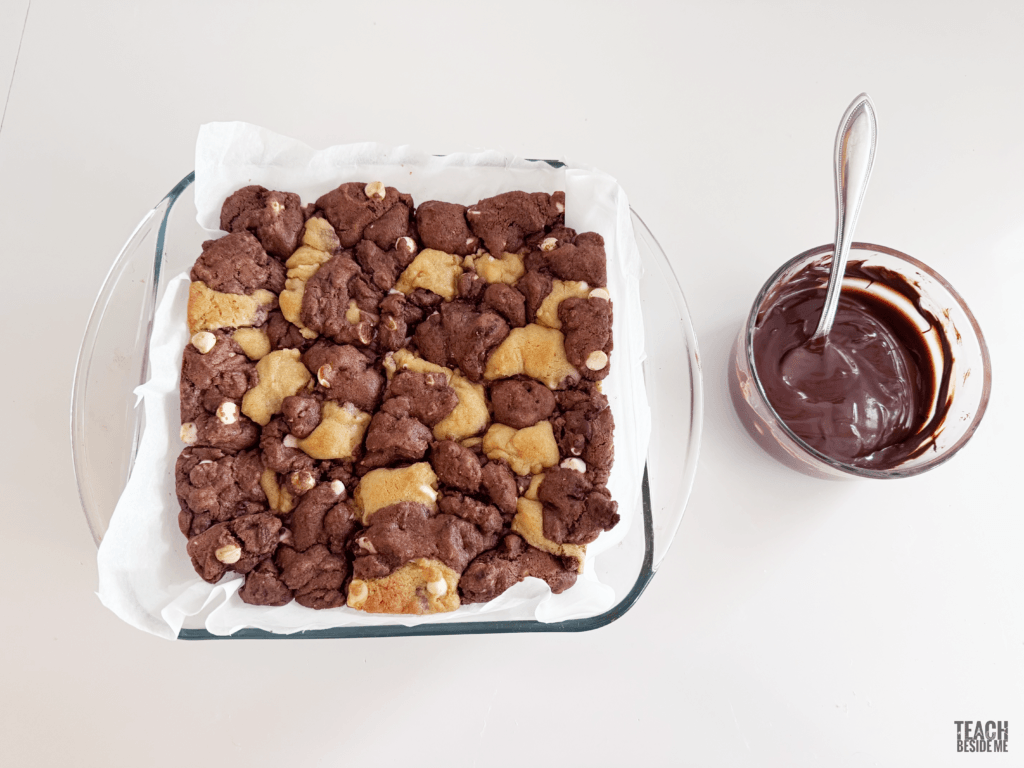
This represents molten rock (lava) cooling into igneous rock.
Step 6: Cool and Slice
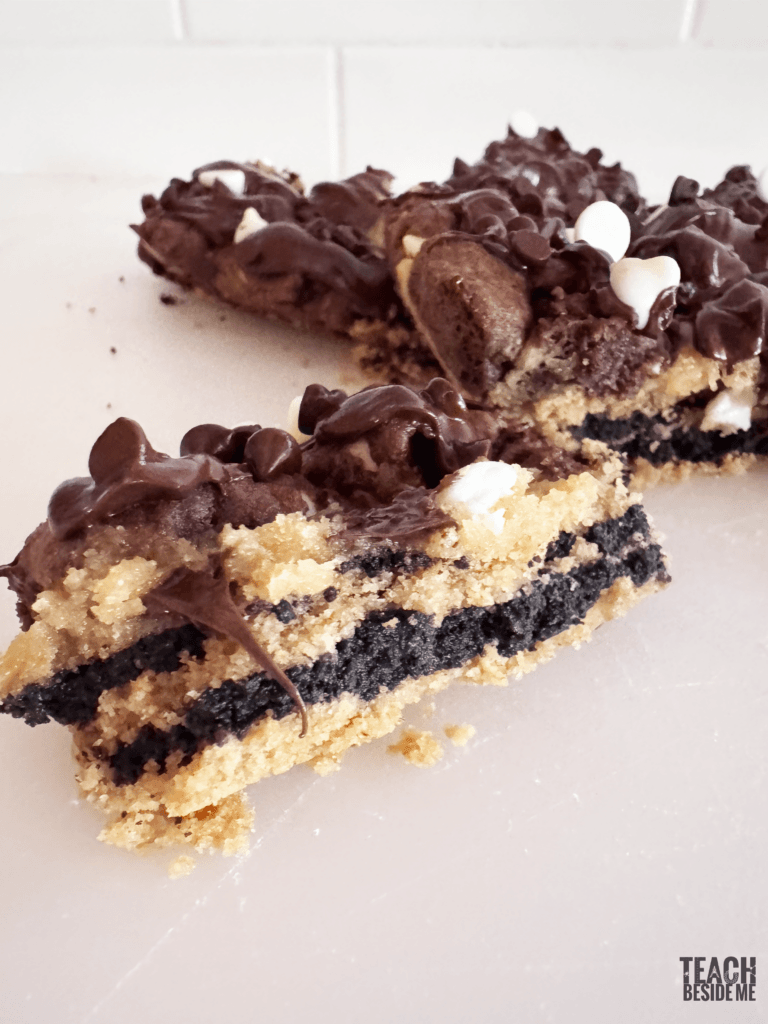
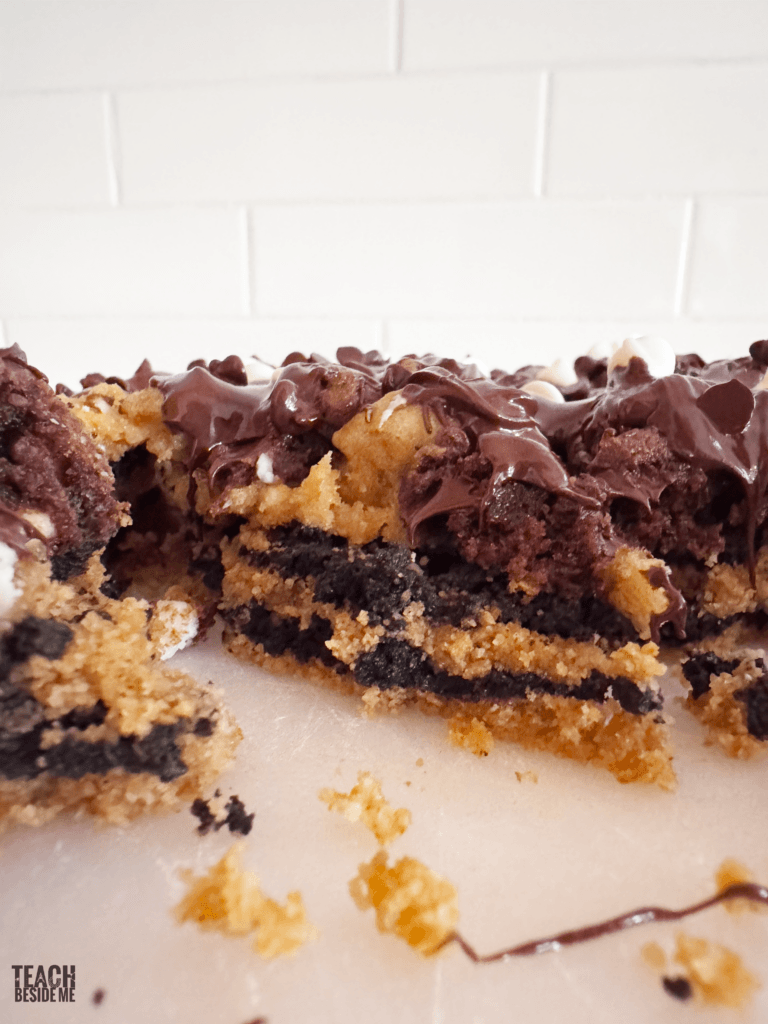
Let bars cool completely, then slice or break apart to reveal the layers.
Make Them Look Like Real Rocks
Want your rock cycle cookie bars to look even more like real geology?
Layered Sedimentary Look
- Alternate light and dark crumbs
- Press in thin layers for stripes
Swirled Metamorphic Look
- Divide dough and add cocoa to half
- Swirl together before baking
Lava Igneous Look
- Add coconut oil for glossy chocolate
- Swirl dark and white chocolate
Rocky Texture Version
- Add oats, nuts, or granola
- Creates a rough, natural look
Fossil Surprise Version
- Press small pieces (like cereal or pretzels) into the dough
A fun surprise that connects to fossil learning!
The Science Behind the Rock Cycle
The rock cycle explains how rocks are constantly changing over time through natural processes. Even though rocks seem permanent, they are always being formed, broken down and transformed.
There are three main types of rocks:
Sedimentary Rocks
In this recipe, the crumb crust represents these layered sediments.
Metamorphic Rocks
In this recipe, the cookie layer changes texture during baking, modeling this transformation.
Igneous Rocks
In this recipe, the melted chocolate represents lava that cools into solid rock.
How The Cookie Bar Models the Rock Cycle
These cookie bars show a simplified version of the rock cycle:
- Sediments form layers → sedimentary rock
- Heat and pressure change the rock → metamorphic rock
- Rock melts and cools → igneous rock
In nature, this process takes millions of years!
Make It a Hands-On Learning Activity
Ask kids:
- Which layer looks most like real rock?
- What changed during baking?
- Which layer represents lava?
You can even label each layer before eating.
Kids learn best when they can:
- See it
- Touch it
- Experience it
This activity combines all three, and adds a delicious reward at the end!
Download the Printable Rock Cycle Diagram + Recipe Card
Want to take this activity further?
This printable set includes:
- Rock cycle labeling worksheet
- Observation page
- Recipe card
Perfect for turning this into a full science lesson!
Extend the Learning
If your kids enjoyed this activity, try these next:
- Edible Earth Soil Layers Dirt Cups
- Edible Layers of the Earth Project
- Sedimentary Rocks & Fossil Experiment
These all connect together to build a deeper understanding of Earth science in a hands-on way.
If your kids enjoy hands-on science activities like this one, MEL Science is another fun way to continue STEM learning at home. Their science kits include engaging experiments, science concepts, and guided projects that help make chemistry and physics feel exciting and approachable for kids.