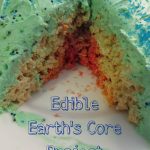
Edible Layers of the Earth Project
This post may contain affiliate links.
Looking for a fun and educational way to teach kids about the Earth’s layers? This Edible Layers of the Earth project is a tasty hands-on science and geography activity that your kids will love. It’s part of our ongoing Geography A to Z series, and this one is a favorite—because it ends with dessert!
We’ve been using the book Geography From A to Z by Jack Knowlton as a jumping-off point for each project. While the letter E isn’t directly covered in the book, I couldn’t resist doing something with “Earth” for our next installment. I’ve had this edible Earth layers idea in the back of my mind for a while, and it turned out to be both fun and fascinating.
Why Teach the Layers of the Earth?
Understanding the Earth’s structure lays the foundation for earth science, geology, plate tectonics, and natural disasters. By turning this lesson into an edible model, kids can better visualize the Earth’s layers—and have a memorable (and tasty!) learning experience.
How to Make the Edible Earth Layers Model
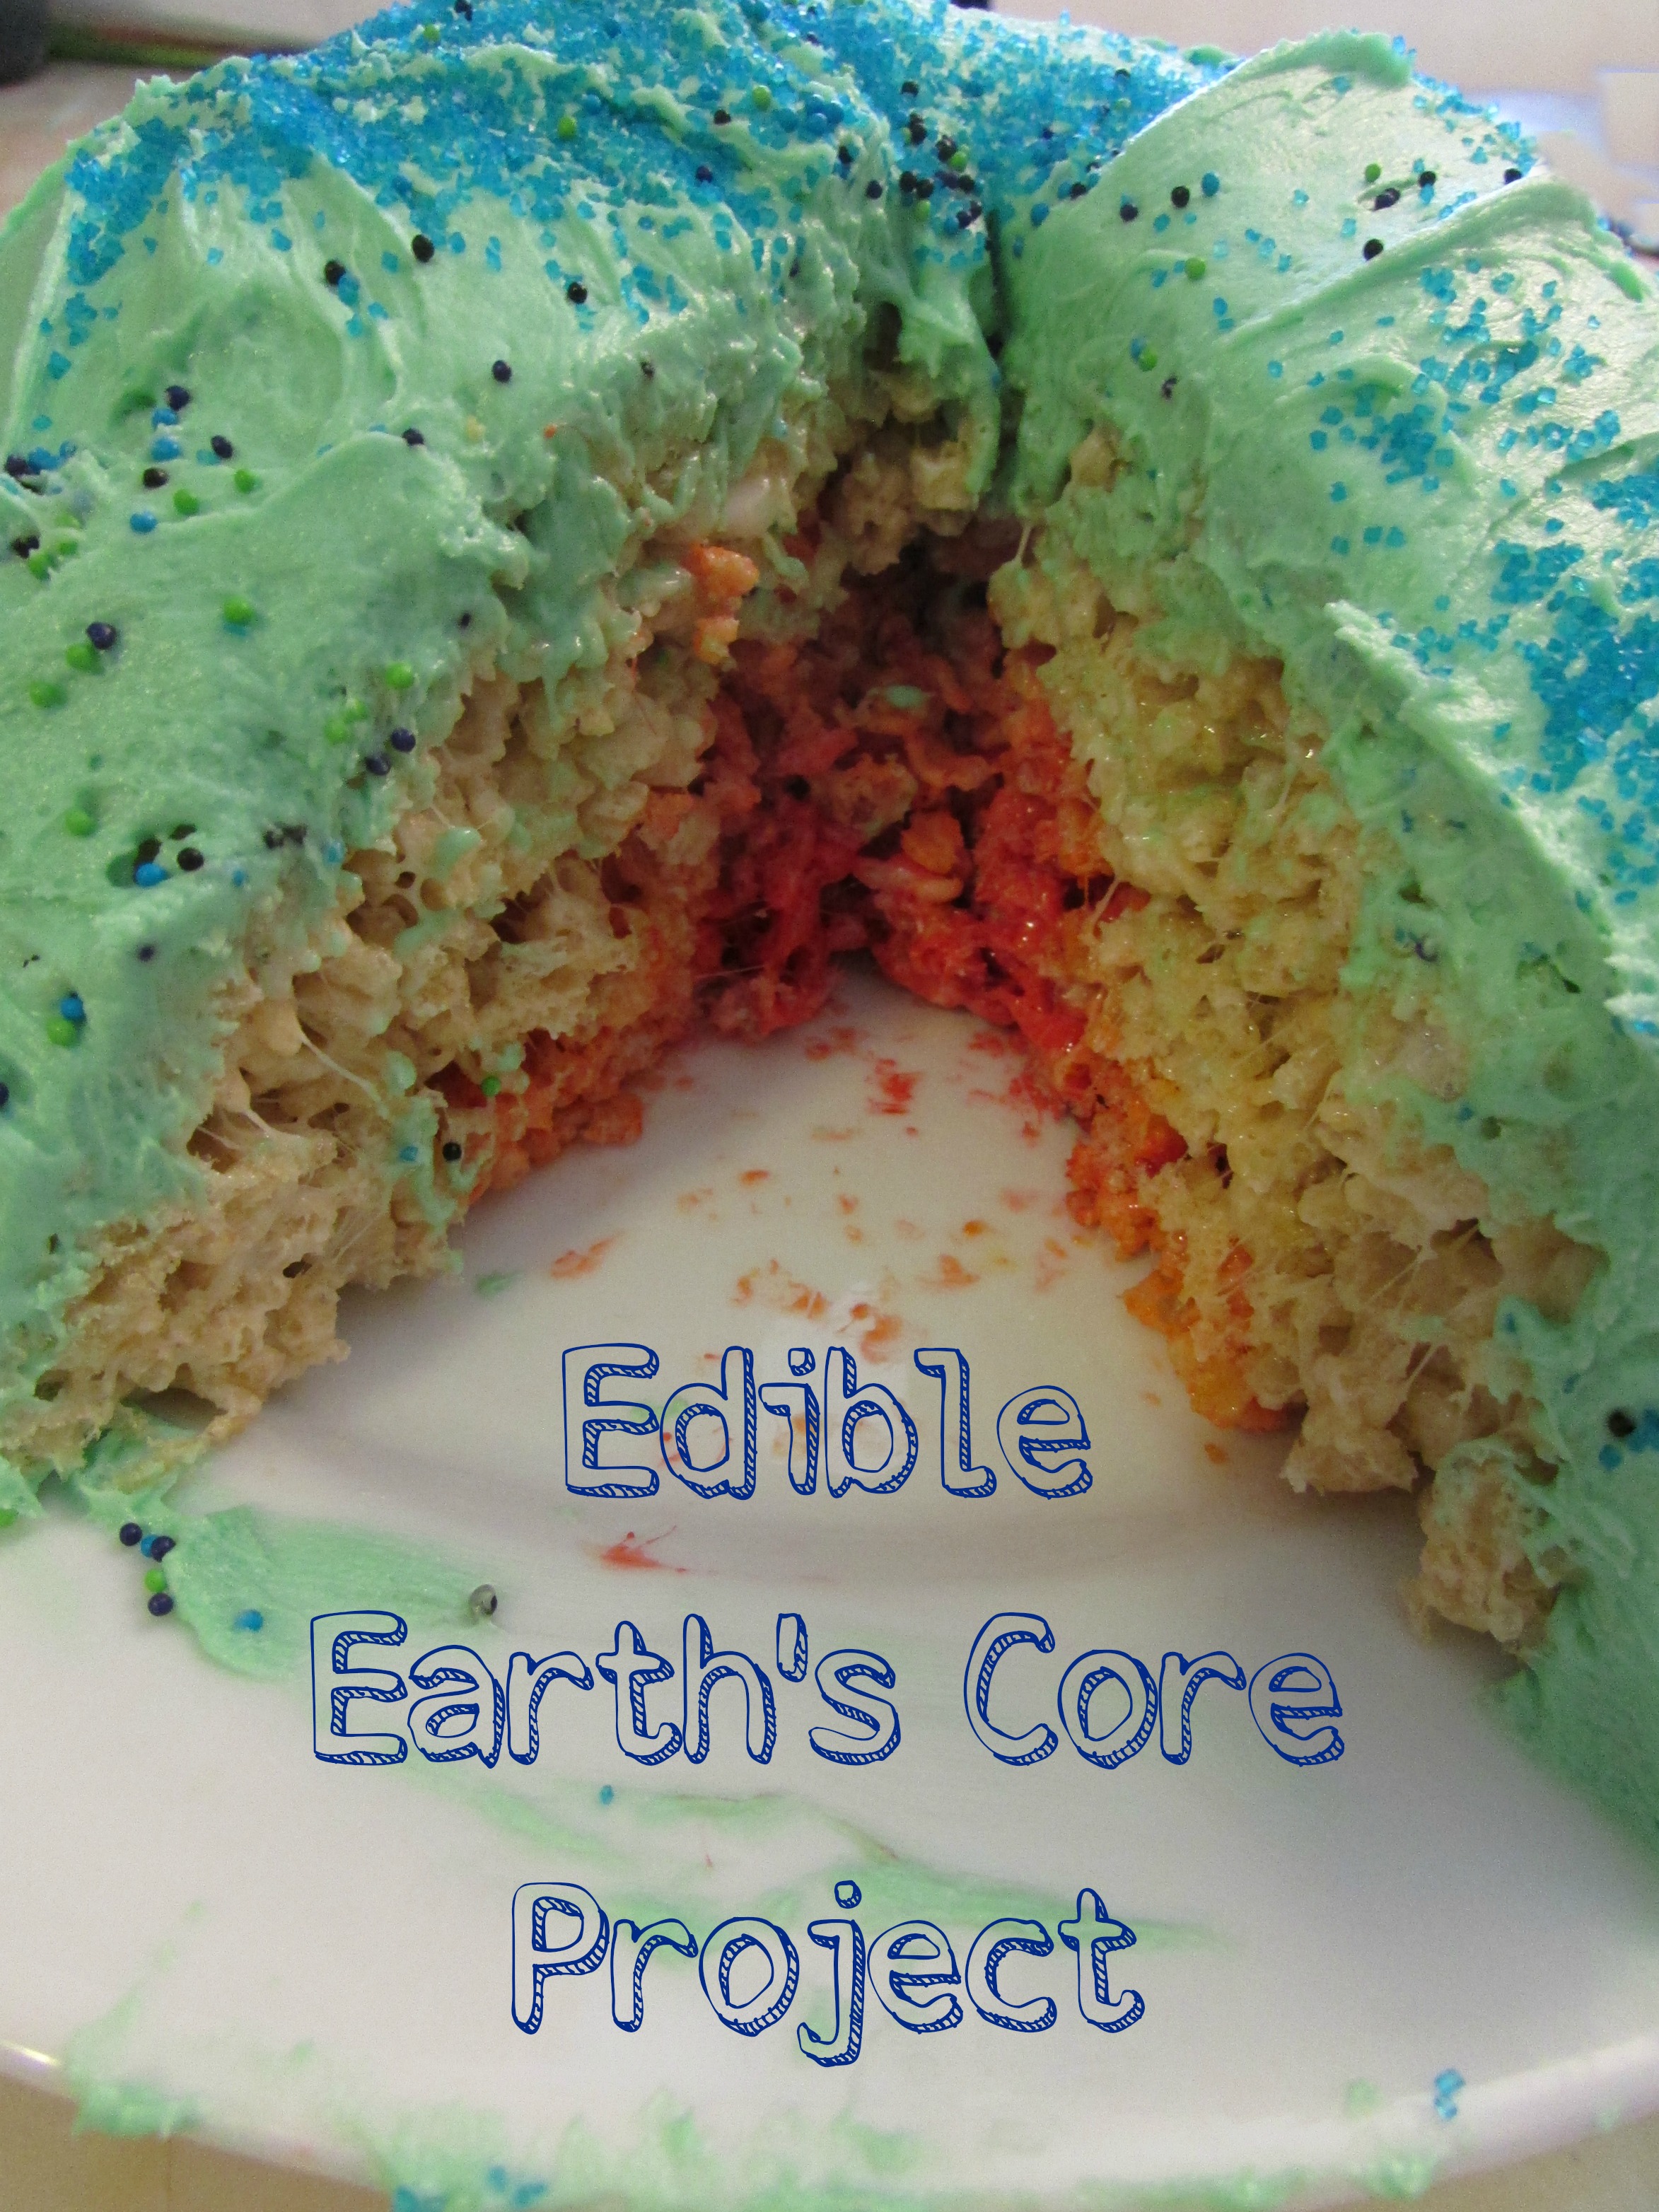
We used Rice Krispie Treats and frosting to represent the four major layers of the Earth:
- Crust (frosting and sprinkles)
- Mantle (plain Rice Krispies)
- Outer Core (orange-dyed Rice Krispies)
- Inner Core (red-dyed Rice Krispies)
You could also try candy melts, frosting, coconut flakes, or even fruit leather—use what you have!

Rice Krispie Treat Recipe
- 1 (10 oz) bag of marshmallows
- 1/4 cup butter (half stick)
- 6 cups Rice Krispies cereal
Melt butter and marshmallows over medium heat until fully melted. Remove from heat and stir in cereal until combined.
How to Assemble the Edible Earth Layers
- Divide & Color: Before pressing it into the pan, divide the warm mixture into three bowls:
- Color one portion red (inner core)
- Color another portion orange (outer core)
- Leave the rest as-is (mantle)
- Shape the Earth: Use a greased round bowl as a mold. Start with the plain Rice Krispies (mantle), then press in the orange (outer core), and finally fill the center with the red (inner core). Flatten the bottom.
- Flip It Out: Invert onto a plate once cool. You’ll have a dome Earth!
- Add the Crust: Use green and blue frosting or melted candy to create the crust. Add sprinkles, tinted coconut, or colored sugar to show continents and oceans.
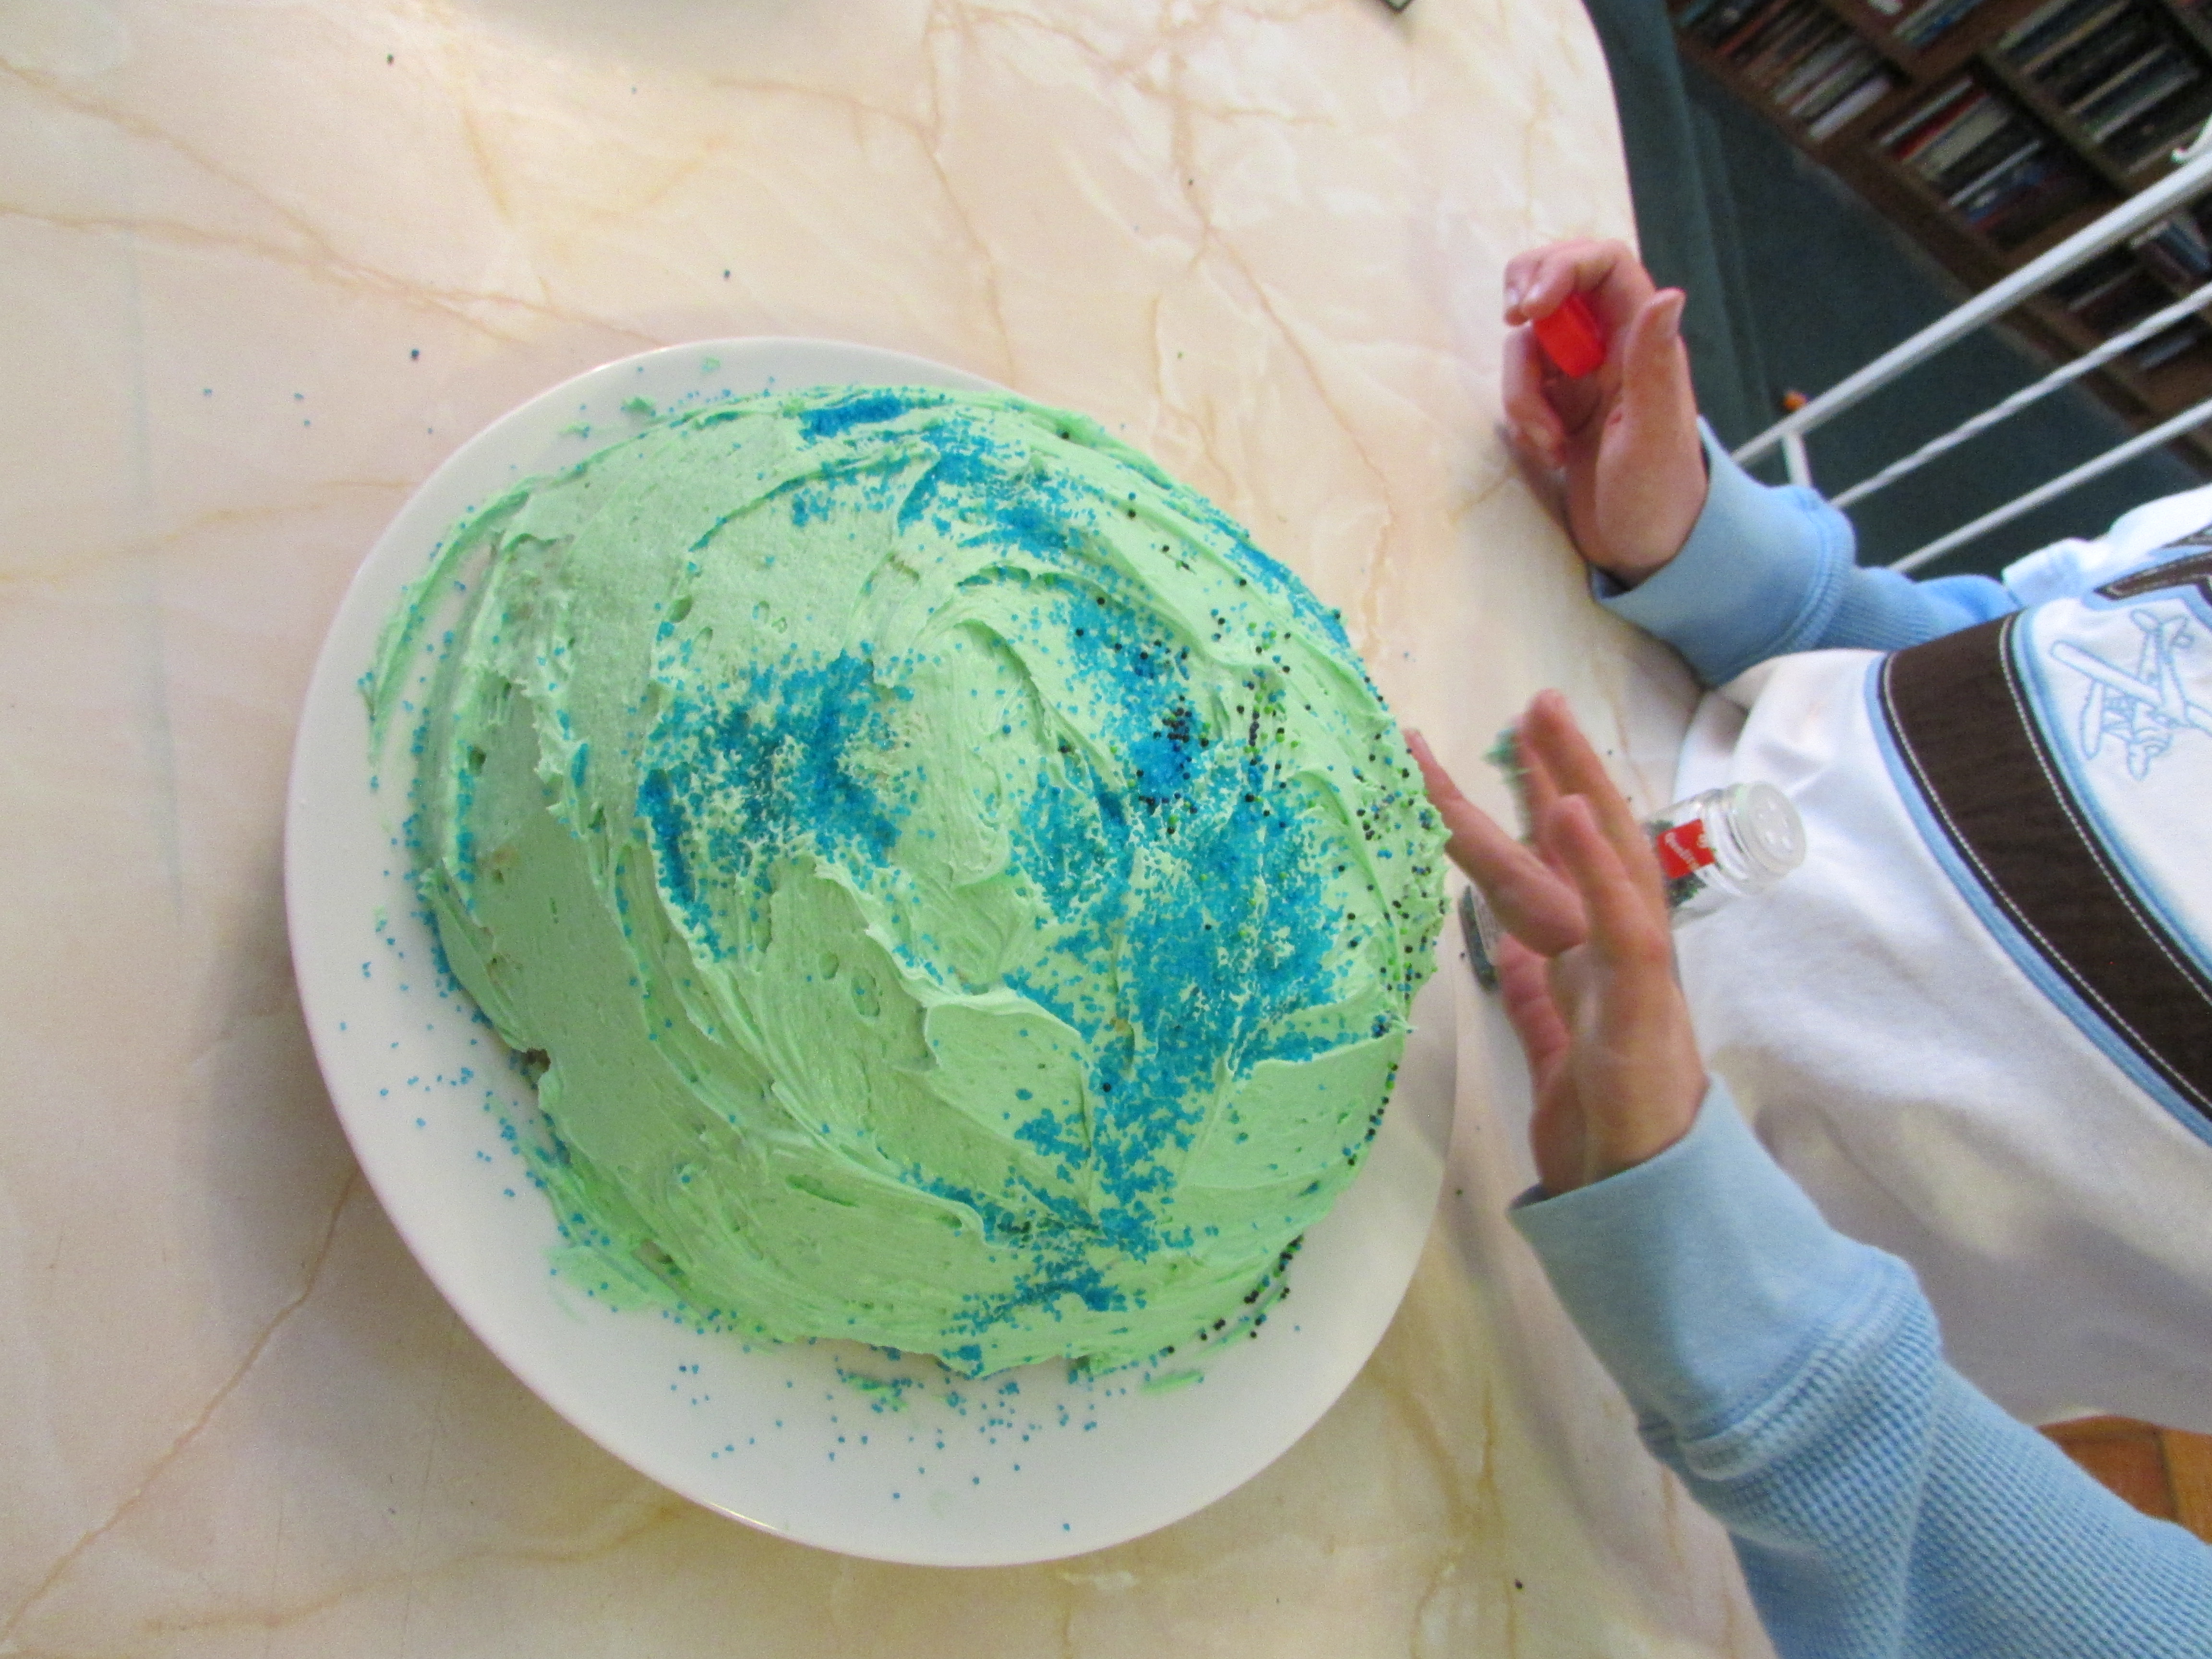
Cut & Observe
Use a knife to slice a cross-section of the model. It’s a beautiful, cross-section view of Earth’s layers—and a tasty science model everyone will enjoy.
Earth Science Behind the Project
Here are some quick facts to reinforce the science behind your snack:
The Four Layers of the Earth:
- Crust: Outermost solid layer. Includes continents and ocean floors. As thin as an apple peel relative to the Earth!
- Mantle: Thickest layer (about 84% of Earth’s volume). Made of hot, slow-flowing rock called magma.
- Outer Core: Liquid metal layer responsible for Earth’s magnetic field. Made mostly of iron and nickel.
- Inner Core: A solid sphere of metal at Earth’s center. Extremely hot—nearly as hot as the sun!
Want to extend the learning? Check out our Tectonic Plates Experiment to explore how the crust behaves.
Great Books About the Earth’s Layers:
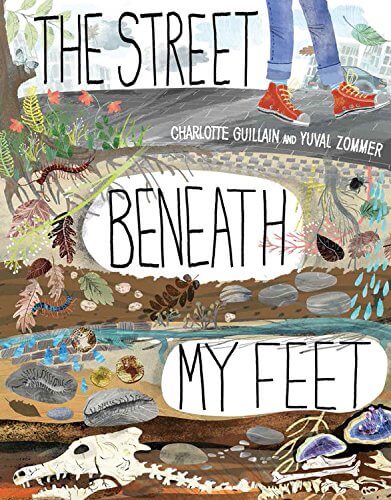
An amazing book to teach this concept further is The Street Beneath My Feet by Charlotte Guillain. My kids love this book!
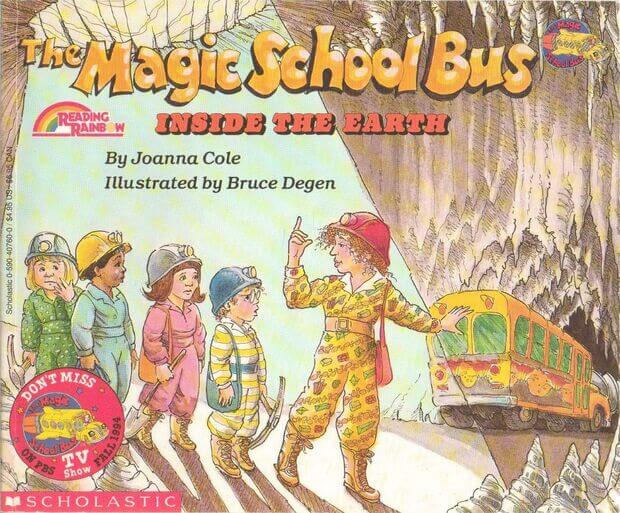
We also love the Magic Schoool Bus Inside the Earth book by Joanna Cole
Nobody complained over doing this awesome Layers of the Earth project! I really love how it turned out. When you cut into it, it is so pretty.
If you liked this edible model of earth, try the Edible Soil Layers chocolate pudding cups! More dessert!

You Amy Also like you Homemade Volcano Science Experiment!
Educational Earth Day Activities for Kids
Edible Ocean Zones Snack Cup for Kids with Printable Diagram
See the Past Posts in the Geography Project Series:
Check Out a Few More Cool Earth’s Layer projects:
Layers of the Earth Pudding Cups from Left Brain Craft Brain


This is a super cute idea! I’m going to pin it for future use!
Oh Karyn girl!!! lol,
MY kind of geography!!
Love your post today and for sure sharing it!!
My son would love this! He’s so interested in the earth’s core at the moment. I’ll show this to him in the morning. Have a great week!
My daughter would love that – rice krispies and science – her two favorite things! Looks like a very fun project.
This is super cute! I am definitely pinning this for later. Anything that the kids can eat makes that much more of an impact!
Thank you for sharing!!
I found your post at Bee Crafty Kids linky. I love it! What a great idea! My kids would love this! Thank you for sharing! Pinning 🙂
This earth looks delicious! Thanks for sharing at Mom’s Library!
Wow, brilliant! Thanks for sharing with Afterschool!
Wow, this is so awesome! Love the idea- simple and educational! A craft after my own heart!
This is so creative. Simple, creative, educational… and.. RICE KRISPIES! 😀
Thank you for sharing this on We Love Weekends last week. This is one we will try to do soon! We thought it was such a great idea that I have highlighted it on this week’s We Love Weekends on Peakle Pie. Looking forward to reading more of your posts on We Love Weekends soon!
i searched edible earth pie and got THIS!!!!!!!!!!!
Im in loooove with da cake cake!