Kitchen Science: Homemade Butter in a Jar
This post may contain affiliate links.
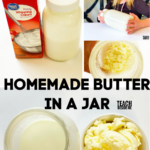
Learning science with food is one of the best ways to make lessons memorable for kids. In this classic kitchen science experiment, kids learn how to make butter in a jar using nothing more than heavy cream and a mason jar.
As they shake the jar, they’ll watch liquid cream transform into solid homemade butter right before their eyes. This simple activity is a great way to teach food science, emulsions, and physical changes in matter.
If you enjoy kitchen science experiments like this one, you might also like my rock candy crystals experiment or bread in a bag activity.
Have you tried this kitchen science experiment before? If not it’s a must-do at some point! I’ve done it on many different occasions in classroom and home settings with my kids and other students I have taught over the years.
When I taught Foods classes, we always did this experiment. I have also done it in a large church class with a whole bunch of kids passing it around the room. There are so many ways to make it fun!
Materials to Make Butter in a Jar
-
Mason jar with tight lid
-
Heavy whipping cream
-
Pinch of salt (optional)
-
Small bowl or spoon for tasting
Optional:
-
Marbles (to speed up agitation)
Watch it in action here:
How to Make Homemade Butter in a Jar
This is such an awesome kitchen science experiment. But also, this activity is perfect to use in a Farm Unit! With out Community Helpers focus this week, this is my science activity for that theme.
Fresh butter is so easy to make, and it is delicious! Homemade butter (like everything) is so much better than the store bought kind.
It used to be done in a butter churn, back in the day. I can imagine those who churning butter must have some great arm muscles! We have an antique butter churn in our house that was from one of my husband’s ancestors. I love showing it to my kids and helping them understand how butter is made.
Step-by-Step Instructions
-
Fill a mason jar halfway with heavy cream.
-
Add a pinch of salt if desired.
-
Screw the lid on tightly.
-
Shake the jar vigorously for several minutes.
-
The cream will first turn into whipped cream.
-
Continue shaking until butter solids separate from liquid buttermilk.
-
Open the jar and drain the buttermilk.
-
Spread your fresh butter on bread or crackers and enjoy!

Making the Homemade Butter in a Jar:
You need cream and salt and a mason jar. That’s it! The proportions will vary depending on the size of your jar.
Just fill your jar up halfway with some heavy cream. I also like to put a pinch of salt into the cream so the butter has a nice salty flavor.

Any size of jar will do. If you want a small amount, use a little jam or baby food jar. We used a quart size jar for ours.
Screw your lid on tight – you don’t want to use a canning lid as the liquid will escape. Make sure you have a solid lid. Some people like to put some marbles into the jar to allow more stirring to happen within.

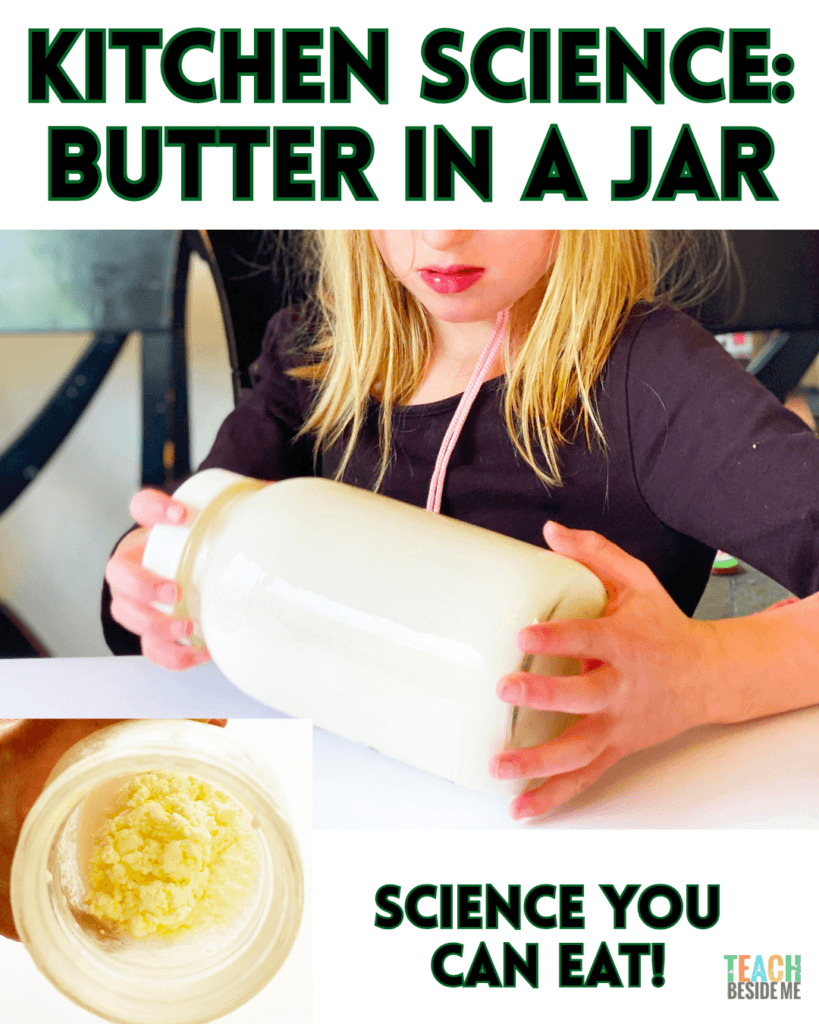
Start shaking or rolling the jar. It will take some time and your hands and arms will tire of shaking unless you have a few helpers. My kids sat and rolled it to each other for a while and took turns shaking it.

About half way through the shaking process, you feel it get a lot thicker. When we opened it, It was about the consistency of whipping cream.

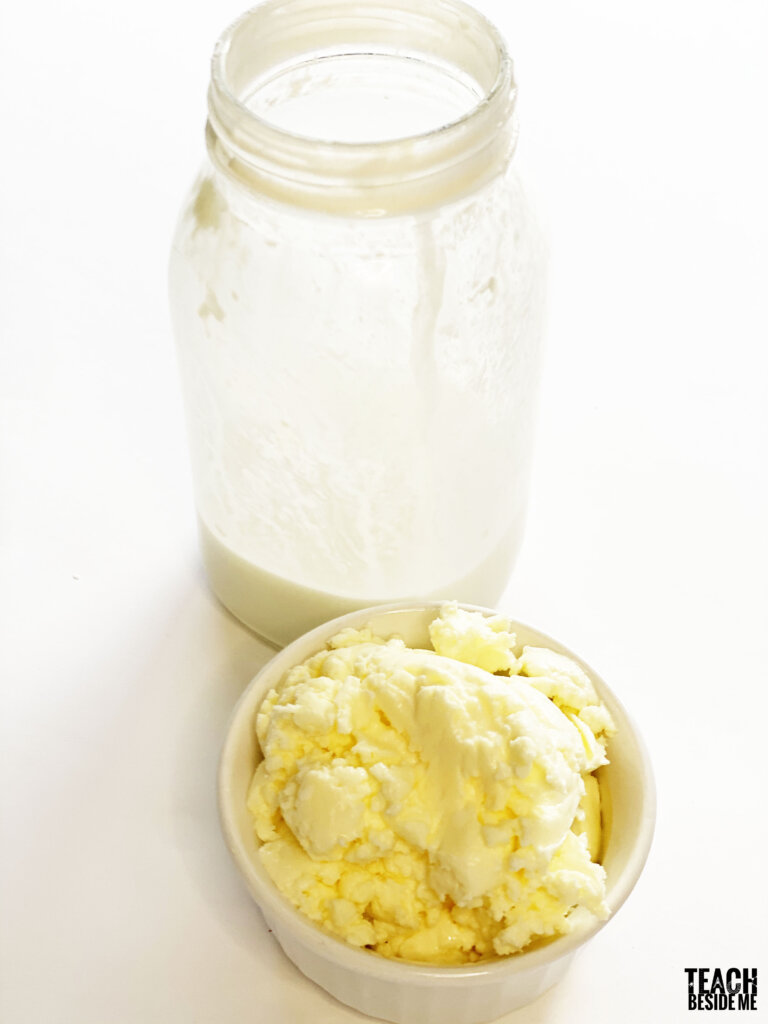
Then, as you continue to shake, you will feel the consistency change again. This is when the butter and the buttermilk separate. You will also see it has turned yellow!

After about 30 minutes of shaking, ours was done.
This can easily be done with a hand mixer, a stand mixer, or even a food processor. If you want it done more quickly, this is the way to go. We were going for the experience, though. Now you can spread it on some toast and enjoy!
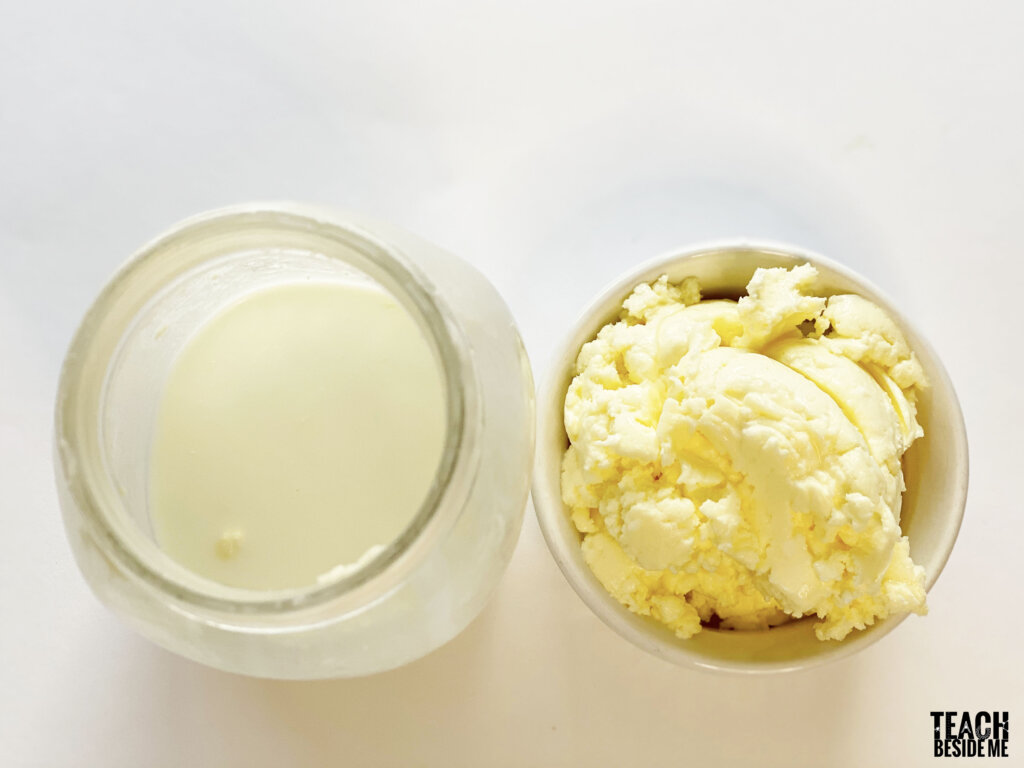
The liquid left behind in the jar is called buttermilk. There will always be some left. We had about a cup of buttermilk left over in our jar.
Have you ever bought buttermilk in the store? This is what it is! Don’t throw it out! Make some biscuits or pancakes with it.
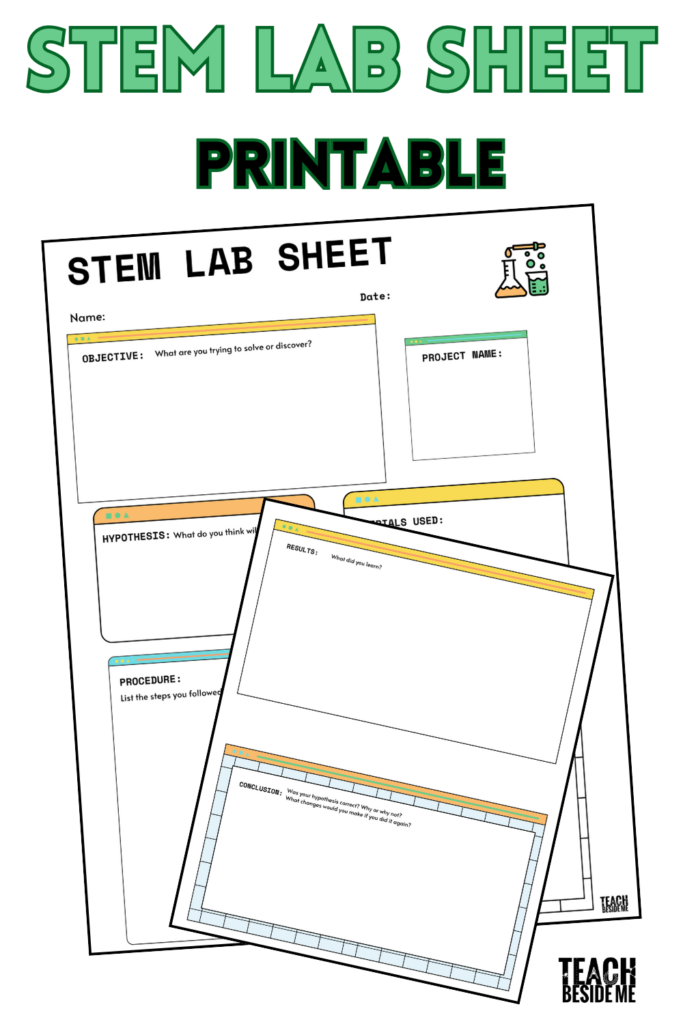
Use my STEM Lab sheet to make this into a lesson!
The Science Behind It: A Food Chemistry Experiment About Emulsions
Making butter in a jar is actually a food chemistry experiment about emulsions. An emulsion is when two substances that normally don’t mix—like fat and water—are temporarily blended together. Heavy cream is a natural emulsion where tiny droplets of fat are suspended in liquid.
When you shake the jar, the movement breaks the membranes around the fat droplets. Once those protective layers break, the fat molecules begin sticking together and clumping. Eventually they form solid butter, and the remaining liquid separates out as buttermilk. What started as a smooth emulsion is now separated into two parts!
Heavy cream contains tiny fat droplets surrounded by membranes that keep them evenly mixed in the liquid. When you shake the jar, you break those membranes.
The fat droplets begin sticking together, forming solid butter. The remaining liquid becomes buttermilk.
In simple terms, shaking the jar breaks the cream apart so the fat can gather together to make butter.
Three Food Science Processes Happening in This Experiment
Making butter in a jar is more than just a fun activity—it actually demonstrates three different food science processes.
First, as you begin shaking the cream, air becomes trapped in the liquid and it turns into whipped cream, which is a type of foam.
Next, continued shaking breaks the emulsion in the cream. An emulsion is a mixture where fat droplets are suspended in liquid. When the membranes around the fat droplets break, the fat molecules begin sticking together and forming butter.
Finally, the butter separates from the liquid buttermilk, showing a process called phase separation, where two substances divide into different layers.
This simple experiment lets kids observe several important food chemistry concepts in action.
Is Making Butter Physical or Chemical Change?
Making butter in a jar is an example of a physical change. During a physical change, the substances involved stay the same, but their form or structure changes. (See my post on states of matter.)
Try Changing the Experiment
Students can test different variables:
-
Does shaking faster make butter form sooner?
-
Does warm cream work faster than cold cream?
-
Does jar size affect the time it takes?
Why Does Butter Turn Yellow?
Butter becomes yellow because cows eat grass and plants that contain beta-carotene, a yellow pigment.

Beta-carotene dissolves in fat. When the fat separates from the liquid milk during butter making, the yellow pigment becomes concentrated in the butter.
That’s why butter is yellow while milk looks white.

Butter Making Around the World
Before modern grocery stores, families made butter at home using wooden churns. Children often helped churn butter as part of daily farm life.
Traditional butter making tools included:
-
Dash churns
-
Barrel churns
-
Clay butter jars
This ties beautifully into farm units, history lessons, and pioneer studies.
Making butter in a jar is a simple activity that combines science, history, and food. Kids love seeing cream transform into butter while learning about emulsions and fat molecules.
Best of all, they get to eat the experiment!
FAQ: Making Butter in a Jar
How long does it take to make butter in a jar?
It usually takes 5–10 minutes of shaking for the cream to turn into whipped cream and another 5–10 minutes for butter to separate from the buttermilk.
Why does cream turn into butter when shaken?
Shaking breaks the membranes around fat droplets in the cream. The fat molecules stick together, forming solid butter while the liquid separates as buttermilk.
What age is this experiment good for?
Kids ages 4–12 can easily participate. Younger kids enjoy shaking the jar while older students can learn the food chemistry behind emulsions.
What can you do with the leftover buttermilk?
Buttermilk can be used for pancakes, biscuits, or quick breads.
See More Kitchen Science Experiments:
Kitchen Chemistry: Cake Experiment
How to Make Ice Cream in a Bag: Summer Science Experiment
Space Food: How to Make Astronaut Ice Cream
Five Senses Activities for Kids