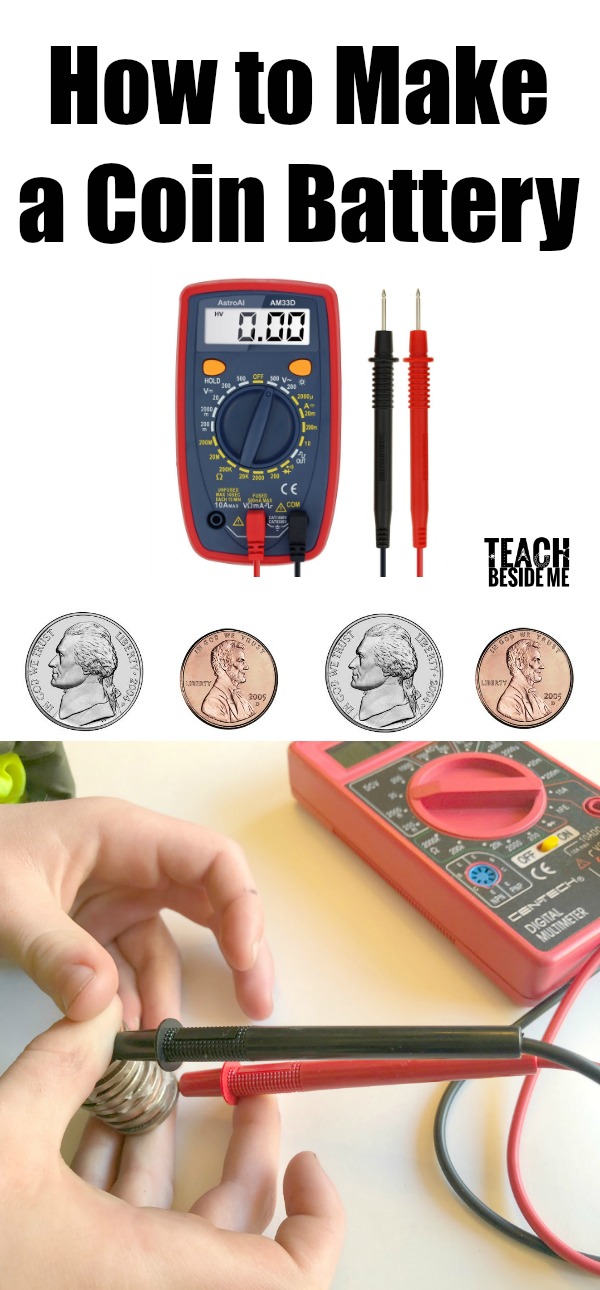
How to Make a Coin Battery: Easy Electricity Experiment for Kids
This post may contain affiliate links.
Did you know you can power a small light with just a few coins? This DIY coin battery experiment is a hands-on STEM activity that teaches kids how electricity works through a simple, safe, and exciting chemistry project. With just a few household materials, you can create your own homemade battery and measure the voltage it produces!
Perfect for science lessons, homeschool STEM units, or just a rainy-day experiment with your curious kids.
What Is a Coin Battery?
A coin battery (also called a voltaic pile) is a simple homemade battery made by stacking alternating layers of two different types of metal with an electrolyte in between. It mimics the function of real batteries and can produce a small voltage—sometimes enough to power a tiny LED light!
This experiment is a modern version of the original battery created by Alessandro Volta in 1800, which used copper and zinc discs separated by brine-soaked felt.
How to Make a Coin Battery
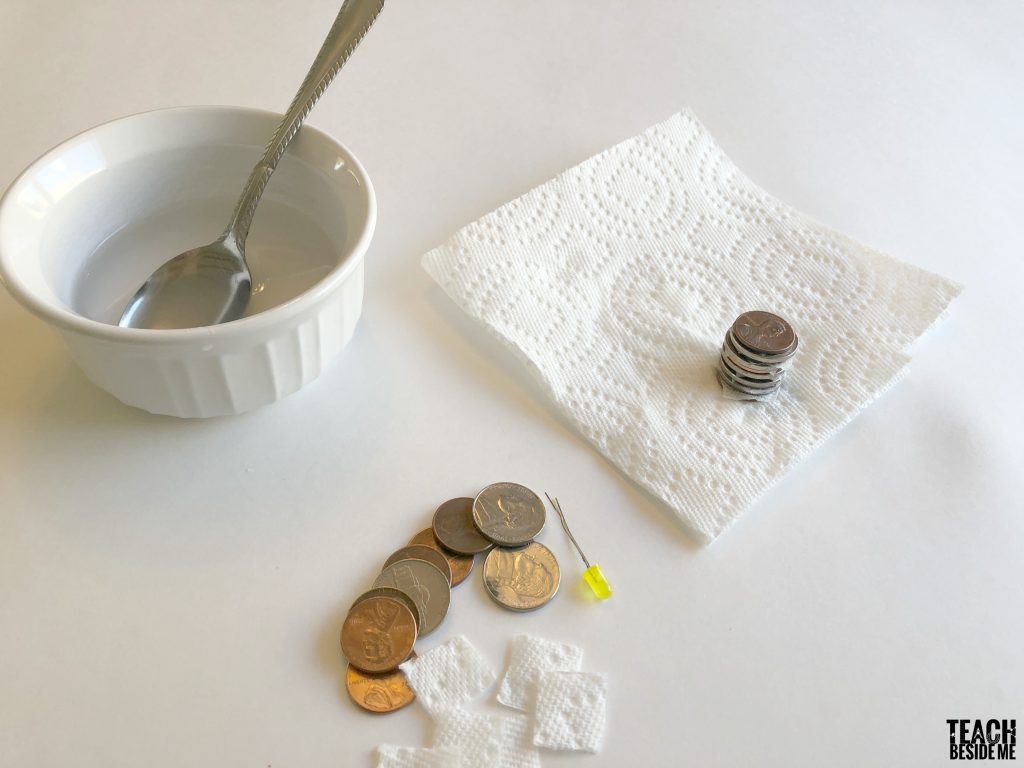
Supplies you will need to make this coin or penny battery:
Supplies Needed
- 6–8 copper pennies (or more)
- 6–8 nickels (or try washers or small squares of aluminum foil as a substitute)
- Paper towels or Coffee Filters
- ¼ cup white vinegar
- 1 Tbsp salt
- Multimeter (voltmeter)
- Small LED Pin Light (optional, for testing)
Optional: Gloves or tweezers to avoid getting vinegar on your hands
nstructions
- Prepare the Electrolyte: In a small bowl, mix the vinegar and salt until the salt dissolves completely.
- Cut the Paper: Cut small squares from your paper towel or coffee filters, slightly smaller than your coins.
- Soak the Paper: Dip the squares into the vinegar-salt solution and squeeze out excess liquid. They should be damp but not dripping.
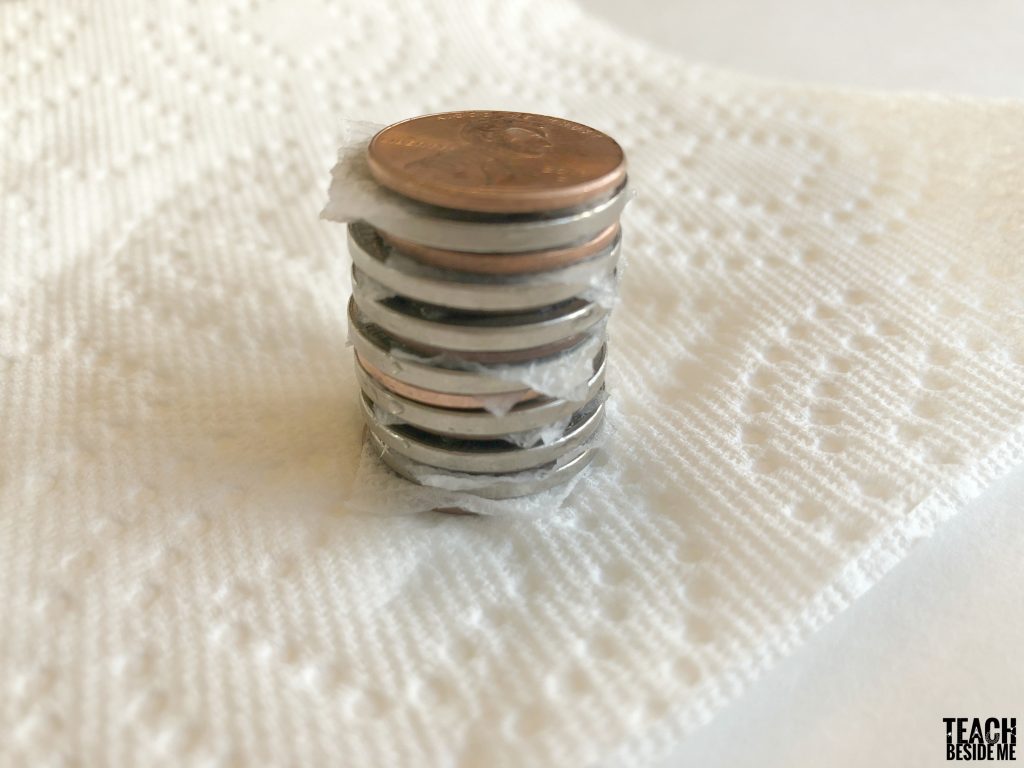
- Build the Battery Stack: Stack the materials in this order: penny → soaked paper → nickel. Repeat until you have a tall stack. End with a penny on top and a nickel on the bottom.
-
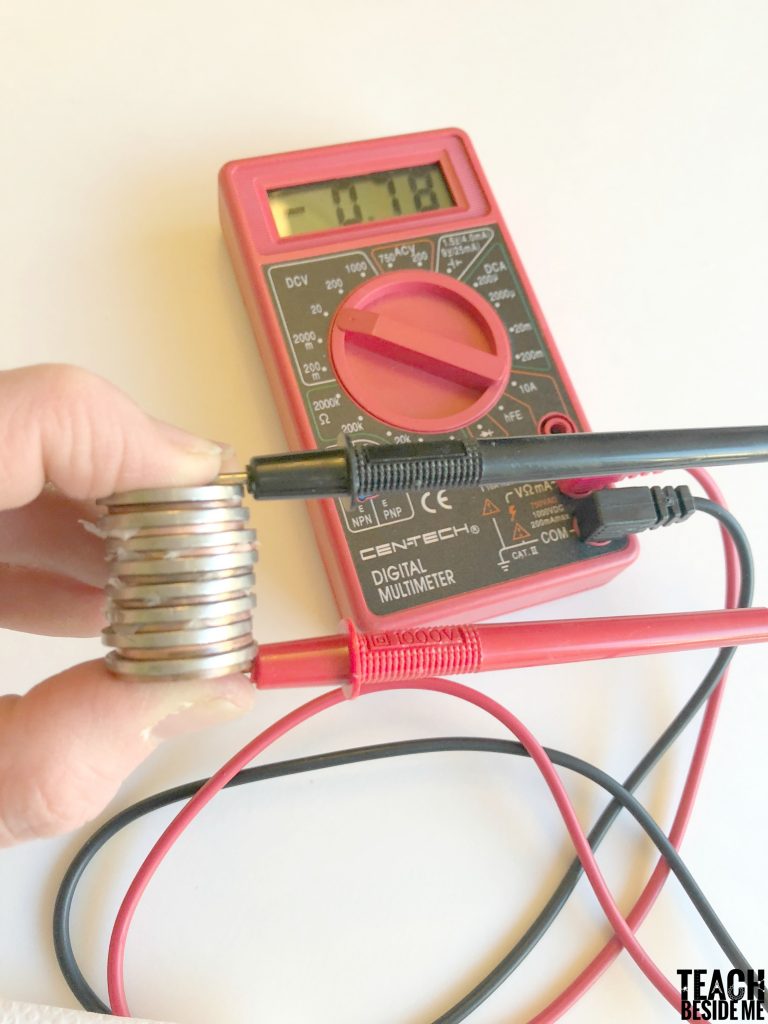
Test the Voltage: Use a multimeter set to a low DC voltage range. Touch the red (positive) lead to the top penny and the black (negative) lead to the bottom nickel. Record the voltage!
-
Try Lighting an LED: If your stack generates at least 2 volts, try attaching a small LED pin light and see if it glows.
Troubleshooting Tips
- Flip the leads on your multimeter if the reading is negative.
- Wipe off excess liquid—too much moisture can short-circuit the battery.
- Use more coin layers to increase voltage.
- Try different materials: aluminum foil, washers, or even lemon juice as the electrolyte.
The Science Behind the Coin Battery
This project demonstrates a basic electrochemical reaction. When two different metals (like copper and zinc) are connected by an electrolyte (salt and vinegar), electrons flow from one metal to the other.
Key Terms to Know:
- Electrodes: The coins. Pennies = copper, Nickels = zinc (or sometimes nickel-plated).
- Electrolyte: The vinegar and salt mixture that enables the electron flow.
- Oxidation-Reduction Reaction (Redox): A chemical reaction that moves electrons between substances.
- Current: When a wire or LED connects the top and bottom of the stack, electrons flow—creating electricity!
Historical Note: This setup mimics Volta’s original battery design, known as the Voltaic Pile, the first electrical battery ever built.
Learning Extensions
- Record voltage as you add more layers. Graph your results.
- Try different electrolytes: lemon juice, saltwater, soda.
- Test other metal combinations: washers + pennies, aluminum foil + copper.
- Challenge: Can you make the LED light up using only items from your kitchen?
Want More STEM Technology Project Ideas?
Check out these ones:
Dirt Battery
Lemon Battery
Play Dough Circuits
Conductivity Experiment
This coin battery STEM activity is a great way to introduce kids to electricity, circuits, and chemistry in a way they’ll never forget. Try it with your homeschool group, science class, or family night for some bright learning fun!