Snowflake Symmetry Drawings: Winter Math Art
This post may contain affiliate links.
Snowflakes are one of my favorite examples of math in nature! Their intricate patterns and beautiful shapes make them a wonderful way to introduce children to symmetry through art.
This snowflake symmetry drawing activity combines math, creativity, and careful observation. Kids use a free printable snowflake template to complete the missing half of each design, learning about reflection symmetry as they draw.
It’s a simple winter math art project that works well for homeschool lessons, elementary classrooms, or a quiet afternoon of creative learning.
If your kids enjoy snowflake art, be sure to try our Watercolor and Salt Snowflake Craft, too!

What Is Snowflake Symmetry?
Snowflakes are fascinating because their shapes are connected to the structure of ice crystals.
Most snow crystals form with sixfold symmetry, meaning their basic structure has six directions extending from a central point. This happens because of the way water molecules arrange themselves as ice forms.
When we look at photographs of snowflakes, we often see six arms with similar branching patterns.
But snowflakes aren’t always perfectly symmetrical! Changes in temperature and humidity as they grow can create differences between the arms.
Snowflakes provide a wonderful opportunity to explore two important types of symmetry.
Reflection Symmetry (Line Symmetry)
A shape has reflection symmetry when one half is the mirror image of the other across a line called the line of symmetry.
Imagine folding a perfectly symmetrical picture along its line of symmetry. Both halves would match.
In this activity, children are given half of a snowflake and must draw the missing half to create a complete symmetrical picture.
This helps them practice recognizing and reproducing mirror-image shapes.
Rotational Symmetry
Rotational symmetry happens when a shape looks the same after being turned around a central point by certain angles smaller than a full turn.
An ideal sixfold snowflake design repeats every 60 degrees.
Because a complete circle has 360 degrees, we can divide it into six equal sections:
360° ÷ 6 = 60°
Older students can explore this connection between snowflakes, angles, and geometry as an extension to the drawing activity.
Download the Templates for Snowflake Symmetry Drawings.

Why Use Snowflake Symmetry Drawings for Math?
Symmetry is an important concept in elementary geometry, and drawing is a wonderful way to make it more concrete.
When children complete a symmetrical snowflake drawing, they practice several skills at once.
Visual-spatial reasoning: Children must observe how lines and shapes are positioned and imagine where the matching parts belong.
Geometry: They learn to recognize lines of symmetry and explore how shapes reflect across a central line.
Observation: Students look carefully at details, distances, and angles to reproduce the missing half.
Fine motor skills: Drawing the matching lines and shapes provides practice with pencil control and precision.
Creative thinking: Children can experiment with patterns, colors, and details while exploring mathematical structure.
I love combining art and math because it allows children to experience mathematical ideas rather than simply memorizing definitions.
Try my Math Art: Symmetrical Pattern Coloring Cards, too!

Free Printable Snowflake Symmetry Worksheets
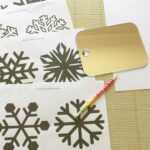
For this project, I created printable snowflake designs that children can use to practice drawing symmetrical shapes.
Each snowflake is cut in half so children can use the existing design as a guide for completing the missing side.
Download the Free Snowflake Symmetry Drawing Templates
You can use these templates for winter math lessons, symmetry practice, art projects, or independent learning activities.
How to Make Snowflake Symmetry Drawings
This is a simple activity that requires very little preparation.
Supplies Needed
- Printable Snowflake Symmetry Templates
- White drawing paper
- Scissors
- Tape
- Pencils
- Optional: Small mirror
- Optional: Colored pencils or markers
Step 1: Print and Cut the Snowflake Templates
Start by printing the snowflake designs.
Cut each snowflake in half along its central line of symmetry.
This is a great step to involve your children in! Before cutting, ask them to look carefully at the snowflake and decide where the line of symmetry should go.
Talk about what makes the two halves match.
Step 2: Attach Half of the Snowflake to Paper
Place one half of the snowflake onto a clean sheet of white paper.
Tape it down so it stays in place while your child works.
The printed half will serve as a reference for completing the missing side.
Step 3: Draw the Missing Half
Now it’s time to complete the snowflake!
Have your child look carefully at the lines, branches, and shapes on the printed half.
Encourage them to imagine how each part would appear if it were reflected across the center line.
They can begin with the larger branches and then add the smaller details.
The goal is to create a mirror image of the original half.
Don’t worry if the drawing isn’t perfectly symmetrical. The process of observing, comparing, and adjusting is where much of the learning happens!
Step 4: Try Using a Mirror
We also experimented with using a small mirror to help us visualize the missing half. Place the mirror upright along the center edge of the printed snowflake and look at its reflection. The mirror creates the appearance of a complete snowflake, showing children what the missing side should look like.
I thought this would make the drawing easier, but we discovered that getting the mirror positioned just right was a little tricky! You have to find an angle where you can see both the reflection and the paper you’re drawing on.
My kids actually preferred drawing the missing half without using the mirror.
Still, it’s a fun experiment and a wonderful way to demonstrate how reflection symmetry works.

Step 5: Compare and Decorate the Snowflakes
Once the drawings are complete, have children compare their finished halves with the printed originals. Do the branches line up? Are the angles similar? Which details were the hardest to reproduce?
Then let them color or decorate their snowflakes! You can use colored pencils, markers, or even a little glitter to turn the drawings into beautiful winter art.
As you can see from our projects, we ended up with a variety of snowflake drawings, and that was part of the fun!
Snowflake Symmetry Activities for Different Ages
You can easily adapt this winter math art activity for different ages and abilities.
Kindergarten and first grade: Focus on recognizing the line of symmetry and drawing the main branches. Younger children may need help with the smaller details.
Second and third grade: Encourage children to match the angles, lengths, and smaller shapes more carefully. Introduce the vocabulary of reflection and mirror images.
Fourth through sixth grade: Challenge students to explore rotational symmetry, measure angles, or create their own sixfold symmetrical snowflake designs.
Older children can also investigate how many lines of symmetry an ideal sixfold snowflake has and explain why.
More Snowflake Math Art Challenges
Once children understand the basic activity, try a few extensions to deepen the learning.
Design Your Own Symmetrical Snowflake
Have children draw half of an original snowflake design. Then ask a sibling or friend to complete the missing half.
Compare the finished picture with the original idea. Did the second artist create the reflection accurately?
Explore Symmetry with a Mirror
Use a small mirror to investigate other symmetrical shapes and pictures. Try placing the mirror along different lines and observing what happens to the reflection.
Which mirror positions create a complete, balanced image?
Investigate Snowflake Angles
For older students, draw six lines extending from a central point, spaced 60 degrees apart. Use the lines as a framework for creating a sixfold snowflake design. Add matching branches and patterns to each section.
This is a fun way to connect art with angles and rotational symmetry.
Compare Real Snowflakes
Look at photographs of real snow crystals and examine their patterns. Can you identify the six main directions? Do all the branches look exactly alike?
Talk about how nature creates beautiful mathematical patterns, even when they aren’t perfectly uniform.
More Math Art Projects for Kids
If your children enjoyed these snowflake symmetry drawings, you’ll love exploring more ways to combine math and creativity!
I have a whole collection of Amazing Math Art Projects for Kids, including more symmetry activities and other creative geometry ideas.
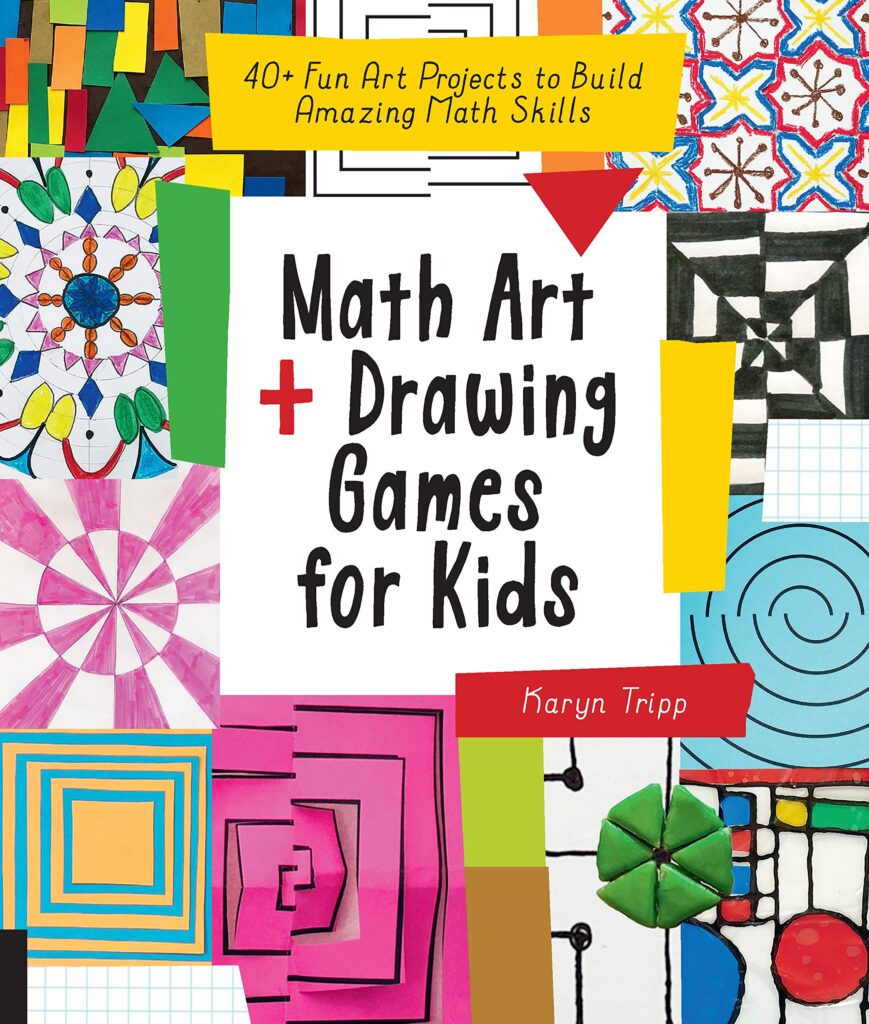
You can also explore my book, Math Art and Drawing Games for Kids, which includes an entire chapter of symmetry projects along with many other hands-on math art activities.
And for another winter art project, try making Watercolor and Salt Snowflakes.
Snowflake symmetry drawings are a simple but meaningful way to explore geometry through art. I love that children can slow down, observe the details, and discover how mathematical patterns create such beautiful designs.
I hope you enjoy this winter math art project with your kids!
More Winter learning ideas: