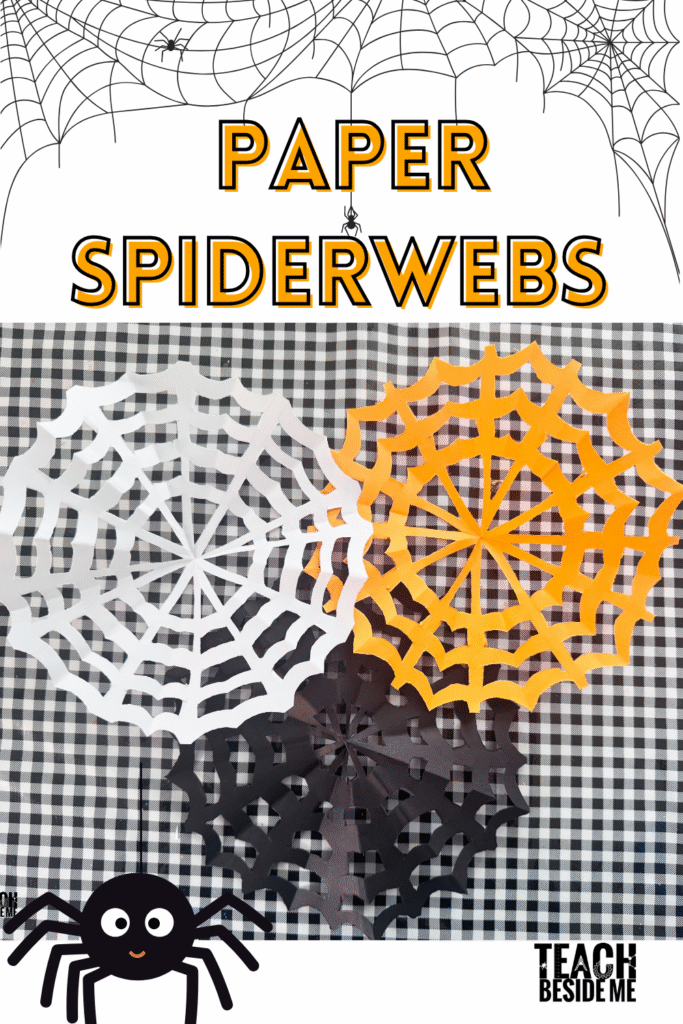
Spider Web Snowflakes: Halloween Craft + Math
This post may contain affiliate links.
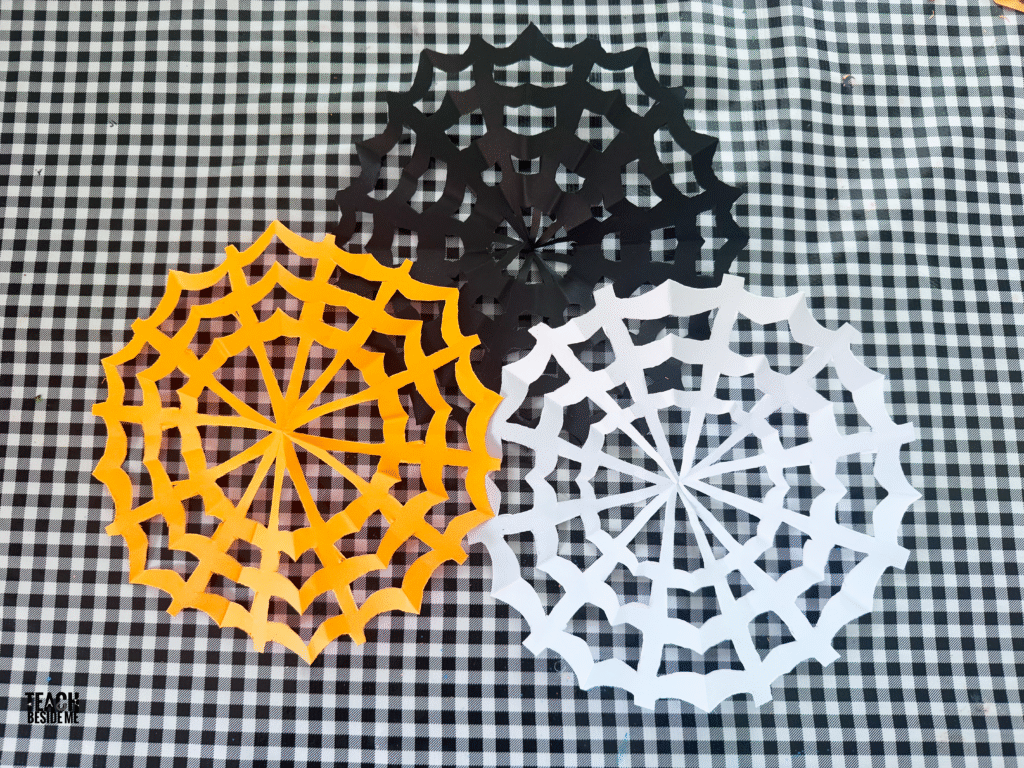
If your kids love cutting paper snowflakes, they’ll love this spooky twist — Spider Web Snowflakes! This easy Halloween craft is a mix of art, geometry, and fine-motor practice. All you need is paper, scissors, and a little imagination to create intricate spiderwebs that look amazing hanging in a window or classroom.
What Are Spider Web Snowflakes?
Spider Web Snowflakes are paper snowflakes cut to look like spiderwebs instead of snow crystals. The process is nearly identical to cutting winter snowflakes, but you make thinner, web-like cuts and leave a small circle in the center for the spider’s home. It’s a perfect Halloween STEAM activity — combining art and math while sneaking in a lesson on symmetry and radial design.
Supplies You’ll Need
Instructions: How to Make Spider Web Snowflakes
-
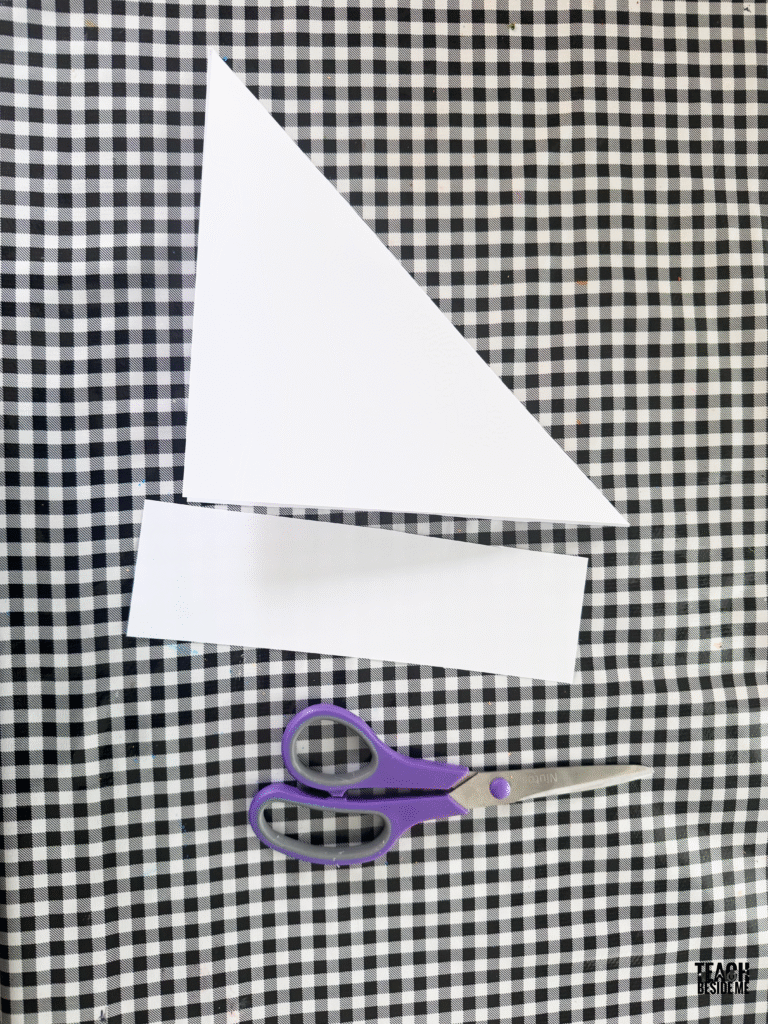
Start with a Square: Cut your paper into a perfect square by folding it over and cutting off the excess.

-
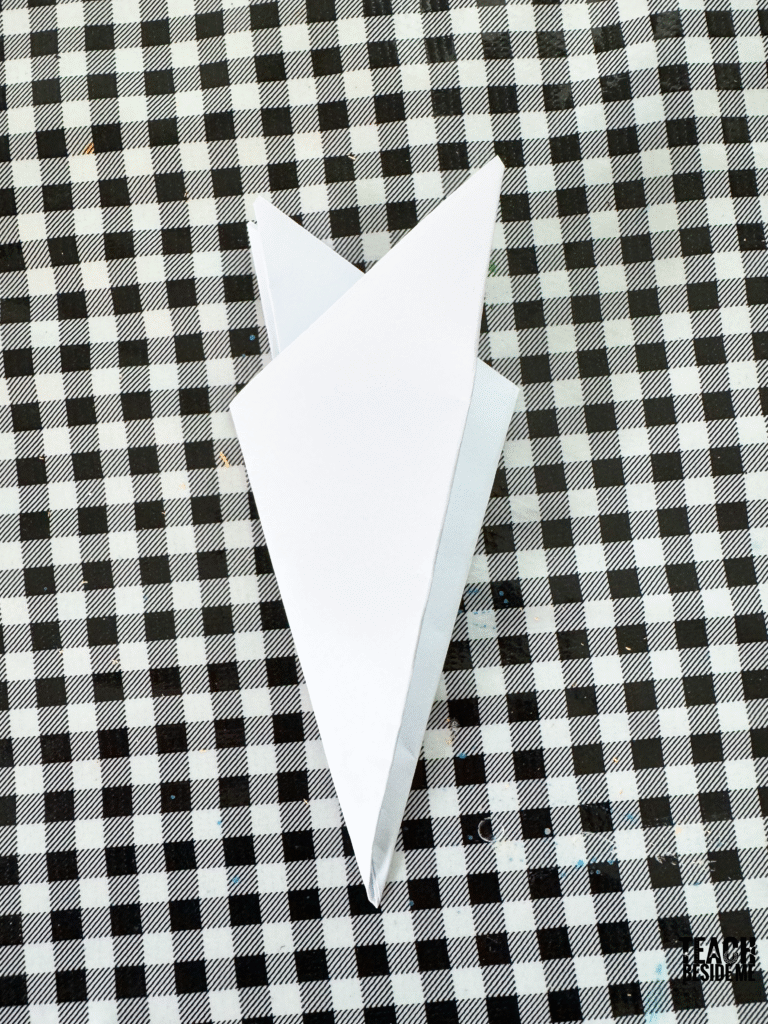
Fold Like a Snowflake: Fold the square in half diagonally to form a triangle. Fold it in half again.
Finally fold the two sides into the center overlapping. Trim off the extra tips to even it out.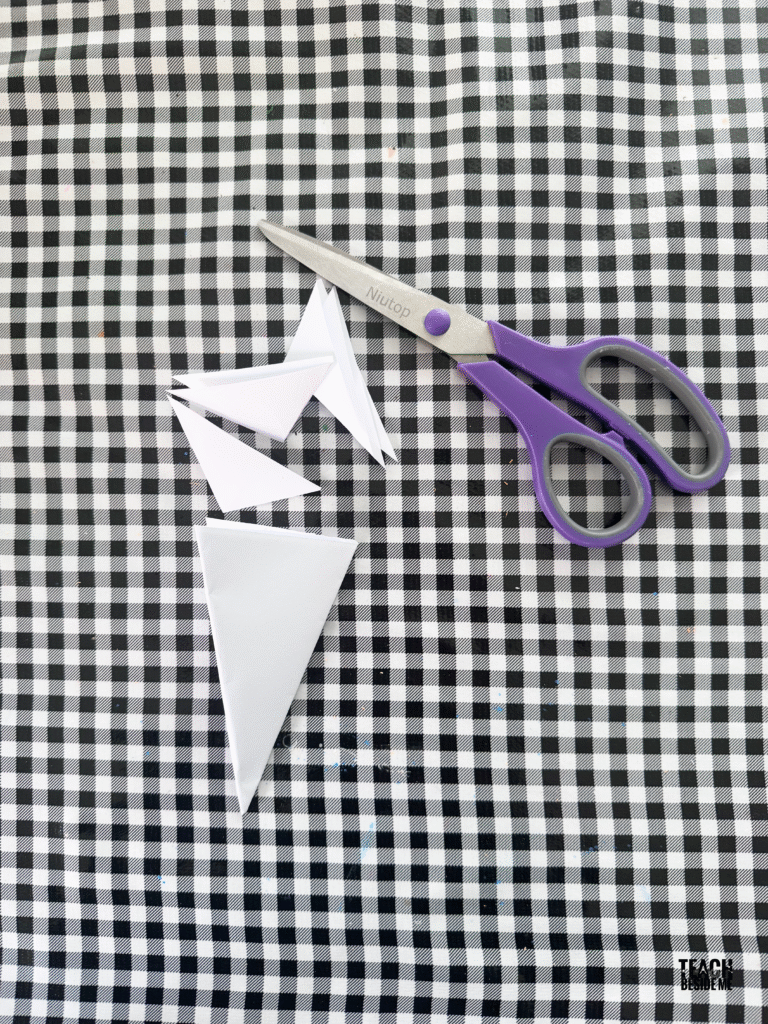
-
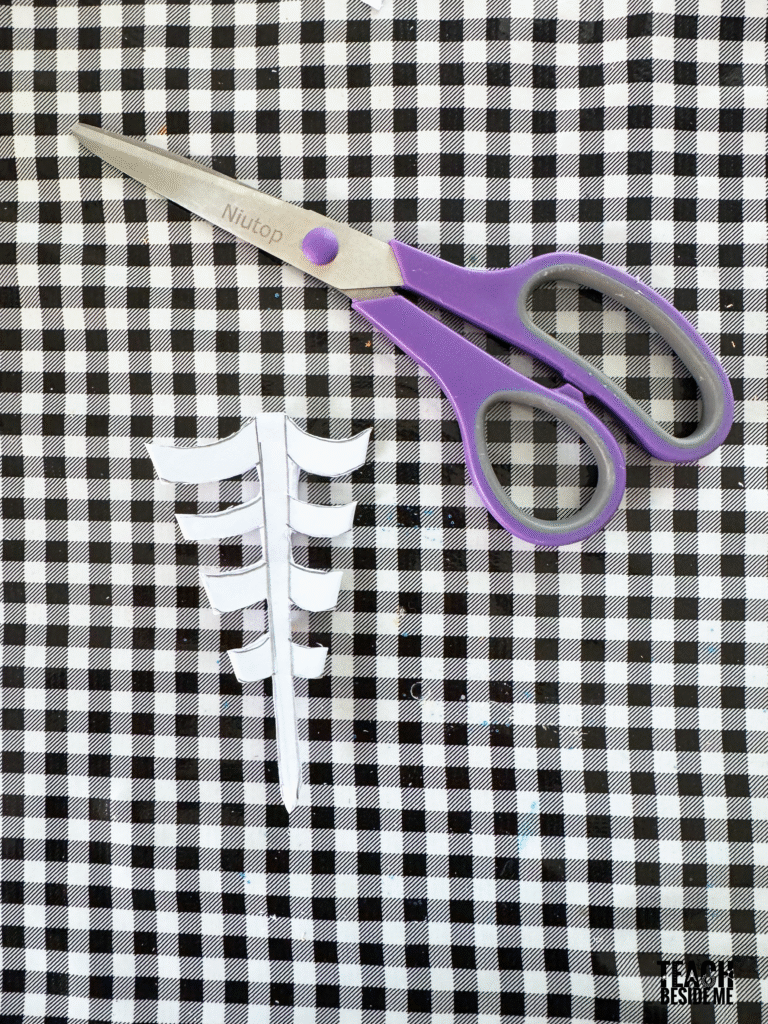
Draw the Web Design (Optional): Lightly draw a straight line down the center with curved lines or “web strands” coming out from that line.
-
Cut Out Your Web: Use scissors to cut it out The more lines you cut, the more delicate and web-like it will look.

Unfold and Reveal! Carefully open the paper to reveal your spider web pattern. Smooth out the folds and admire your spooky symmetry.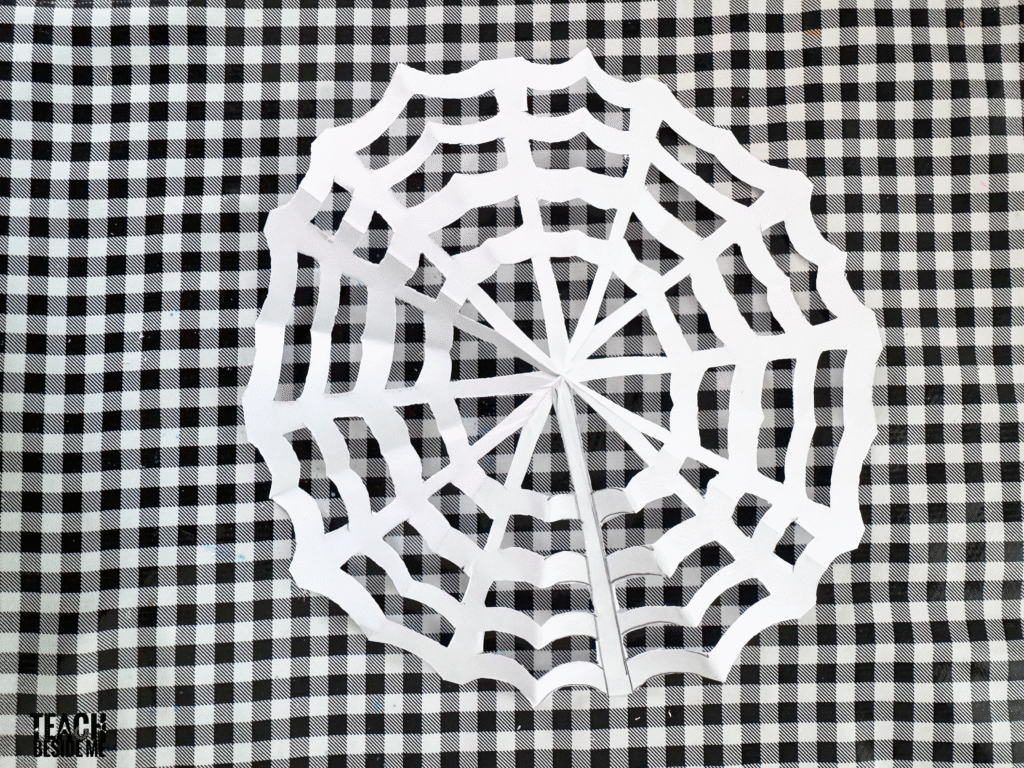
Educational Connection: The Math Behind the Web
This simple craft is a great opportunity to explore symmetry and geometry.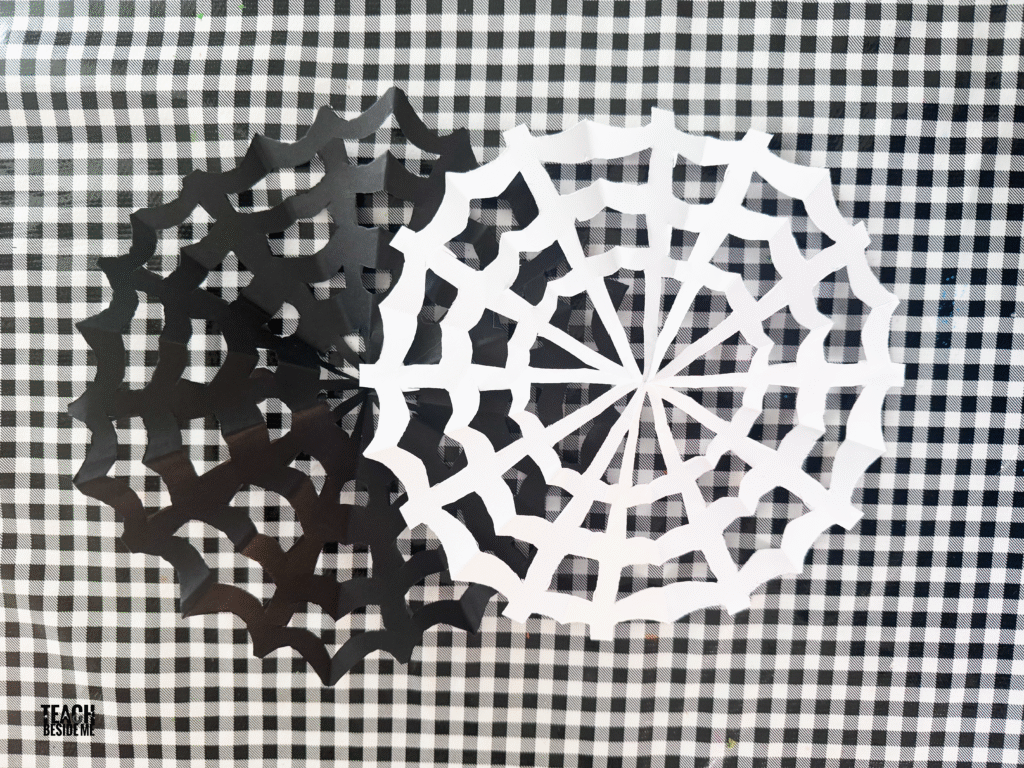
-
Each fold represents a “line of symmetry.”
-
Cutting the same shapes on folded edges ensures that all sides of the web are identical when unfolded.
-
Kids can experiment with different angles and see how it changes the design — a perfect blend of math and art!
The Geometry and Symmetry of Spider Web Snowflakes
Both spider webs and snowflakes are incredible examples of radial symmetry — meaning their shapes repeat around a central point, like the spokes of a wheel. When kids fold paper to cut a snowflake, they’re actually creating a model of that same geometric principle. Radial symmetry happens when a design has equal parts arranged around a center point.
Measuring Angles in Spider Web Snowflakes
Once you’ve folded and cut your snowflake, you can take the activity a step further by measuring the angles in your design. This turns a fun craft into a true geometry exploration and helps kids see the math hiding in art and nature.
Step 1: Identify the Center and Lines of Symmetry
Every fold you make before cutting divides your paper into equal sections that meet in the center — just like the spokes of a spider web.
Each fold line is a line of symmetry, and the point where all folds meet is the center of rotation.
If you unfold your snowflake flat and trace those fold lines with a pencil, you’ll see that they divide the shape into identical sectors — or angles around a point.
Step 2: Measure the Angles
Use a protractor or circle protractor to measure one of the wedge-shaped sectors between two fold lines.
Since a full circle is 360°, you can also calculate the angle mathematically:
| Number of Folds | Degrees of Each Angle |
|---|---|
| 4 folds | 90° |
| 6 folds | 60° |
| 8 folds | 45° |
| 10 folds | 36° |
| 12 folds | 30° |
Example:
If you folded your paper into sixths before cutting, you’ve created six identical sectors.
360° ÷ 6 = 60° per section.
That means each spoke of your snowflake — or spider web line — is 60° apart from the next one.
Step 3: Find Hidden Angles in the Web
If you want to take it further, measure the angles inside the web pattern:
-
The small triangles where two cuts meet.
-
The repeating angles between radial “spokes.”
-
The outer polygons formed by the edge pattern.
Kids can compare angles and classify them as acute (less than 90°), right (90°), or obtuse (greater than 90°).
This helps reinforce geometry vocabulary in a natural, hands-on way. It’s a fantastic way to make math visible — and to show how geometry shapes both art and nature.
Extension Ideas
-
STEM tie-in: Compare your paper web to real spiderweb structures — orb, funnel, or cobwebs.
-
Science connection: Learn about how spiders spin silk and why their webs are so strong.
-
Halloween classroom decor: Hang multiple webs together for a “spiderweb wall” display.
Spider Web Snowflakes are the perfect mix of spooky and beautiful — easy enough for young kids, but intricate enough for older students to experiment with design and symmetry. Whether you use them for Halloween decorations, a geometry lesson, or a creative art day, they’re guaranteed to bring a little extra magic to your October learning.