How to Make a Solar Still – A Simple Water Purification Science Experiment
This post may contain affiliate links.
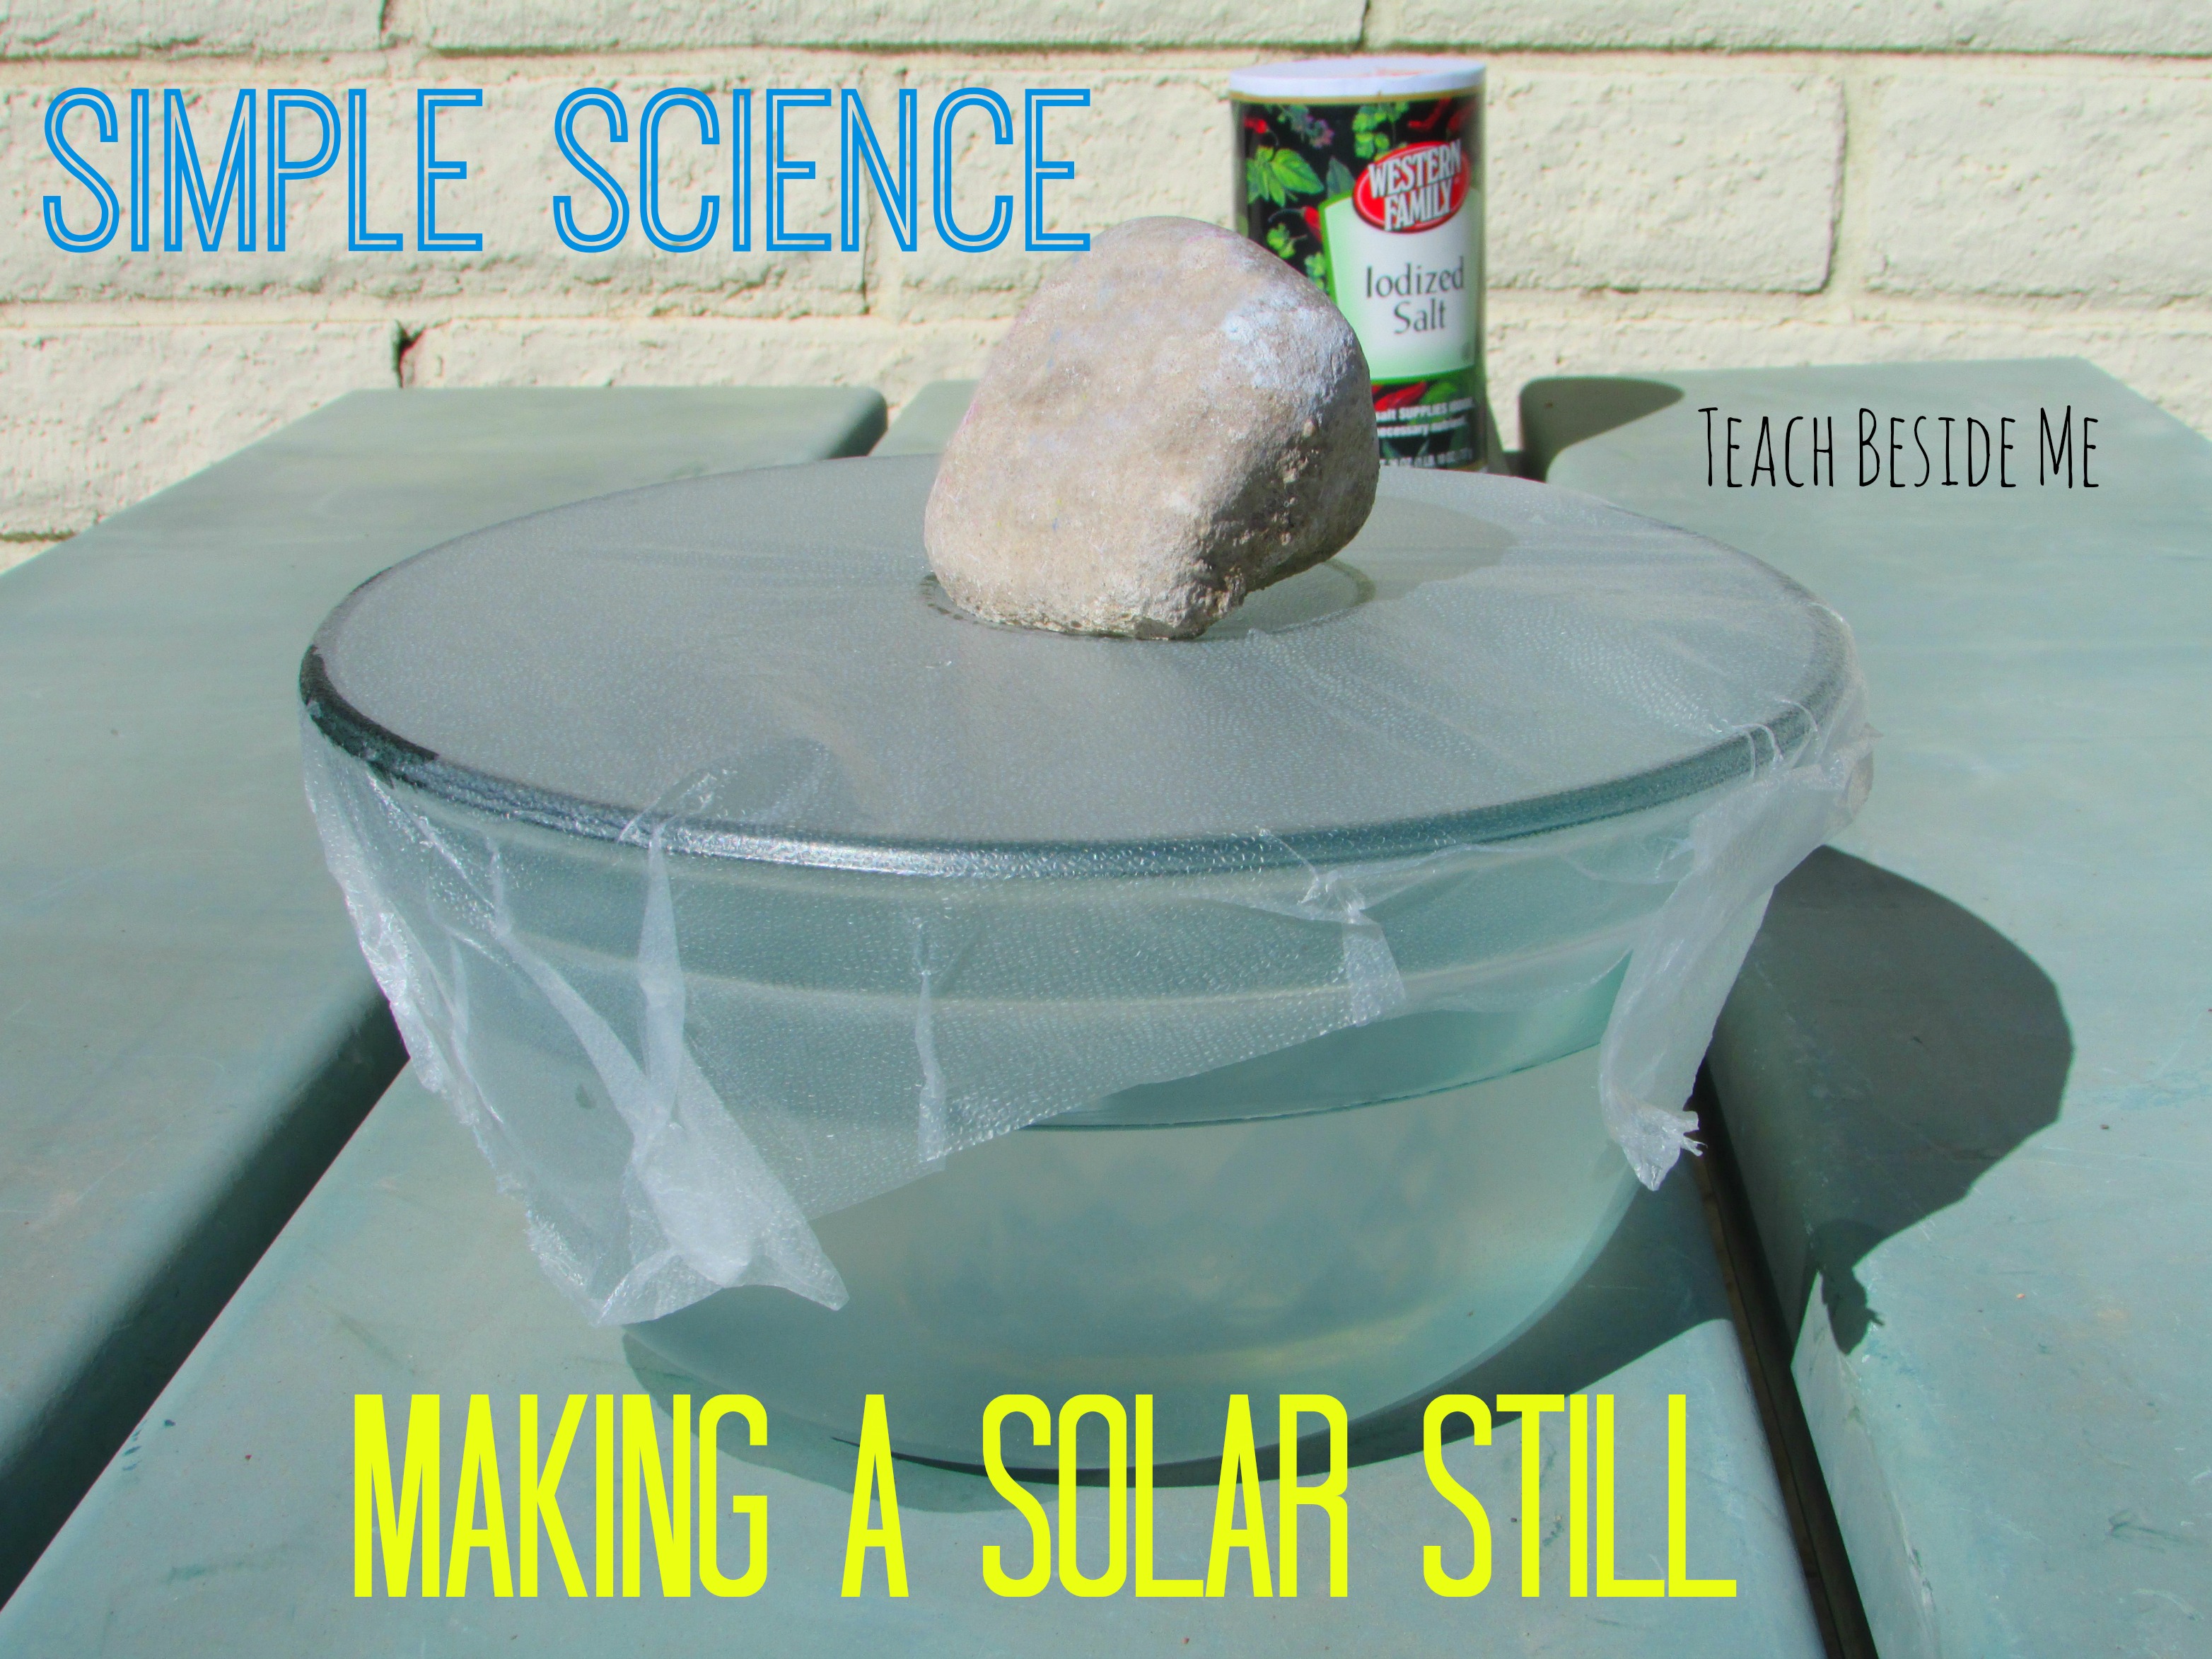
Have you ever heard of a solar still? It’s a water purification device that uses the power of the sun to turn impure water into clean, drinkable water. And the best part? You can make one at home using just a few basic supplies.
This DIY solar still experiment is a fantastic way to teach kids about the water cycle, especially evaporation and condensation, while also introducing concepts of solar energy and survival science. It’s a hands-on activity with real-world applications and just the right amount of “wow!” factor to make it memorable.

What Is a Solar Still?
A solar still is a simple way to distill water using solar energy. It works by heating up water (even salty or dirty water), causing it to evaporate. The water vapor then condenses on a cool surface and drips into a separate container, leaving behind salt and other impurities. This process is also called solar distillation or solar desalination.
It works using solar radiation, or heat energy from the sun, to drive the evaporation process. That same sunlight warms the water, turning it into vapor that rises, condenses, and collects as clean, distilled water.
Solar stills are especially useful in emergency or survival situations, where clean drinking water isn’t readily available. It’s a great real-world STEM concept to explore with kids, combining environmental science, energy science, and practical life skills.
How to Make a Solar Still:
Supplies You’ll Need:
- A large glass or ceramic bowl
- A smaller glass or jar that fits inside the bowl
- Salt
- Water
- Clear plastic wrap
- A small rock or marble
- Sunny weather
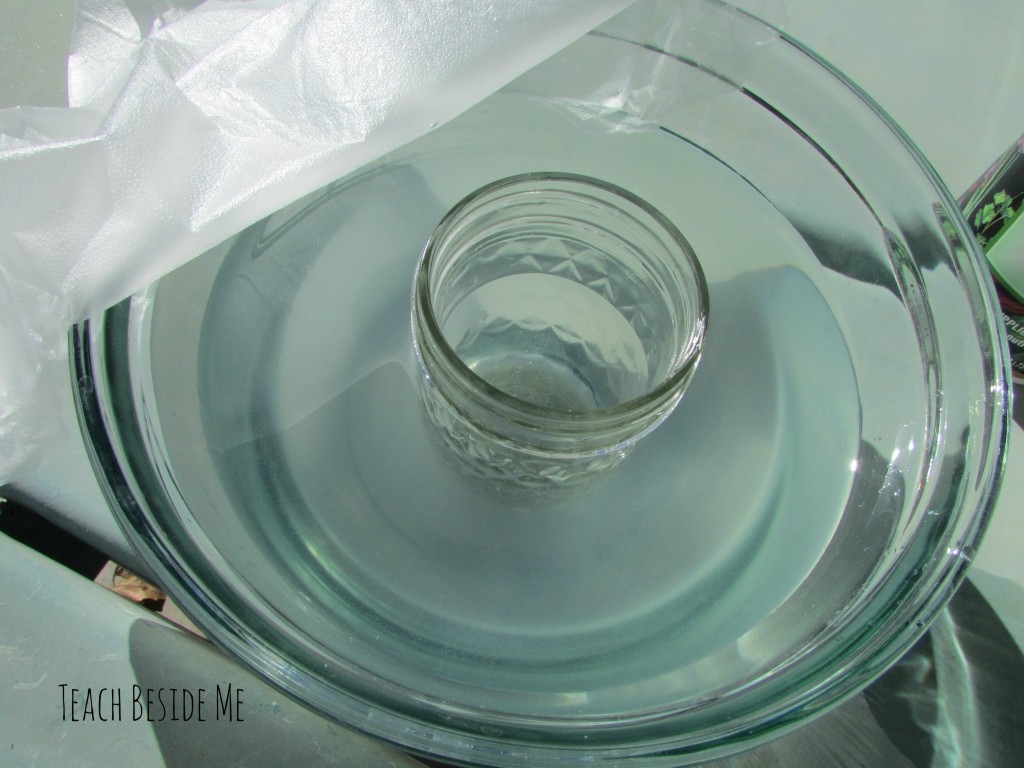
- Prepare the Water – Fill the large bowl about halfway with water and add a few tablespoons of salt. Stir until the salt dissolves. This simulates salt water or contaminated water.
-
Place the Jar – Carefully set the small jar or glass in the center of the bowl. Push it down slightly, but make sure no salt water spills into it. The goal is to catch the clean water here.
- Cover with Plastic Wrap – Stretch clear plastic wrap tightly over the top of the bowl and seal it around the edges. Make sure it’s airtight so moisture doesn’t escape.
- Add the Rock – Place a small rock or marble in the center of the plastic wrap, right above the jar. This creates a dip in the plastic so water can collect and drip down.
- Place in the Sun – Put your solar still in direct sunlight for several hours. As the sun heats the water, it will evaporate, rise, condense on the plastic wrap, and drip into the jar below.
Taste it, and the water will not taste salty, but fresh. My kids thought this was SO cool! But they were a little afraid of tasting it.

What Happened?
The heat from the sun caused the salt water to evaporate, and as the water vapor rose, water droplets collected on the underside of the plastic wrap. The rock in the center created a slope that allowed the moisture to condense and drip down into the jar. The resulting water in the jar is fresh, clean, and salt-free—a small but impressive result!
The water collected in the jar is technically distilled water, made using the natural processes of evaporation and condensation powered by the sun.
Real-Life Application:
My kids were amazed by the clean water in the jar—and curious about tasting it! While they were a little hesitant, it’s amazing to see how this simple method could be used in the wild to turn dirty or salty water into drinkable water. In an emergency, you could use a solar still to purify water from seawater, puddles, or even urine (yes, really!).
For larger-scale solar stills, a pit can be dug in the ground using plastic sheeting, rocks, and a container. It’s a basic but powerful survival skill.
Extension Ideas & Variations:
- Try using muddy water, pond water, or colored water to see if the water in the jar is still clean
- Compare how fast water collects on sunny vs. cloudy days
- Use different sized bowls and jars to see which collects more water
- Make it part of a larger unit on the water cycle or emergency preparedness
How to Build a Solar Still in Nature:
If you’re ever in a survival situation and need to make a solar still without household supplies, you can build one using natural materials and a bit of plastic.
Outdoor Solar Still Supplies:
- A shovel or digging tool (or just your hands)
- A piece of clear plastic sheeting or a plastic bag
- A small container or cup to catch clean water
- Optional: green vegetation (to increase moisture)
Steps:
- Dig a shallow pit in a sunny area (about 1–2 feet deep and wide).
- Place a container in the center to catch the water.
- Fill the area around it with damp soil, saltwater, or even wet leaves or grass.
- Cover the hole with the plastic sheet and secure it tightly with rocks or soil around the edges.
- Place a small rock in the center of the plastic to create a dip right above your container.
- As the sun heats the ground and moisture evaporates, it will condense on the underside of the plastic and drip into the container.
This method can provide a small but clean amount of water over time—an excellent skill for outdoor learning or emergency prep.
Science Concepts Explored:
- Evaporation
- Condensation
- Solar energy
- Water purification
- Survival science
- Environmental responsibility
This is a fantastic demonstration of the water cycle in action—evaporation, condensation, and collection—and shows how solar energy can be used to make clean water.
More Science Projects to Explore:
- Leaf Transpiration Experiment – Simple Spring Science for Kids – Watch plants release water through their leaves
- Water Filtration Experiment – Learn how to build a simple water filter
- Nature Science Experiments {Solar S’mores}– Use the sun to cook up a tasty treat
- Rainy Day Science – Weather-based experiments for any time of year
- Fun Nature Science for Kids: How to Make a Worm Tower – Explore decomposition and soil health
This easy solar still experiment is more than just a science project—it’s a fascinating way to explore sustainability, survival, and the power of the sun. Plus, it’s a great reminder that even simple tools can solve big problems.
Tag me if you try it—I’d love to see your solar still in action!


I had no idea what a solar still was until I read this post! Fantastic!! Thanks for sharing at After School!!
This is a great idea! I am pinning!
Thank you for stopping by the Thoughtful Spot Weekly Blog Hop this week. We hope to see you drop by our neck of the woods next week!
Never thought it would be this easy once I heard t was thinking it was something difficult