How to Create an Escape Room for Teaching
This post may contain affiliate links.

Today I have some tips for creating escape rooms for teaching. Keeping kids engaged in the a lesson is proving to be more challenging as the years progress, and teachers are battling cell phones and other distractions for their students’ attention. For English teachers, specifically, there is just no getting around the task (and monotony) of actually reading the novel or text. However, one way teachers are grabbing (and keeping) students’ attention, especially in the middle of longer units, is by integrating escape rooms into the classroom.
What is an Escape Room?
A traditional escape room is where a handful of friends (usually 5-6) are locked in a room (or two), and using clues, they must solve all of the puzzles in order to escape. The kicker? You only have an hour to do so. Businesses like this are popping up all around the country with clever themed rooms with tasks such as solving a mystery, preventing a crime, defusing a bomb, search for and rescue a person, and others.
Escape Room for Teaching
In teaching, the use of escape rooms, inspires creativity, sparks a little healthy competition, and engages puzzle lovers and even those hard-to-reach students. You will be surprised at the level of participation from all students!
What’s great about using escape rooms in the classroom is that they can be created and adjusted for every grade and ability level.
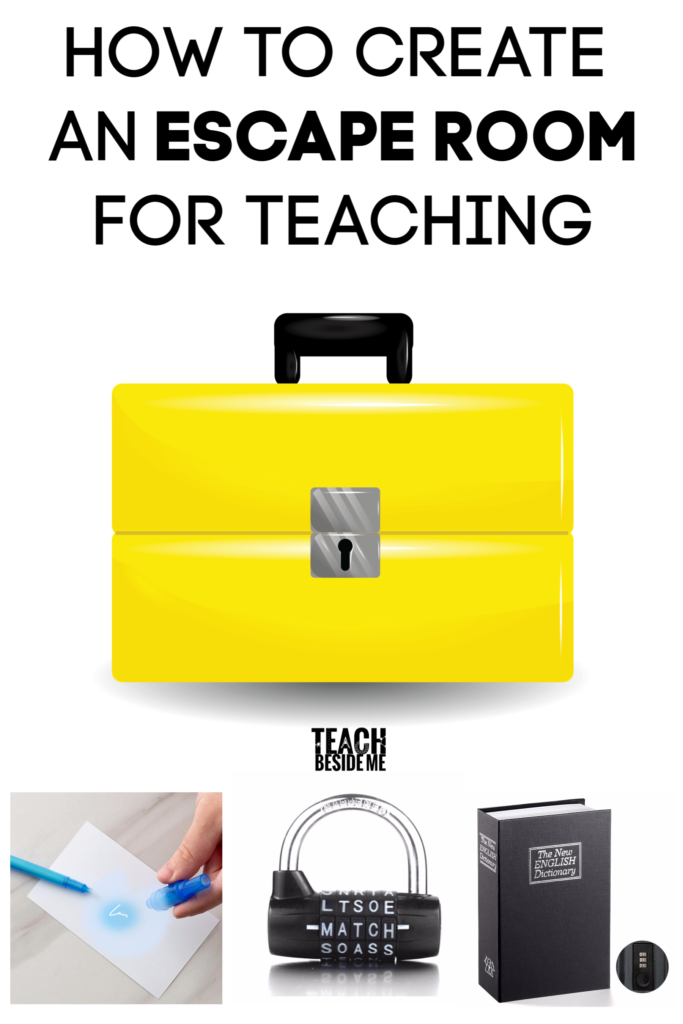
Build an Escape Room Kit
There are several places you can purchase entire kits; however, they can be pricey. If you’re looking to just start out, here are some basic supplies that could be useful:
- 4 Digit Lock
- 3 Digit Lock
- ABC Multi Lock
- Book Safe
- LED UV Flashlight (try invisible ink clues)
- UV Pen
- Small Lock Box
- Large Lock Box
- Timers
- Puzzles
- Decoders
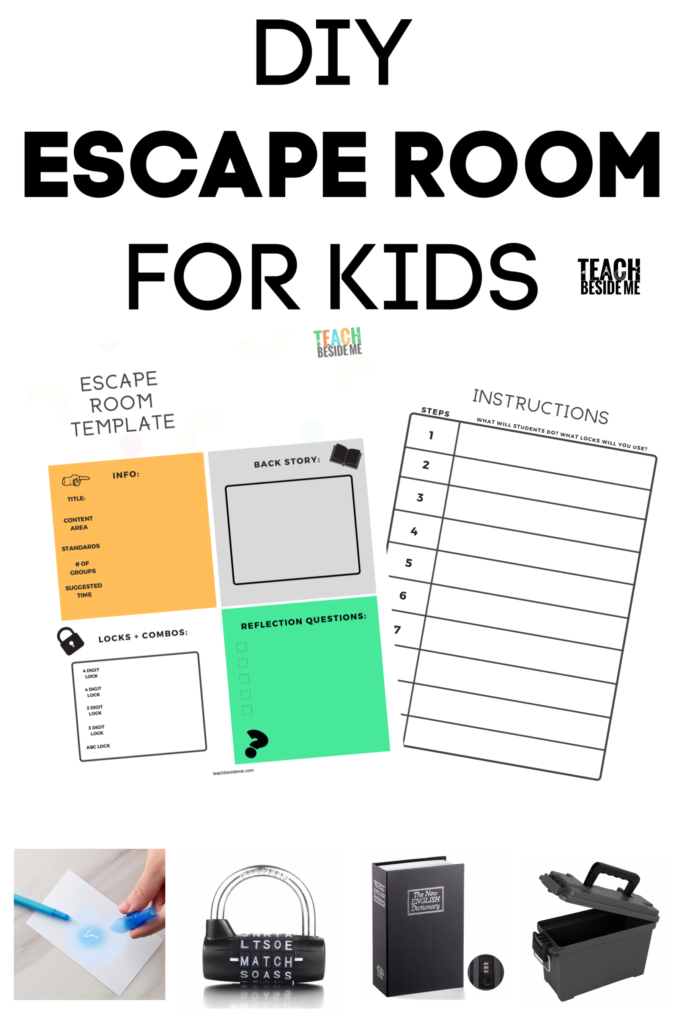
How Design an Escape Room

If you’ve never designed an escape room, the first time can prove to be time-consuming and maybe even confusing. Luckily, here is an Escape Room Template you can use to help you get started. Once you create and facilitate your first escape room, you will become more efficient and spend less time planning and more time having fun!
Like any lesson planning, you want to start with the end in mind. What is your objective? What do you want students to be able to know and do? For example, an objective for an escape room reviewing The Giver could be: Students will be able to remember significant events in The Giver and understand how the plot achieves the underlying theme.
Once you have established your objective, then you will be ready to answer the next question: Now, how do they get there? This is where you plan your students’ escape.
How to Set Up Your Escape Room
Using the Escape Room Template, fill out the Info section. If you cannot think of a creative title right away, it’s okay. Come back to it. Next, you want to write a creative and compelling backstory. Like the introduction paragraph of an essay, this needs to hook the students’ attention and leave them excited to get started. Your backstory needs to be context specific, including time-period phrases and geographical descriptions (if applicable). Questions to think about: What country is this in? What time period? Who are the characters? What sort of metaphorical obstacles could students encounter? Keep it short, about a paragraph, because your students will want to get started right away.
Next, decide which locks you will use. You may not know the combinations you will set just yet. The combinations you set can be incorporated into the steps on the second page of the template. Come back to this section after you have created the steps students will take to escape the room.
The Steps
This will be where you spend the majority of your time. You should figure out the final solution to all the puzzles first and then work your way backwards. In the steps section of the template, create the clues, identify the lock combos or puzzles you’ll use, and how students will get to the next step. (Do they come to you for the next clue? Are the clues hidden? Are they given all the materials up front, and therefore, have access to the next steps?)
Reflection for your Students
Metacognition– thinking about thinking– is a powerful tool to help students dig a little deeper into the lesson and also get feedback from students for future use. After students have completed the escape room, ask them to reflect on their experience and what they learned. Some sample reflection questions are:
- What did you learn about yourself?
- Describe your participation in the escape room.
- Were you a leader or follower?
- What would you say caused you to be a leader or follower?
- What areas or skills are you still unsure about?
- Where do you need to spend more time studying?
These are gold for getting to know your students and being able to improve the experience for your next group of students.
Final Tips and Reminders
- Use the template to help you get started. You will feel more organized this way.
- Practice first with students using free puzzles available online or one you create. Also, check out some of the free games available on Breakout EDU. Practicing a skill or new tool first is always a good idea to help students grasp what it is you are asking them to do.
- Vary the length and format of the escape rooms. This will ensure students do not get “escape room fatigue.”
- Keep it relatively short, especially the first one. It is a good idea to keep all escape rooms under an hour.
- Prepare students who may be anxious. If you have students who are anxious or nervous when having to work with other students or under time constraints, prepare them for the conditions of the escape room. This will help ease anxiety and make it a more enjoyable experience for all.
- Be prepared for students to be frustrated and struggle. Escape rooms can incite productive anxiety or stress in students. They may become frustrated, but they are learning.
- When they struggle to solve the clues, your students may first think you made a mistake in the design process. Oftentimes, this won’t be the case. But just to be sure, practice designing it with a colleague, or at least ask them to test it out themselves. This will help identify any holes or gaps in the steps.
- As a teacher, it is natural to want to help students by giving hints. Resist this urge. If you designed it knowing they can solve the puzzles, let them work together to figure it out. This is a real life skill you are teaching.
- Make extra copies. It is always good to have extra copies of something in case there are any snags in either the preparation process or execution of the escape room.
- It is key (pun intended) to make sure you know all the combinations of your locks. Many locks come with a key to easily reset the combination. If this is available, definitely purchase them. Just in case, however, keep a log of your locks and their combinations. You will thank yourself later.
Be sure to come back and check out the Harry Potter themed Escape Room.
See also my Lock & Key Addition Puzzles!


Do you ever do workshops on creating these escape rooms? I’m going to ponder what you have written but I have a group of Children’s Ministries folks that are interested but want create one that is designed for their kids.