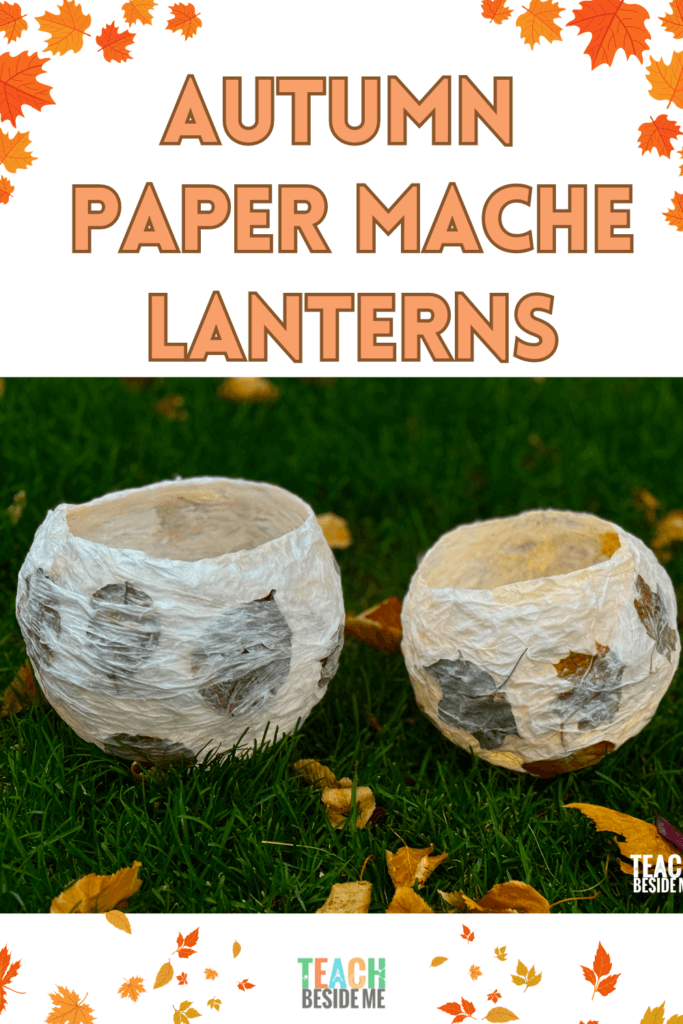
How to Make Paper Mache Lanterns for Fall
This post may contain affiliate links.
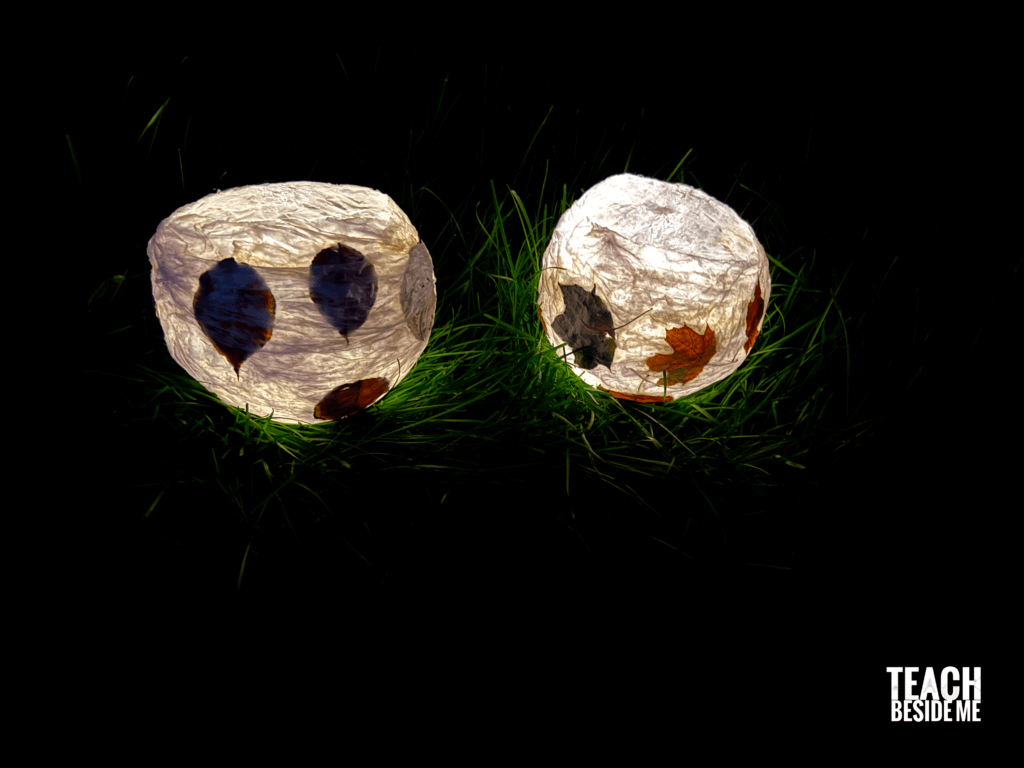
Paper Mache (also spelled papier-mâché) is such a fun craft to do with kids. Today I want to share with you these beautiful fall paper mache lanterns. We loved making these and they turned out so great. These paper mache lanterns would make a great Fall or Halloween decoration. If you celebrate Martinmas or St. Martin’s Day, these lanterns would also be perfect for that!
We have done a lot of different paper mache projects over the years, but I have never posted one here on my blog. So, I am excited to share this lantern project as well as some tips and tricks on how to be successful with paper mache.
How to Make Paper Mache Lanterns
Supplies Needed:
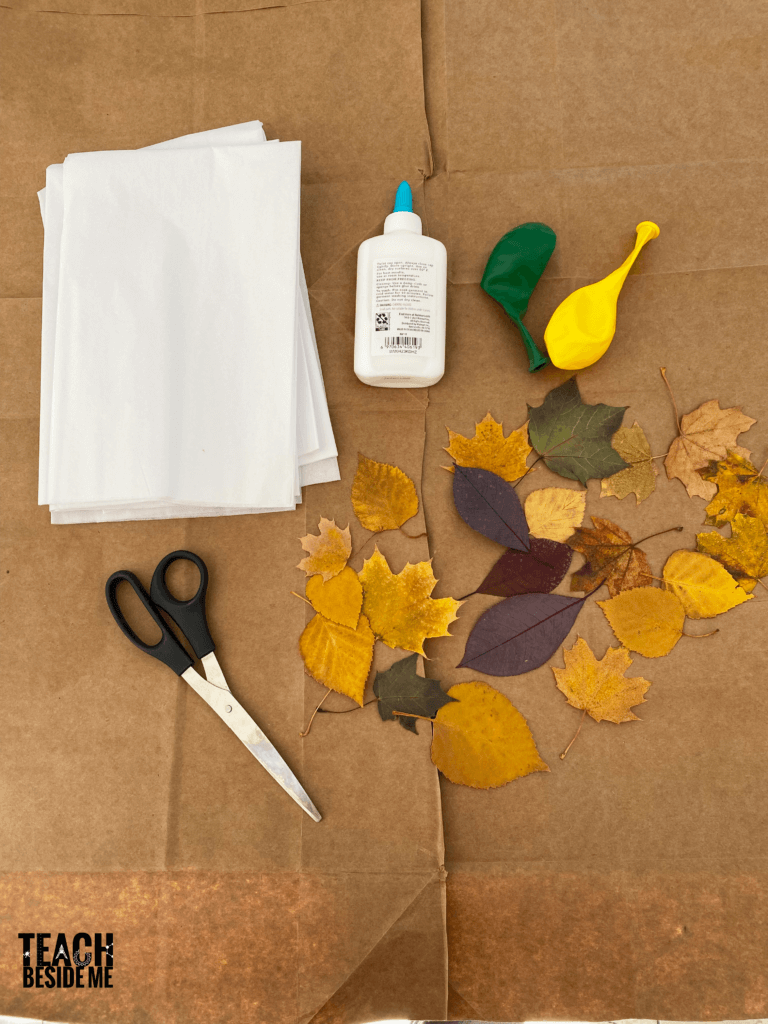
White tissue paper
School Glue, watered down (could also use mod podge or a flour and water mixture)
Fall leaves (or make a spring version with pressed flowers!)
Balloons
Bowls
Newspaper, brown paper bags, or drop cloth
Tea light candles (battery operated are best for this!)
Pair of scissors
Paintbrush
Instructions to Make the Paper Mache Lanterns:
Prepare the Paper Mache Paste or Glue Mixture:
To make a homemade paper mache paste, you can do it two different ways: with flour and water, or with pre-made glue. For the flour paste, mix 1 cup of flour with 2 cups of water and whisk it to create a smooth paste. It should have the consistency of glue. You can also add a tablespoon of salt to prevent mold if you plan to keep it for a while.
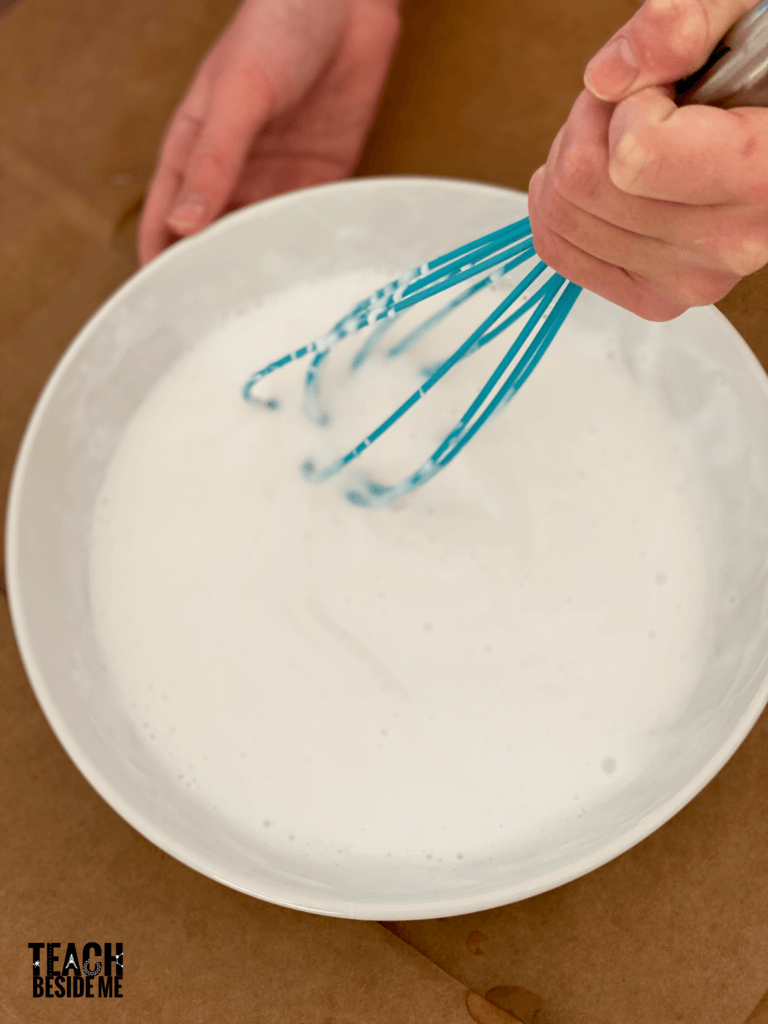
I did this project with some watered down school glue. I just poured some glue into a bowl and added a little water to make it an easier consistency to work with.
Blow Up the Balloon:
Inflate the balloon to the size that you want your lantern to be and tie a knot at the top. This balloon will be the base of your lantern. Place the balloon into a bowl to keep it upright and in place. Put the knotted end into the bowl.
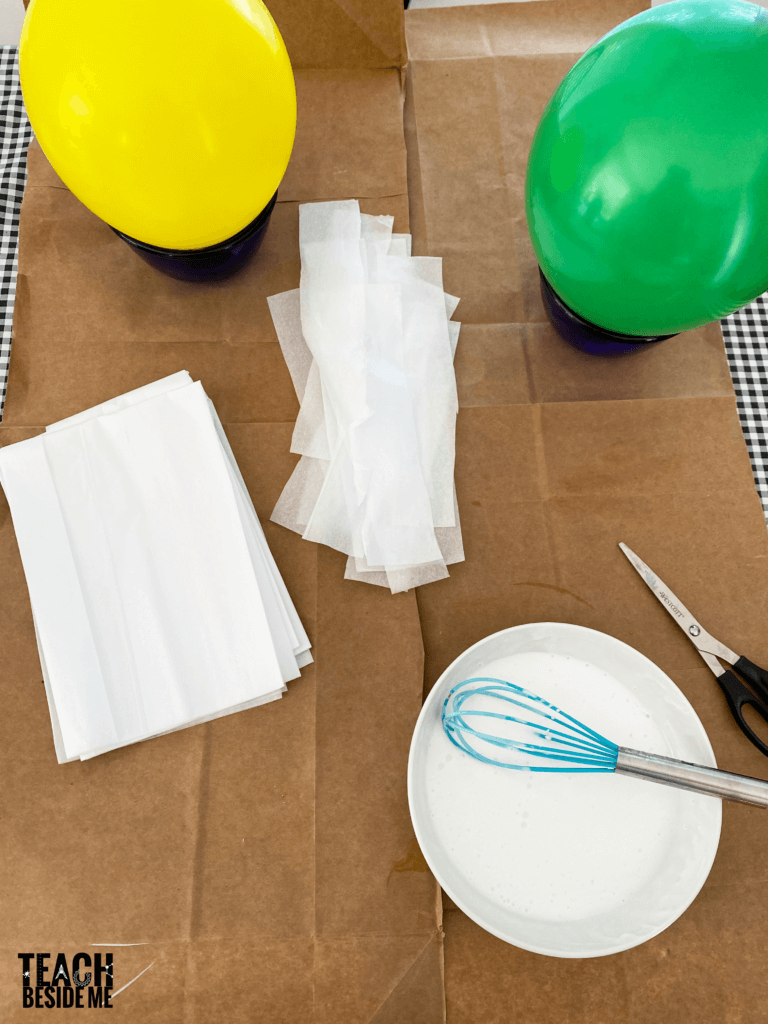
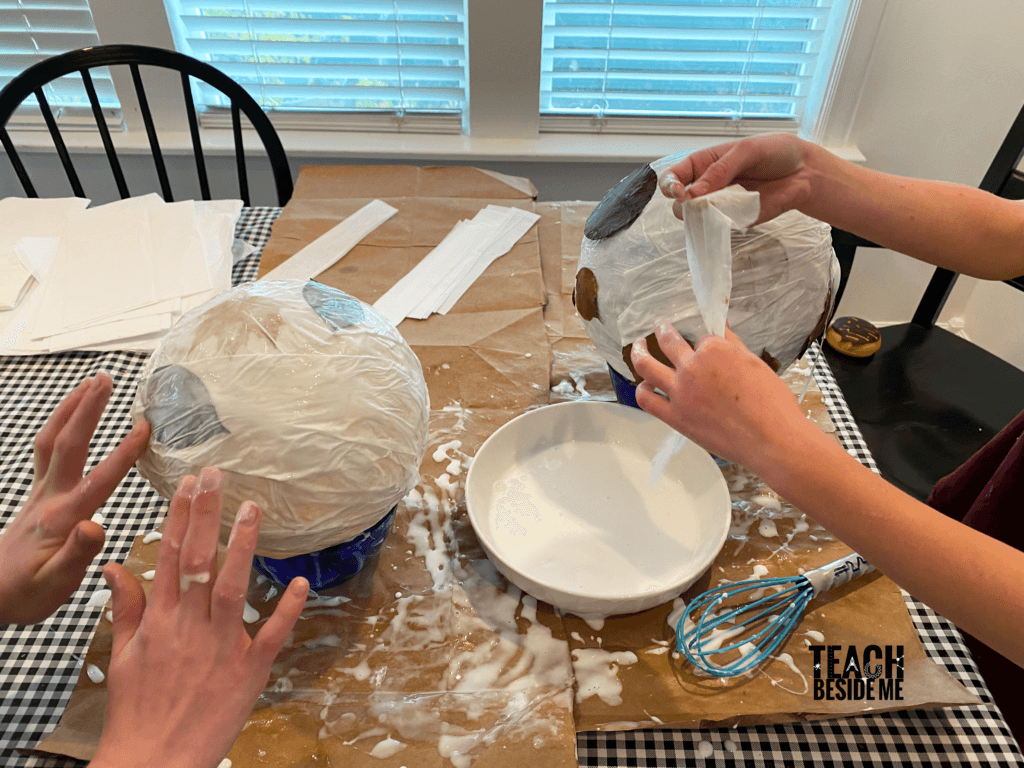
Cut or Tear Tissue Paper Strips:
Cut or tear the tissue paper into thin strips or squares (roughly 1–2 inches in width).
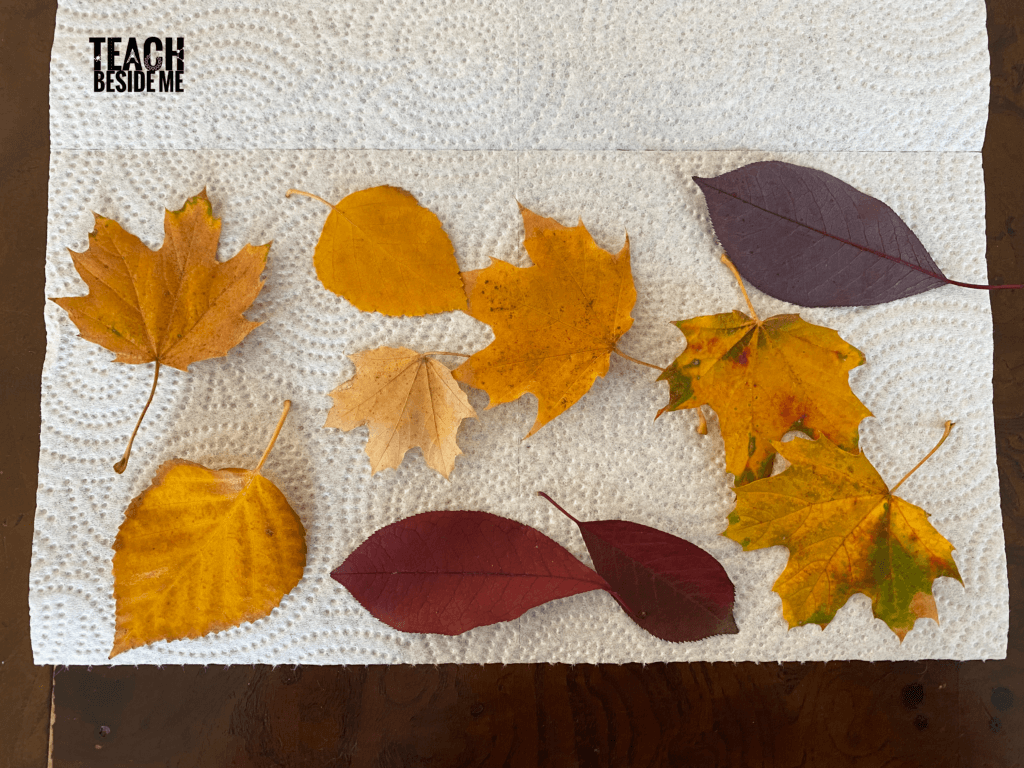
Collect Leaves:
Get outside and collect some autumn leaves for this fall lantern! If you’re using real leaves, make sure they are dry and flattened. We pressed ours in advance between some paper towels and a few books. Artificial leaves can be used as is.
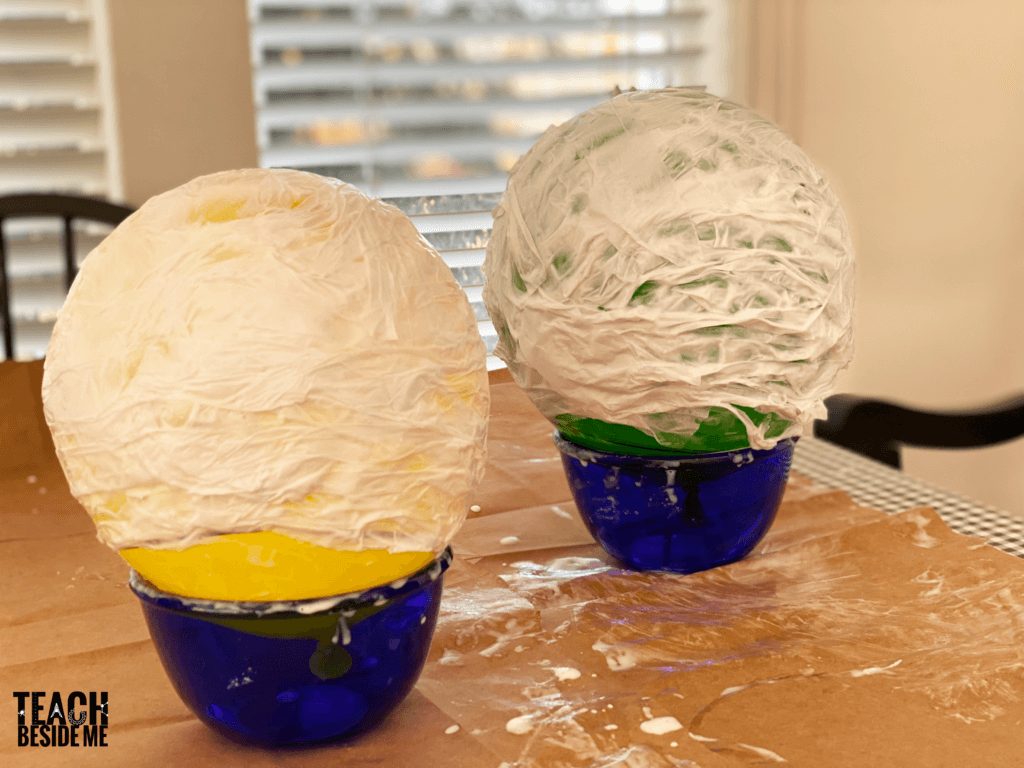
Apply the First Layer of Paper Mache:
Dip the tissue paper into the paper mache paste, ensuring it’s covered but not dripping. Squeeze off the excess paste. Wrap the tissue paper around the balloon, smoothing it out the best you can with your fingers or with a paint brush. Continue adding strips of paper until you cover about 3/4 of the balloon, leaving the bottom uncovered for the opening of the lantern.
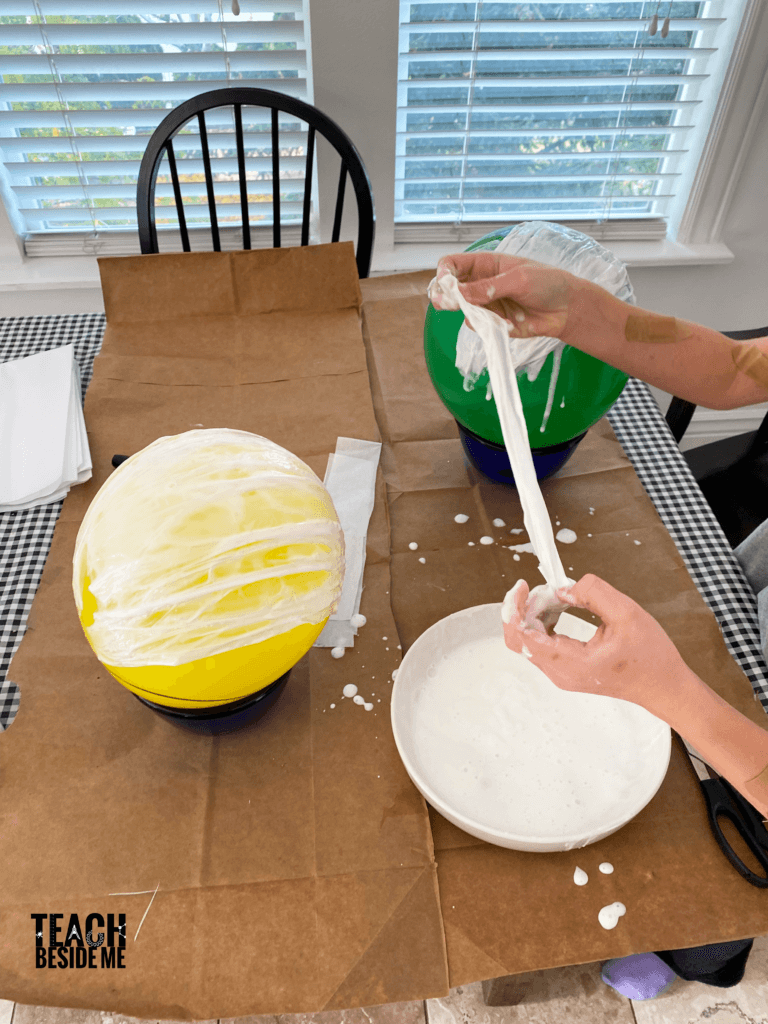
Continue this process until the entire visible portion of the balloon has a full layer of tissue paper.
Add Fall Leaves and More Layers:
After the first layer or two is complete and semi-dried, start adding the fall leaves. Dip them in the paste and place them on top of the tissue paper layer.
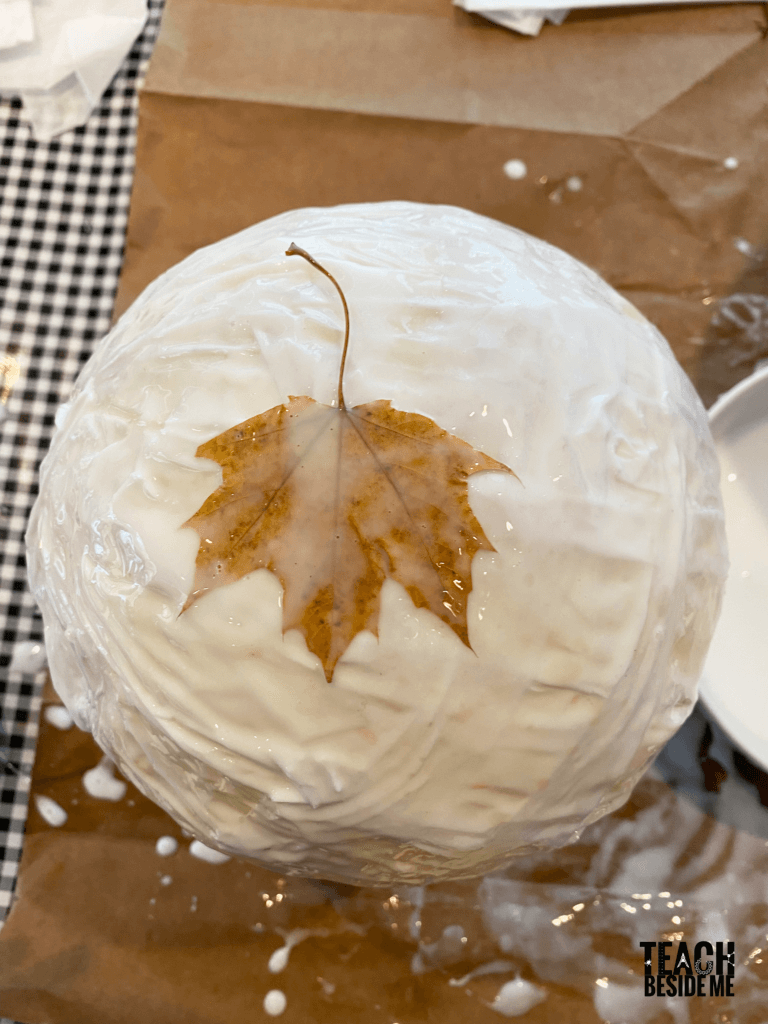
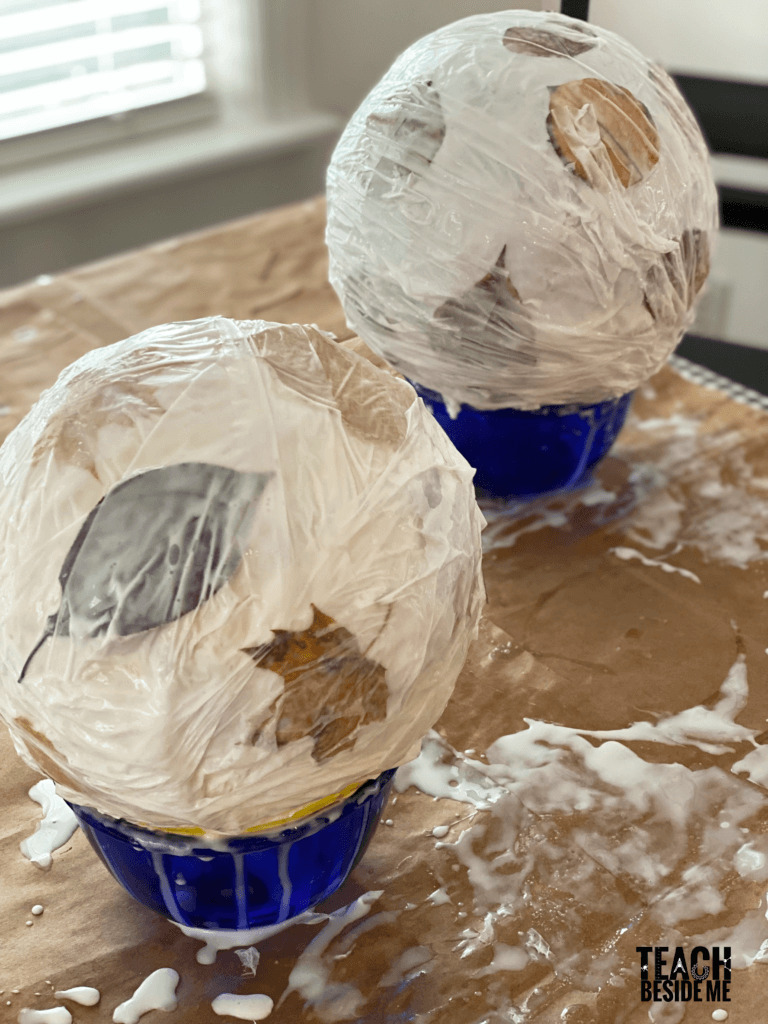
Cover the leaves with another layer of tissue paper to secure them in place. Make sure you have at least 3 layers of tissue paper and leaves for durability.
Allow each layer to be mostly dry before adding the next. This will help avoid air bubbles and wrinkles.
Let It Dry:
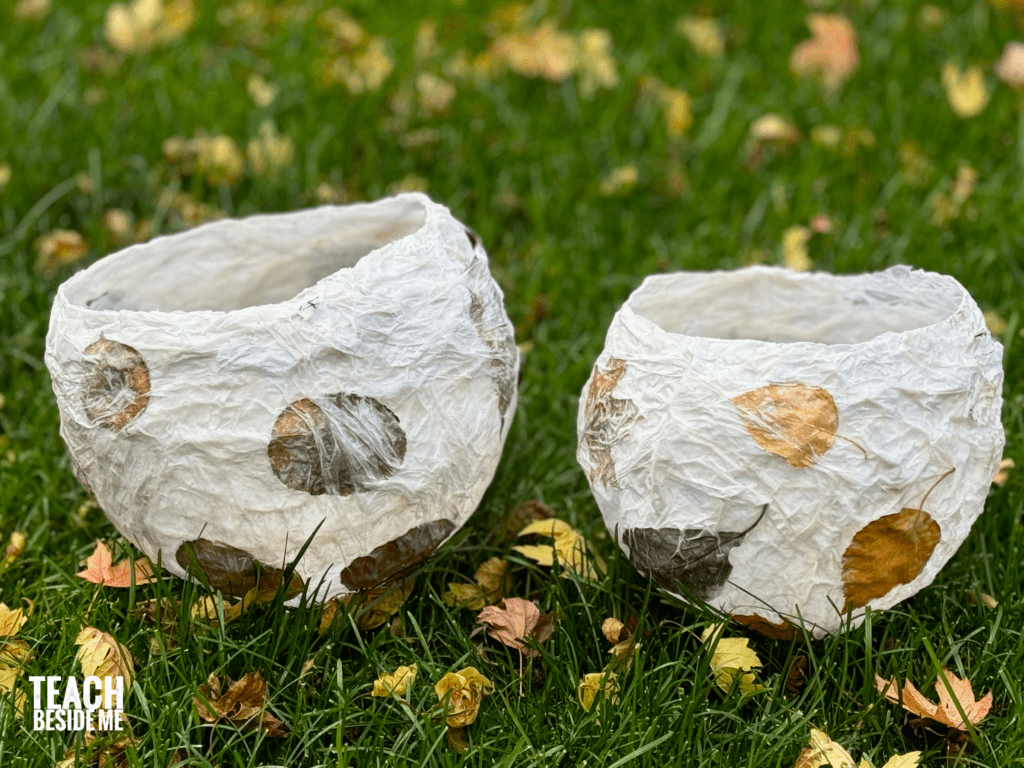
Once all layers are applied and it looks the way you want it to look, let the paper mache balloon dry completely. Don’t pop the balloon yet! This can take 24–48 hours depending on the thickness of your layers and the humidity. Once the lantern is dry and hard, carefully pop the balloon by untieing or using a pin. Remove the deflated balloon from inside. Trim around the top edge if you want it smoother. I liked the rough look.
Add a Handle (optional) & a Light
To hang the lantern, poke two small holes at the top of your lantern near the opening and thread a piece of string or yarn through to make a handle. These look great hanging in trees! Place a battery-operated tea light or LED light inside the lantern to safely light them up.

I actually plan on using these on our front porch next to our pumpkins instead of hanging them. We may also use them to light the tables on our back porch during these beautiful autumn evenings.
I hope you enjoy these awesome fall paper mache lanterns! It really is the perfect activity for this time of year.
These lanterns would also be gorgeous decorations for weddings or parties! Or, make smaller ones to use on your Thanksgiving table.