The Rubber Egg Science Experiment
This post may contain affiliate links.
If you’re looking for a simple yet mind-blowing science experiment, the rubber egg experiment is perfect! (Also sometimes called the naked egg experiment) This classic activity demonstrates the effects of acid on calcium carbonate and allows kids to observe a fascinating chemical reaction. Plus, it’s easy to do with just a few household ingredients.
We have done this experiment a few times over the years and I figured this old post was due for an update with some fresh photos and instructions! This is the perfect springtime science activity.

Want some other Egg Experiments? Check out The Ultimate Egg Drop Challenge: Classic STEM Idea! & Green Eggs Chemistry Experiment, Easter Science: Borax Crystal Eggs
What is the Rubber Egg Experiment?
The rubber bouncy egg experiment involves soaking a raw egg in vinegar for a couple of days until the shell dissolves, leaving behind a bouncy, rubber-like membrane. This experiment teaches kids about chemical reactions, osmosis, and the properties of acids and bases.
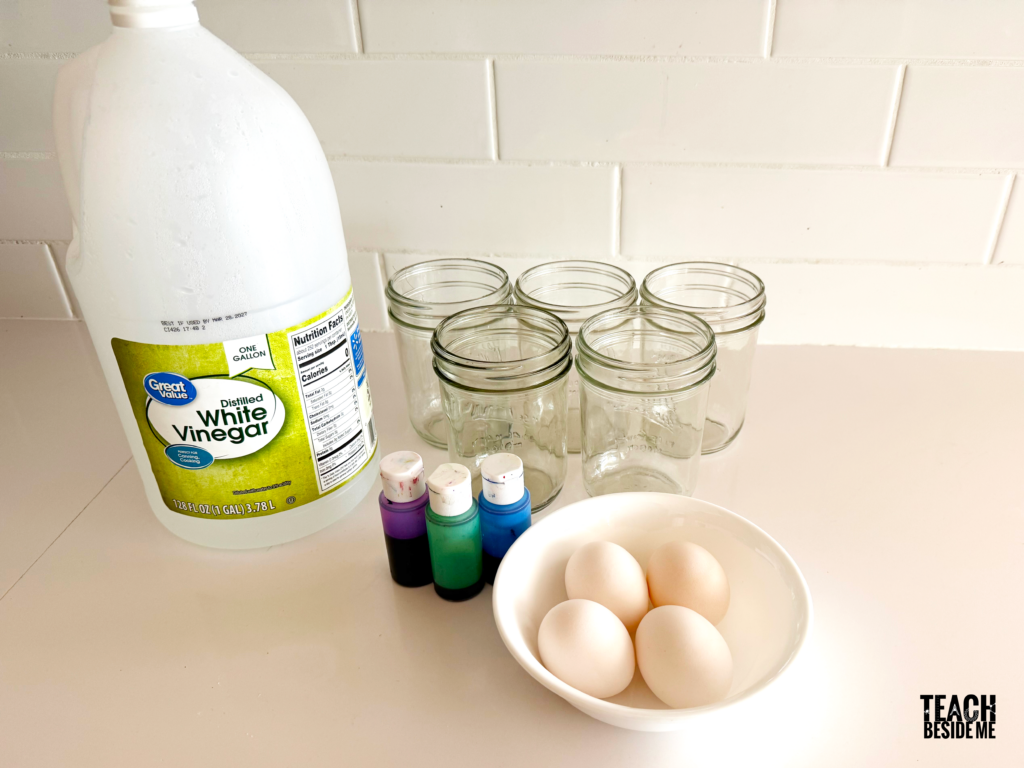
Materials You Need
-
Raw eggs
-
A clear glass or mason jar
-
White vinegar (enough to fully submerge the eggs)
-
A spoon (for handling the egg)
-
Paper towels (for drying the egg after the experiment)
- A tray to contain the mess!
- Food coloring – optional
How to Do the the Rubber Egg Experiment
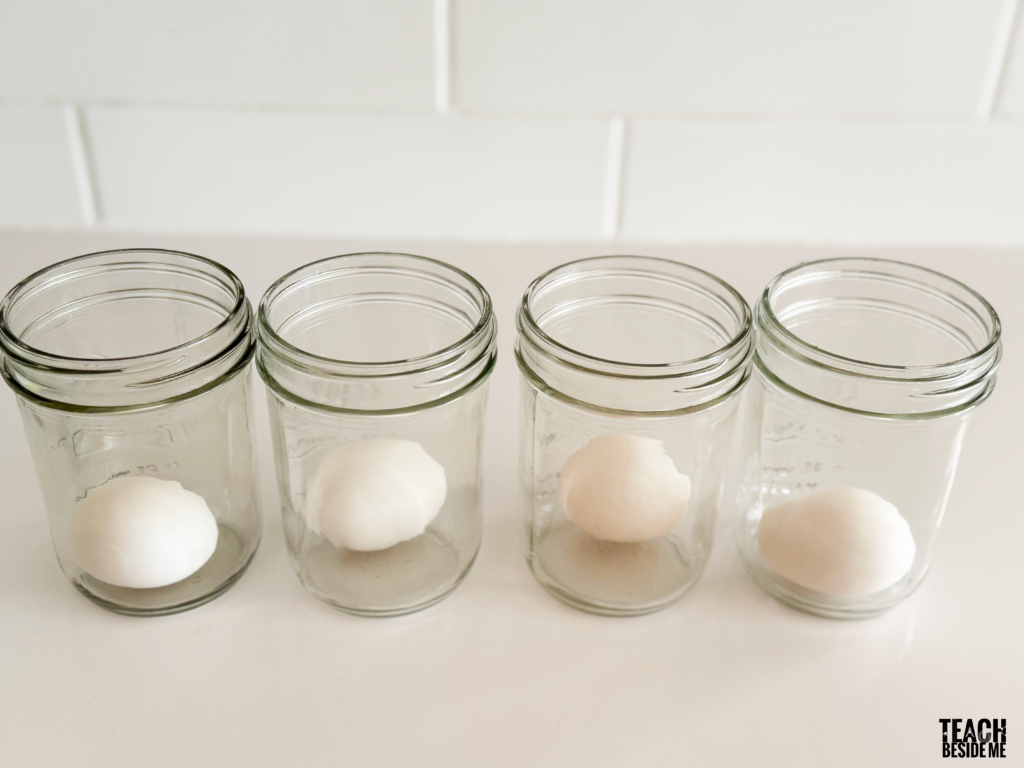
Step 1: Place the Egg in a Jar
Gently place a raw egg into a clear glass or jar. Be careful not to crack it.
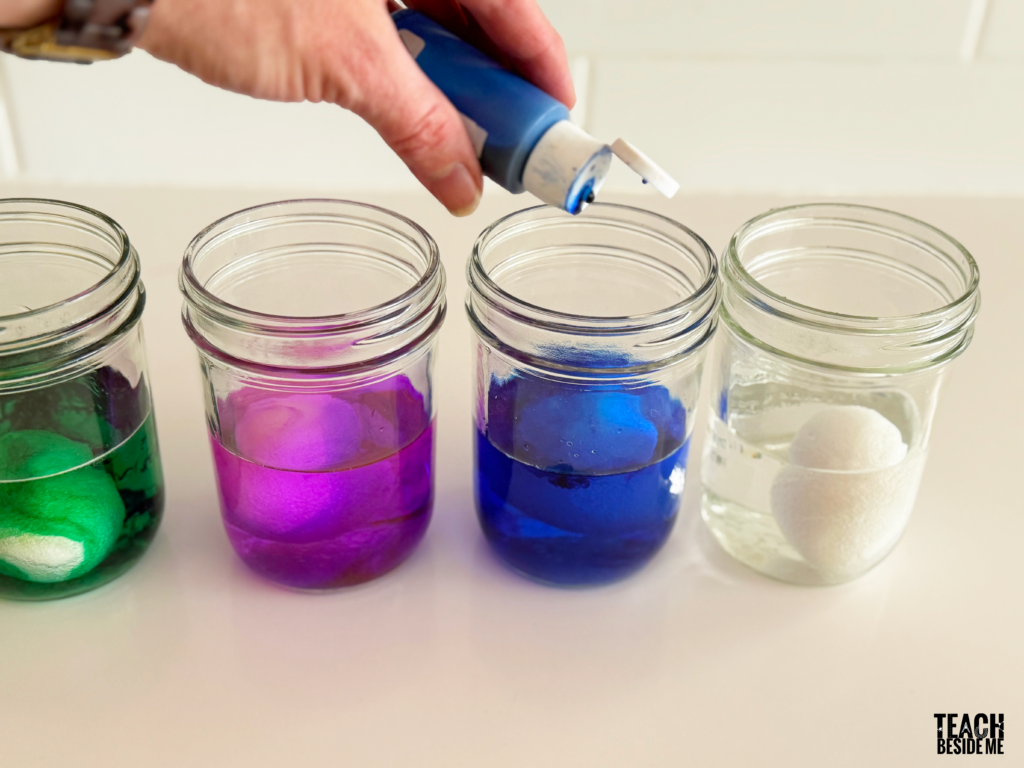
Step 2: Pour in the Vinegar
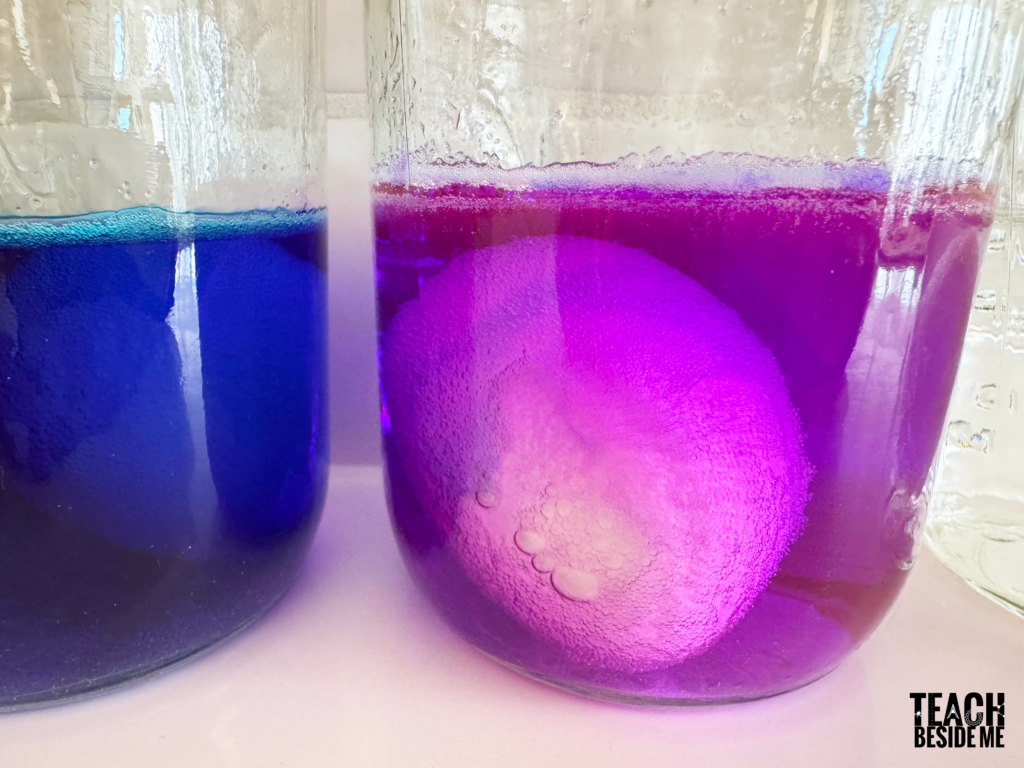
Pour enough white vinegar into the jar to completely cover the egg. You should see little bubbles forming on the eggshell almost immediately. Add some colors if you want.
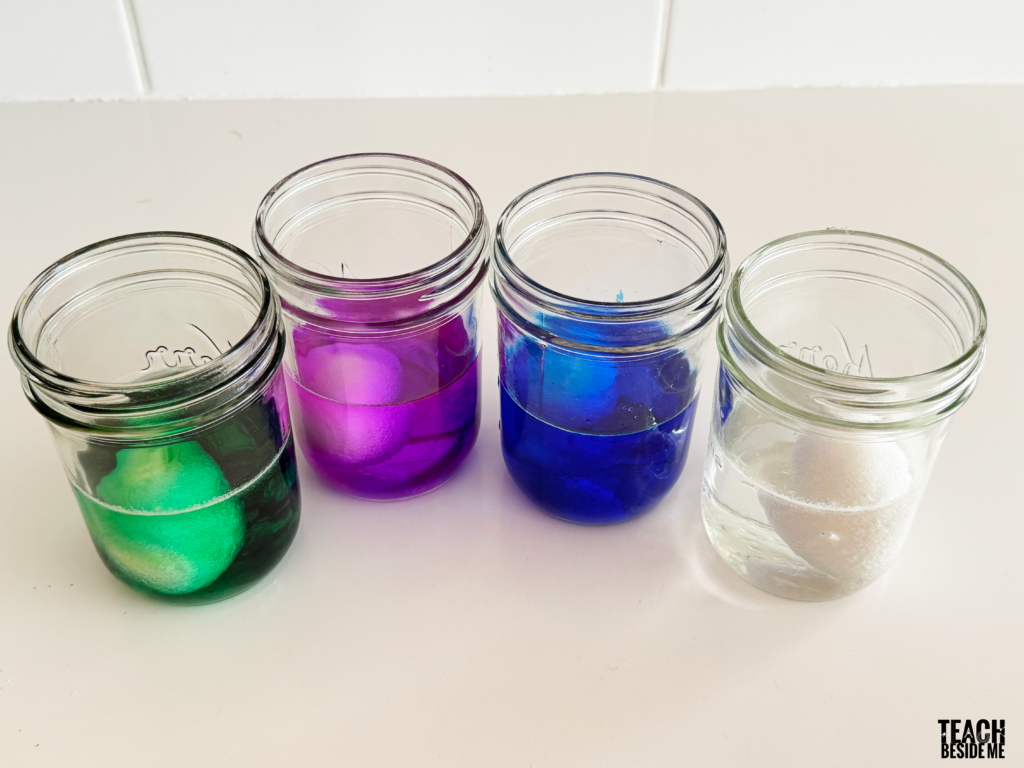
Step 3: Observe the Reaction
Over the next 24 to 48 hours, you’ll notice foaming and fizzing as the vinegar reacts with the eggshell. The egg shell will begin to dissolve, leaving a translucent thin membrane.
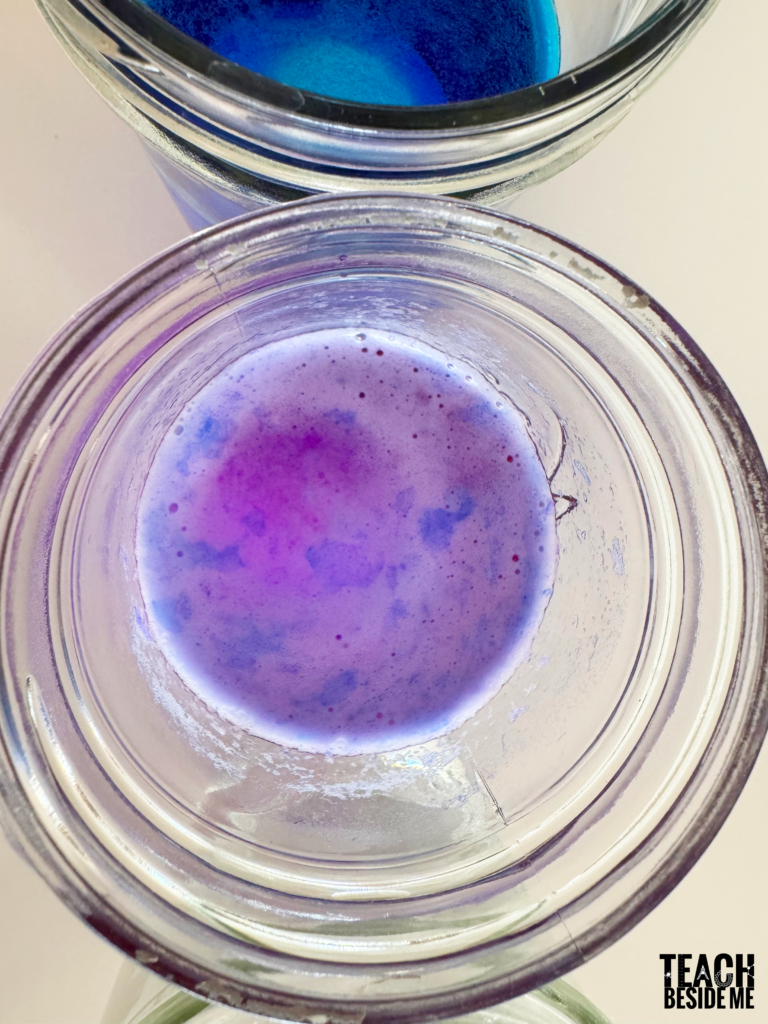
There was a thick layer of foam the next day.
Step 4: Rinse the Egg
After about two days, carefully remove the egg from the vinegar using a spoon. Rinse it under tap water and gently rub off any remaining shell residue.
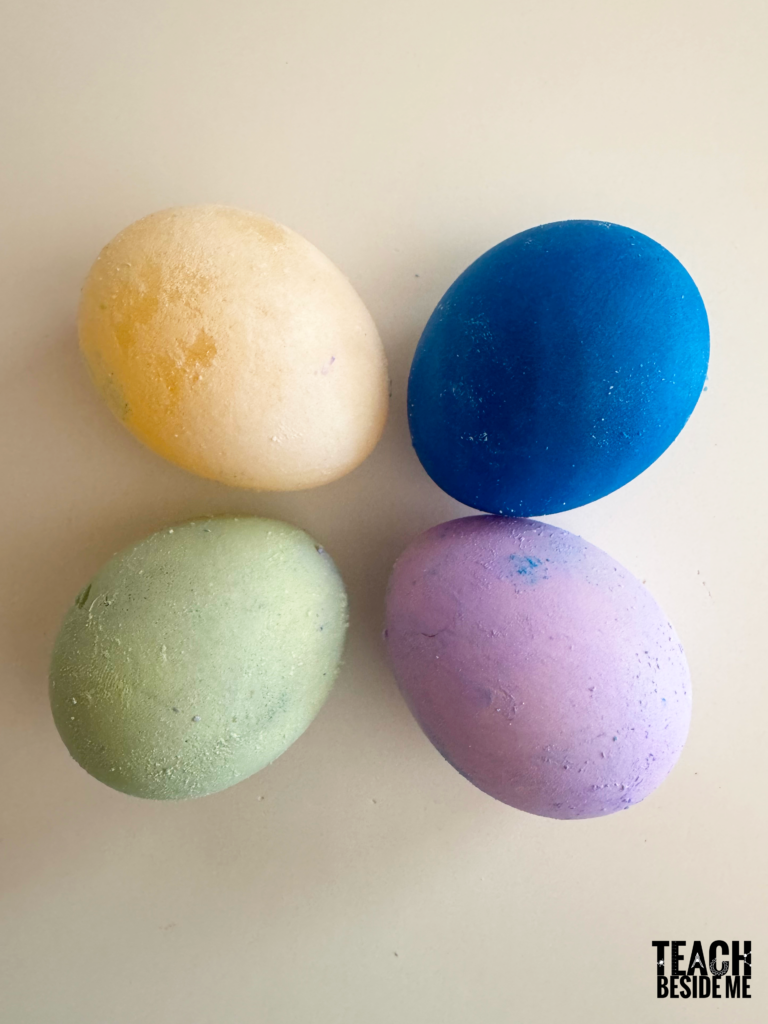
The egg should now feel soft and rubbery!
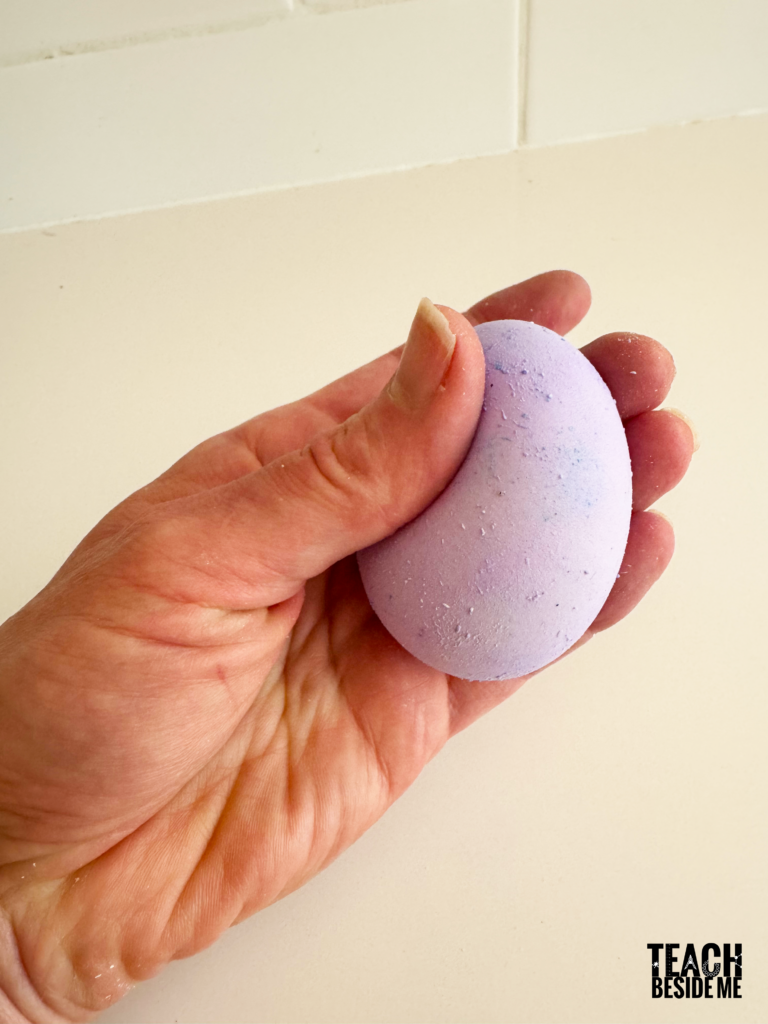
Step 5: Experiment with Your Rubber Egg
Try bouncing the egg gently on a plate or counter. It should have some elasticity, but be careful—it can still break! And, it’s still messy when it breaks!

Watch it In Action:
The Science Behind the Rubber Egg Experiment
This experiment demonstrates a simple chemical reaction between an acid and a base. Here’s how it works:

- The Role of Calcium Carbonate- An eggshell is made mostly of calcium carbonate (CaCO₃). This compound is found in chalk, limestone, and seashells. See also my Seashell Acid Base Experiment.
- Vinegar and Acetic Acid: Vinegar is a weak acid that contains acetic acid. When the egg is submerged in vinegar, a chemical reaction occurs between the acetic acid and calcium carbonate.
- The Chemical Reaction: The reaction between calcium carbonate and acetic acid produces carbon dioxide gas (CO₂), which forms bubbles around the shell. As the reaction continues, the shell gradually dissolves, leaving behind the soft, flexible egg membrane.
- Osmosis and the Egg’s Swelling: Once the shell is gone, the egg’s semi-permeable membrane allows water to pass through. Because vinegar contains water, osmosis occurs, causing the egg to swell slightly.

Parts of the Egg and Their Role in the Experiment
The egg is composed of several key parts, each playing a role in this experiment:
1. The Shell
The outermost layer of the egg, made primarily of calcium carbonate. This is the part that reacts with vinegar and dissolves over time.
2. The Membrane
Once the shell dissolves, you are left with the egg membrane. This thin but strong layer acts as a barrier, holding the egg’s contents together while allowing small molecules (like water) to pass through.
3. The Egg White (Albumen)
The clear, viscous liquid inside the egg, composed mostly of water and proteins. It provides cushioning and protection for the yolk and absorbs some of the vinegar’s water through osmosis.
4. The Yolk
The yellow center of the egg, rich in nutrients. The egg yolk remains intact within the membrane but may become more visible as the egg becomes translucent.
Understanding these parts helps explain why the egg changes during the experiment and why it becomes rubbery while still maintaining its overall shape.
Did You Know?
Sometimes chickens lay rubber eggs. This can happen due to a few different issues: calcium deficiency, vitamin D deficiency, an immature hen, or high stress levels.
Fun Variations to Try
Want to explore more? Try these variations of the experiment!
1. Corn Syrup Experiment (Shrinking the Egg)
After completing the rubber egg experiment, place the egg in corn syrup for 24 hours. The high sugar concentration will cause osmosis to draw water out of the egg, shrinking it dramatically.
2. Water Expansion Experiment
Instead of corn syrup, place the rubber egg in a cup of water for a day. The egg will absorb more water through its membrane and expand.
3. Testing Different Liquids
Try soaking eggs in different liquids like soda, lemon juice, or salt water and observe the differences. Do they dissolve the shell faster or slower than vinegar?
4. Shine a Flashlight on the Egg
For an extra cool effect, try shining a flashlight through the translucent egg in a dark room. The light will pass through the egg, making it glow! This happens because the egg membrane is semi-transparent, allowing light to scatter through the liquid inside, which gives it an eerie glowing effect.
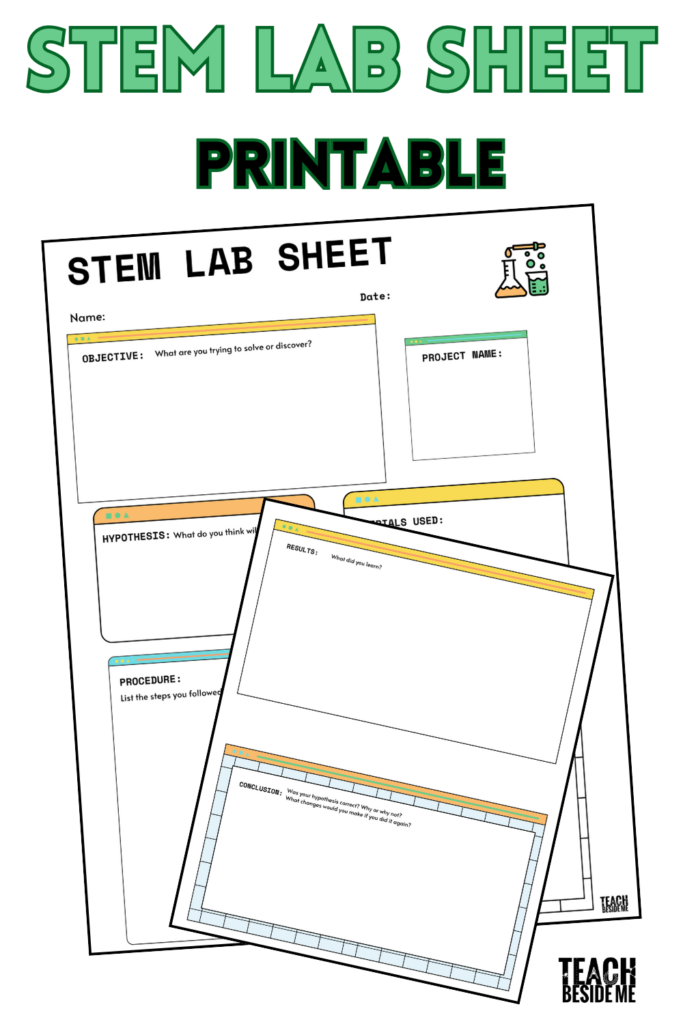
Turn it into a full lesson with this free STEM Lab Sheet!
Common Questions and Troubleshooting
1. Why is my egg breaking instead of bouncing?
If the egg is breaking easily, it may not have soaked long enough. Give it more time in the vinegar.
2. My egg still has shell residue. What should I do?
Gently rub the egg under running water to remove any remaining shell.
3. Can I eat the rubber egg?
No, the egg is not safe to eat because it has been exposed to acid and may have absorbed vinegar. Unlike traditional pickling, where food is sterilized and stored in a controlled acidic environment, this experiment leaves the egg vulnerable to bacterial contamination. The egg’s membrane is semi-permeable, meaning it can absorb bacteria along with the vinegar. Additionally, prolonged exposure to acid can alter the proteins inside the egg, making it unsafe to consume. No, the egg is not safe to eat because it has been exposed to acid and may have absorbed vinegar.
The rubber egg experiment is a fantastic way to introduce kids to chemistry and biology. It demonstrates the power of chemical reactions, the structure of eggshells, and the effects of osmosis—all while being a fun, hands-on activity!
Try it at home, experiment with variations, and enjoy the magic of science!
Have you tried this experiment? Let us know your results in the comments!
Find it on YouTube, too!
See More Cool Science Experiments:
Compost Science Experiment in a Jar With Printable List
Dancing Popcorn + Dancing Cranberries Thanksgiving Science Experiment
Fun Food Science Activity for Kids: Bread in a Bag Experiment


How funny, we did the same egg experiment this week! My preschooler was really impressed!
We left the egg in the same vinegar for only 2 days and instead of peeling off, like it looks like your shell did, ours kind of wiped off in flakes.
I am just hopping over to thank you for linking up this week to my Enchanted Thursdays Blog Hop! What a great science experiment! I hope to see you link up again this week.
So fun! Thanks for sharing with Brag Time Thursday!
Those are both really fun to do. I’m going to try them again when we get back to flying creatures again.
Thanks for linking to Science Sunday!
I am wondering if you can use something else other than a q-tip?