How to Make Ice Cream in a Bag: Summer Science Experiment
This post may contain affiliate links.
Making ice cream in a bag is one of those classic activities that combines science, food, and fun all in one. Kids love shaking the bags and watching liquid ingredients magically turn into creamy ice cream right before their eyes. Parents and teachers love that it’s simple, inexpensive, and packed with hands-on STEM learning.
Whether you’re doing this as a summer science activity, kitchen chemistry lesson, homeschool project, camp activity, or just a fun afternoon treat, this homemade ice cream in a bag experiment is always a hit.
Why Make Ice Cream in a Bag?
This activity is:
- Hands-on and engaging
- Easy for kids to help with
- A great introduction to chemistry and states of matter
- Perfect for STEM learning
- Customizable with endless flavor ideas
- Delicious!
It also works wonderfully for:
- Summer camps
- Classroom science lessons
- Homeschool science
- Birthday parties
- Kitchen science units
- Weather and temperature lessons
Ice Cream in a Bag Recipe
Supplies Needed
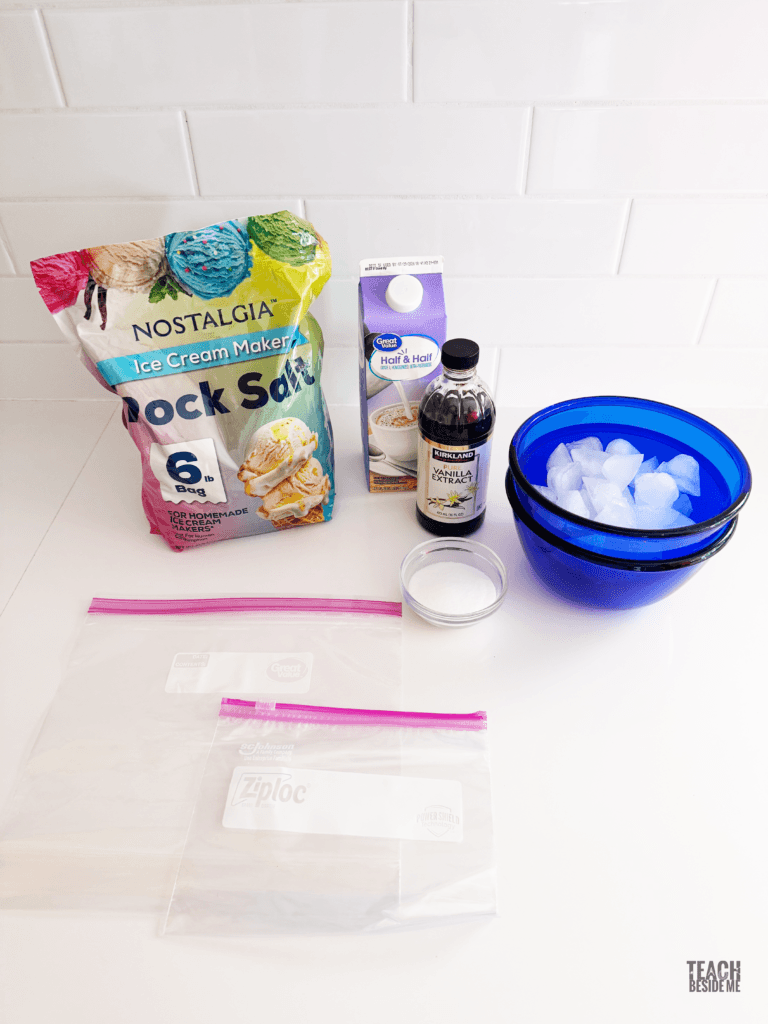
Ingredients
- 1 cup half-and-half, heavy cream, or whole milk
- 2 tablespoons sugar
- 1 teaspoon vanilla extract
- Ice
- 1/3 to 1/2 cup rock salt or coarse salt
You can easily make vegan or dairy-free versions using:
- Coconut milk
- Oat milk creamer
- Almond milk
- Cashew milk
Coconut milk usually creates the creamiest dairy-free texture because of its higher fat content.
Ice Cream Flavor Variations
This makes a classic vanilla ice cream recipe, but you can get creative and make any kind you want!
Classic Flavors
- Chocolate syrup
- Strawberry puree
- Mint extract
- Peanut butter
- Cookies and cream
Fun Mix-Ins
- Mini chocolate chips
- Crushed cookies
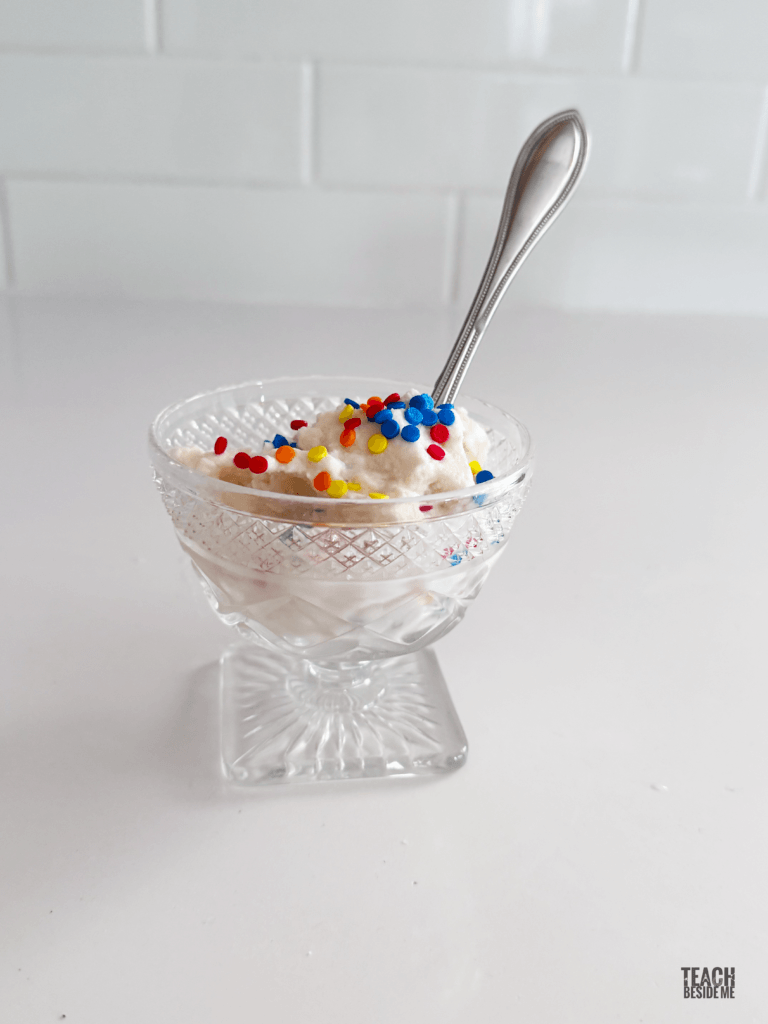
- Sprinkles
- Fruit pieces
- Granola
Supplies
- 1 quart-size zip-top bag
- 1 gallon-size zip-top bag
- bowls and spoons
- Towel or gloves (the bag gets very cold!)
- Measuring cups and spoons
How to Make Ice Cream in a Bag
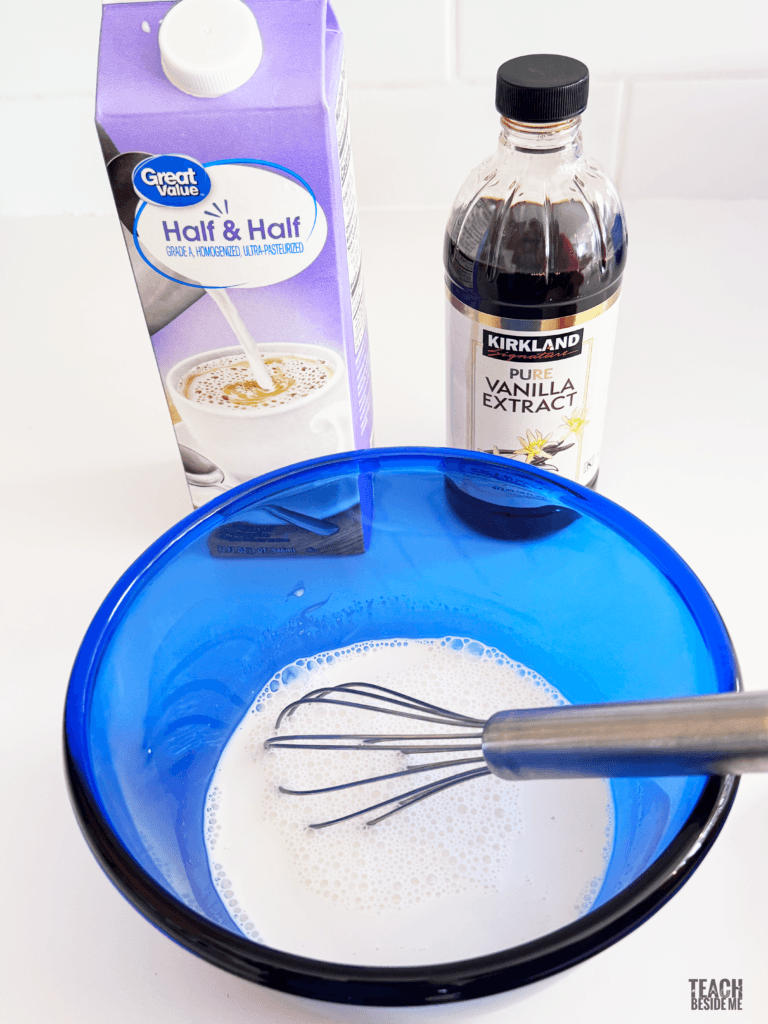
Step 1: Mix the Ice Cream Base
In a bowl, or right in the quart-sized bag, combine:
- Milk or half-and-half
- Sugar
- Vanilla
Squeeze out excess air. Seal tightly.
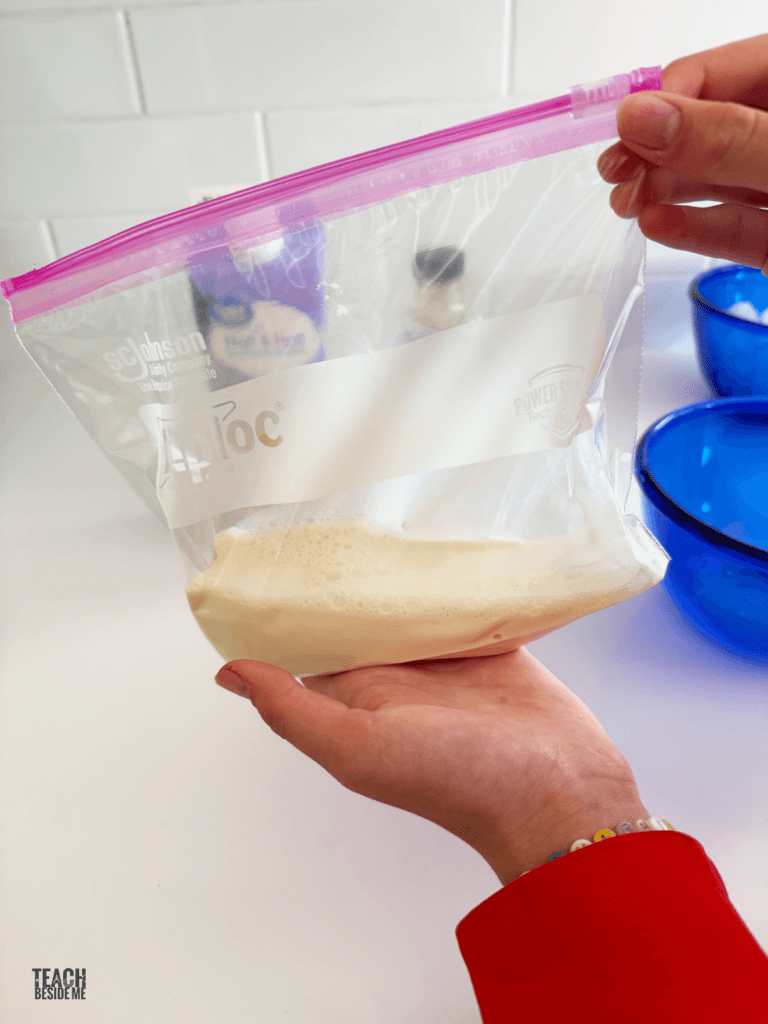
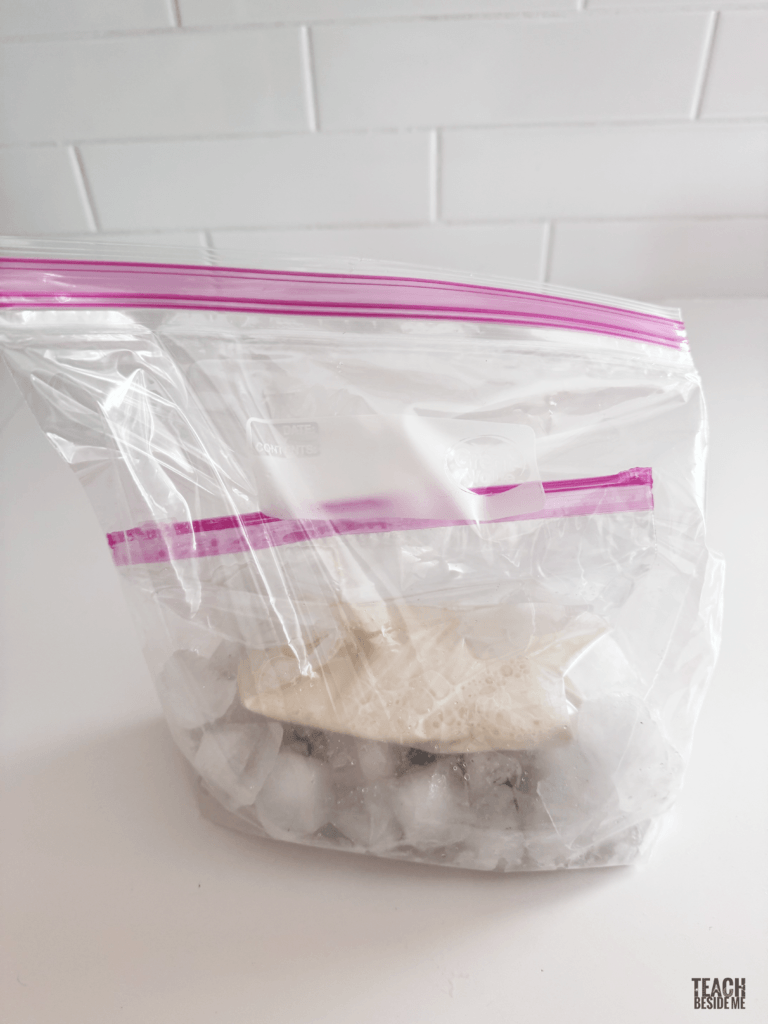
Step 2: Prepare the Ice Bath
Fill the large gallon-size bag about halfway with ice. Add the rock salt over the ice. Place the small bag inside the large bag and seal it shut.
Step 3: Shake!
Shake and turn the bag continuously for about 5–10 minutes.
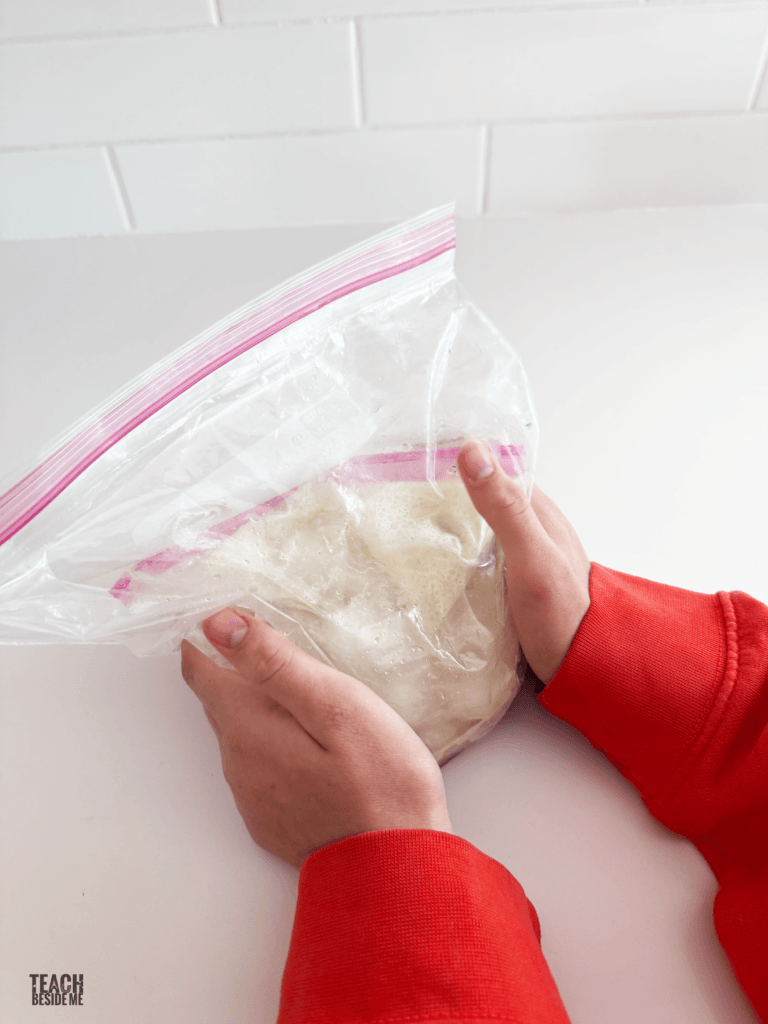
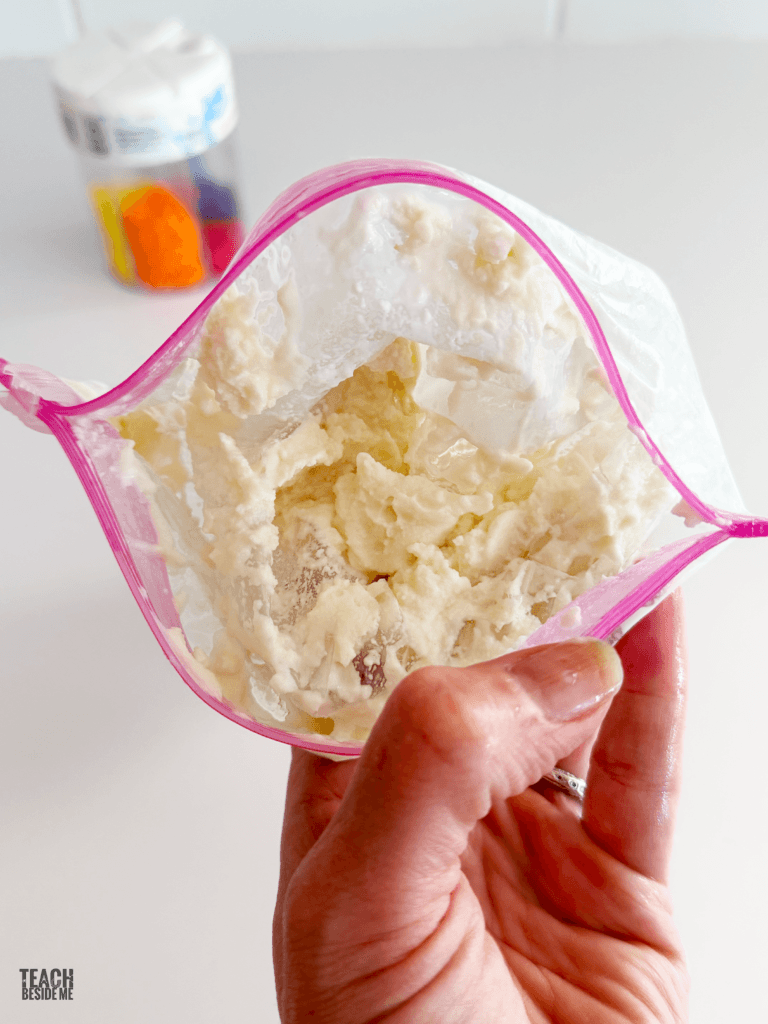
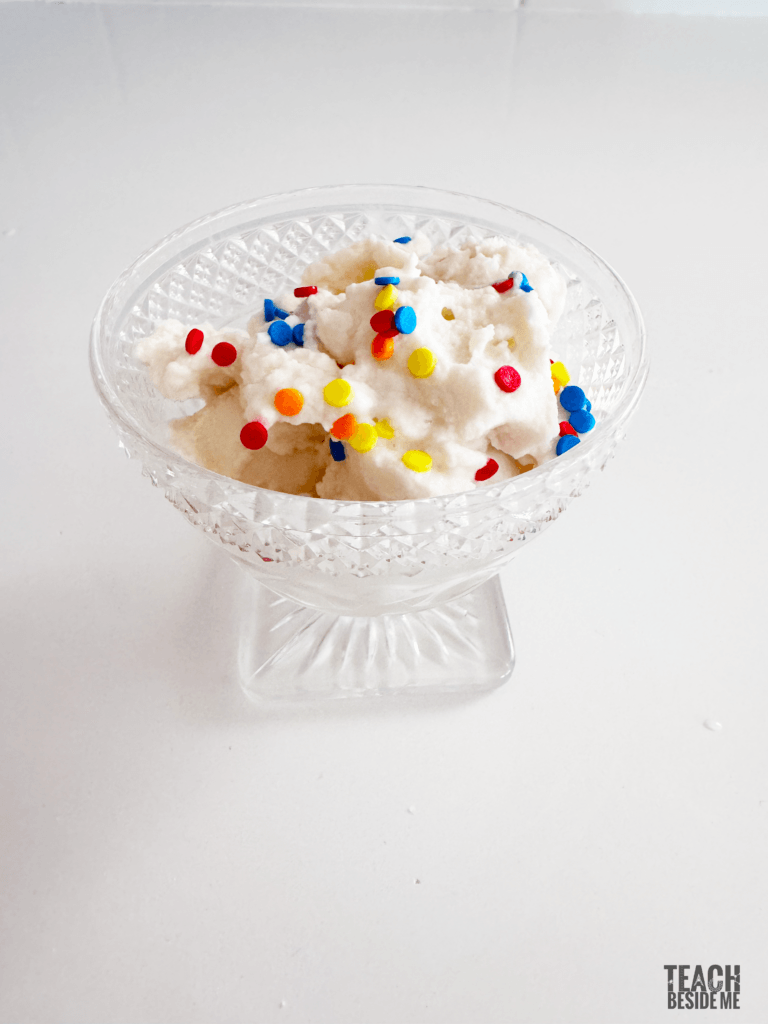
The liquid mixture will slowly thicken and freeze into ice cream. When it reaches soft-serve consistency, remove the small bag, wipe off the salt water, add your favorite toppings, and enjoy! You may want to put it into the freezer for 15 minutes before eating to firm up better.
Tips for Success
- Double-bag the ice cream mixture to prevent leaks
- Use gloves or a towel because the bag gets very cold
- Shake constantly for best texture
- Don’t overfill the bags
- Wipe salt water off the small bag before opening
The Science Behind Ice Cream in a Bag
This activity is packed with food science and chemistry concepts.
Why Does Salt Make the Ice Cream Freeze?
Normally, ice melts at 32°F (0°C). When you add salt to ice, it lowers the freezing point of water. This is called freezing point depression.
The salt causes the ice to melt while becoming colder than normal ice alone. That extra-cold temperature removes heat from the ice cream mixture and freezes it.
This is the same reason salt is spread on icy roads in winter.
States of Matter
Kids can observe matter changing states during this experiment:
- Liquid milk mixture → semi-solid ice cream
- Solid ice → liquid water
This makes a great introduction to physical changes in chemistry.
Energy Transfer
Heat moves from the warmer ice cream mixture into the colder ice-and-salt mixture.
This transfer of thermal energy allows freezing to happen.
Why Shaking Matters
Shaking helps:
- Mix ingredients evenly
- Prevent large ice crystals
- Add air for a creamier texture
Commercial ice cream makers use a similar churning process.
Food Science of Ice Cream
Ice cream is actually a fascinating food chemistry experiment.
What Does Sugar Do?
Sugar:
- Adds sweetness
- Helps keep ice cream soft
- Lowers freezing point slightly
- Improves texture
Without sugar, the ice cream becomes much icier and harder.
Why Fat Matters
Using half-and-half or cream creates smoother, richer ice cream because fat:
- Creates creaminess
- Improves mouthfeel
- Helps trap air bubbles
Lower-fat milk still works, but the texture may be icier.
The Role of Air
Ice cream contains tiny air pockets created during shaking and mixing. These air pockets make the ice cream light, scoop able and creamy. Without air, frozen desserts become dense and hard.
Ice Cream in a Can Variation (Perfect for Groups!)
If you’re making homemade ice cream with a class, summer camp, youth group, or large family gathering, try the classic ice cream in a can method! This version is especially fun because kids roll the can back and forth instead of shaking individual bags.
It turns the activity into a cooperative STEM challenge and gets everyone moving.
How to Make Ice Cream in a Can
Supplies Needed
- 1 clean coffee can or small metal can with lid
- 1 larger coffee can with lid
- Duct tape (optional for extra sealing)
- Towels or gloves
Instructions
Step 1: Prepare the Ice Cream Mixture
In the smaller can, add the ice cream mixture. Seal the lid tightly. You may want to tape the lid shut to prevent leaks.
Step 2: Build the Freezing Chamber
Place the small can inside the larger can.
Fill the space around the smaller can with ice snd rock salt. Seal the larger can tightly.
Step 3: Roll the Can
Kids can sit in a circle and gently roll the can back and forth across the floor for about 10–15 minutes.
This constant movement helps:
- Freeze the mixture evenly
- Add air for creaminess
- Prevent large ice crystals
STEM Learning Ideas for the Can Version
This group variation adds extra opportunities for:
- Teamwork and engineering
- Observing motion and energy transfer
- Comparing freezing times
- Measuring temperature changes
- Testing rolling speed and efficiency
You could even turn it into:
- A relay race
- A timing challenge
- A cooperative science experiment
Why the Can Method Works So Well for Groups
The can method:
- Makes less mess than multiple bags
- Uses larger batches
- Encourages cooperation
- Works well outdoors
- Feels like an old-fashioned science activity
It’s especially popular for:
- Summer camps
- Scout groups
- Homeschool co-ops
- Classroom STEM days
- Pioneer or historical learning units
Historical Connection
Before electric ice cream makers became common, families often made homemade ice cream using hand-cranked freezers and ice packed with salt. The can method gives kids a glimpse into how frozen treats were made in the past using simple science and manual labor.
Learning Extension
Ask your kids:
-
Why did the salt make the ice colder?
-
What changed from liquid to solid?
-
Which method did you like better and why?
Frequently Asked Questions
Why do you put salt on the ice?
Salt lowers the freezing point of water, allowing the mixture to become colder than regular ice.
Can you make ice cream in a bag without rock salt?
You can use table salt or kosher salt, though rock salt often works best because of the larger crystals.
How long does it take?
Usually about 5–10 minutes of shaking.
Why isn’t my ice cream freezing?
Possible reasons:
- Not enough salt
- Too little ice
- Bags leaking
- Ingredients too warm
- Not shaking long enough
Whether you make it in a bag or roll it in a can, this sweet experiment is a perfect summer learning activity. It’s easy, affordable, and delicious—and a great way to teach real science with real results!
More Fun Kitchen Science Activities
You may also enjoy:
- Butter in a Jar
- Rock Candy Crystals
- Rainbow Milk Experiment
- Bread in a Bag
- Kitchen Chemistry: Cake Baking Experiment for Kids
- Edible Layers of the Earth