Easy Mosaic Craft for Kids
This post may contain affiliate links.
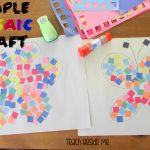
Mosaic art is a timeless and beautiful tradition—and it’s easy to bring a simplified version into your home with this easy mosaic craft for kids. Whether you’re crafting for fun or introducing an art history lesson, this project is colorful, creative, and full of learning.
It is a wonderful way to spend quality time together while encouraging fine motor skills, creativity, and pattern recognition. It’s perfect for preschoolers through early elementary-aged children—and it’s totally adaptable for older kids too!
Whether you’re crafting during your homeschool day, filling a rainy afternoon, or just enjoying some screen-free bonding time, this paper mosaic art project is a low-prep activity with beautiful results.

Why We Love This Mosaic Art Project
Crafting with my kids has always been one of my favorite ways to connect. It’s not just about making something cute—it’s about spending focused time together, talking, laughing, and creating side-by-side. This mosaic project was especially fun because it was easy enough for little hands but open-ended enough to let their imaginations shine.
Supplies You’ll Need for Mosaic Art
-
Assorted construction paper or cardstock
-
A 1-inch square paper punch (optional but makes prep super fast!)
-
Scissors (if not using a punch)
-
White paper or cardstock for the base
-
Pencil or marker for drawing shapes
How to Make This Easy Mosaic Craft
-
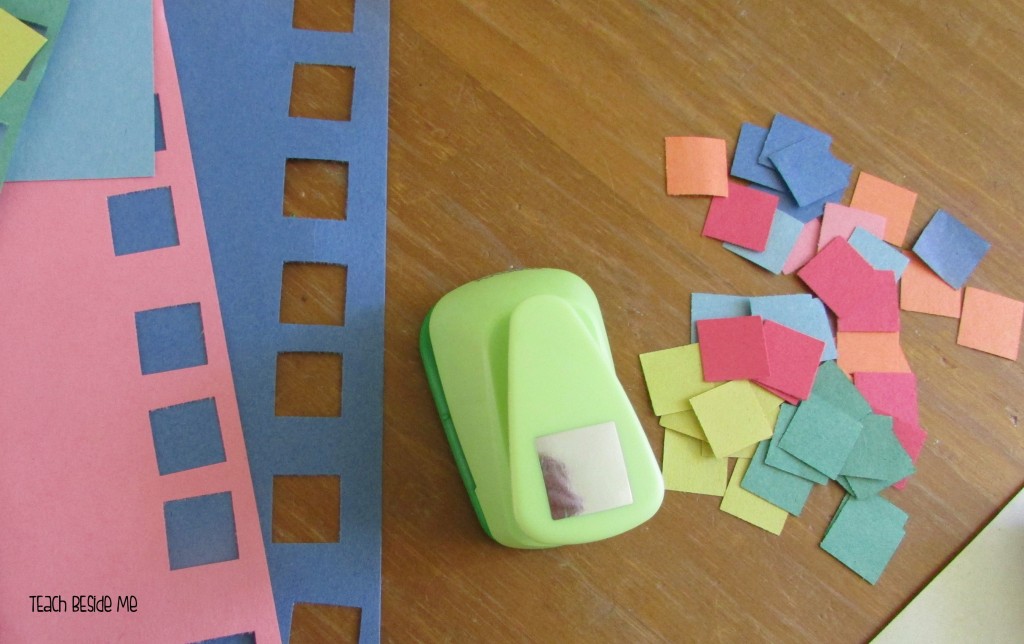
Prep the Mosaic Pieces
Use a 1-inch square punch (or scissors) to cut a variety of colored squares from construction paper. You may want to put the pieces of paper in a bowl to help contain them! -
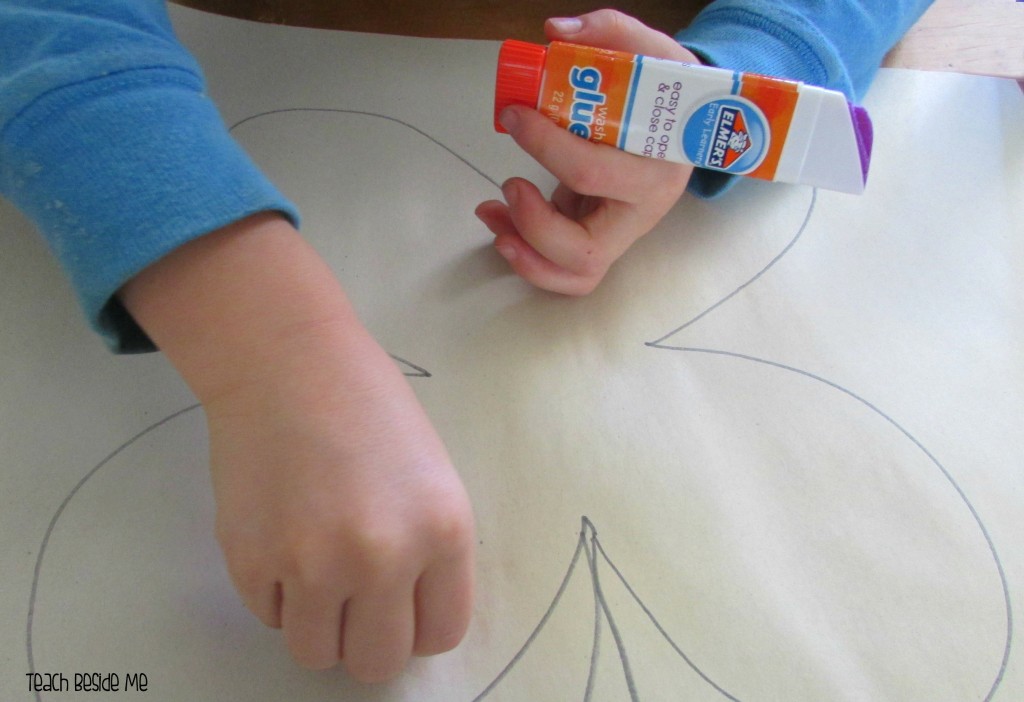
Draw a Simple Shape
Let your child pick a shape (like a butterfly, flower, heart, or star), and draw the outline on a piece of cardstock or white paper. -
Apply Glue
Kids can use glue sticks to fill in the inside of the shape—this keeps the glue from drying out too quickly and makes it easier to focus on placement. -
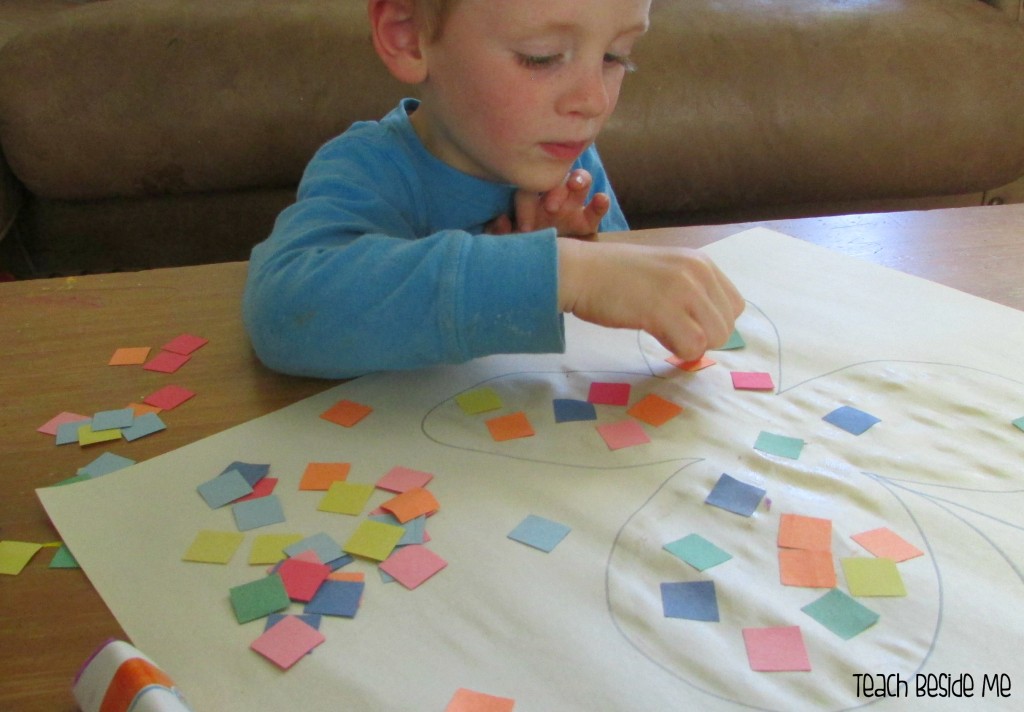
Add the Mosaic Tiles
Have kids place the colored squares inside the shape however they like. They can make random patterns or try to group similar colors for a more detailed mosaic design. -
Let Dry and Display!
Once complete, let the mosaic dry and hang it up somewhere special.
Tips & Variations
-
Let older kids create complex patterns or symmetrical designs.
-
Use hole punches, stickers, or tiny torn paper for a textured mosaic effect.
-
Try a seasonal or themed twist: mosaic suns, snowflakes, hearts, or pumpkins.
-
Turn this into a math activity by exploring patterns or estimating how many squares are needed to fill a space.
-
Add labels or facts to turn it into a cross-curricular project (like mosaics of animals, flags, or maps).
Skills Kids Practice with the Mosaic Craft
-
Fine motor control
-
Color recognition
-
Spatial awareness
-
Creative expression
-
Following directions
-
Focus and concentration
This project is both relaxing and enriching—a win for both parents and kids!

A Quick History of Mosaic Art
Mosaics have been around for thousands of years! This art form involves creating pictures or patterns by placing small pieces of colored stone, glass, or tile, called tesserae, onto a surface. I have had the opportunity to see some amazing ones in my travels!
-
Ancient Mesopotamians were among the first to use mosaics in temples over 4,000 years ago.
-
The Greeks and Romans developed detailed mosaic floors and wall decorations in homes and public buildings—many of which are still visible in ruins today.
-
During the Byzantine Empire, artists used glittering glass tesserae to create beautiful religious mosaics in churches.
-
In Islamic art, mosaics were often used to decorate mosques with intricate geometric patterns.
Mosaic art has been found in nearly every culture, from ancient Egypt and Persia to Native American pottery and Mexican folk art.
How Real Mosaic Tiles Are Laid
Unlike paper mosaic crafts, real mosaics require a bit more technique and durability. Here’s how traditional mosaic tiles are created and installed:
-
Design Planning: Artists often sketch a full pattern or image before starting.
-
Choosing Materials: Tiles (tesserae) can be made of stone, glass, ceramic, or even shells.
-
Cutting the Tiles: Larger tiles are cut into smaller pieces using special tools.
-
Laying the Tiles: Tiles are arranged and pressed into a thin layer of mortar or adhesive on the surface (like a wall or tabletop).
-
Grouting: Once the tiles are placed, grout (a paste-like filler) is spread over them to fill the spaces and hold everything together.
-
Polishing or Cleaning: The surface is wiped clean, and sometimes polished for shine.
It’s a process that takes time, patience, and precision—which is why real mosaic artwork is so special and long-lasting!
Sometimes the best activities are the simplest. This easy mosaic craft for kids project gave us 20+ minutes of creative connection, conversation, and fun. Best of all, it’s adaptable for kids of all ages and doesn’t require any fancy supplies.
Take the time this week to slow down, get out the glue sticks, and make something together. Your kids will remember the moment even more than the craft.
See More Easy Crafts and Activities for Kids:
Rainbow Tie-Dye Suncatchers Craft
Simple Kids Craft: Hole Punch Pictures
Winter Craft ~ Watercolor and Salt Snowflakes


I love this idea. Simple but yet beautiful! I knew I could put my scrapbook punches to use, thanks for the idea 🙂 My kids love doing art as well. I love their faces when they finish something and how proud they are of what they created.
This looks like something my kids would like. I am not crafty, so simple is important to me.