Plastic Wrap Strength Test: A Fun Science Experiment for Kids
This post may contain affiliate links.
Ever wondered how strong plastic wrap really is? My kids and I decided to put it to the test with a simple, hands-on plastic wrap strength test experiment that turned into a hilarious and educational afternoon!
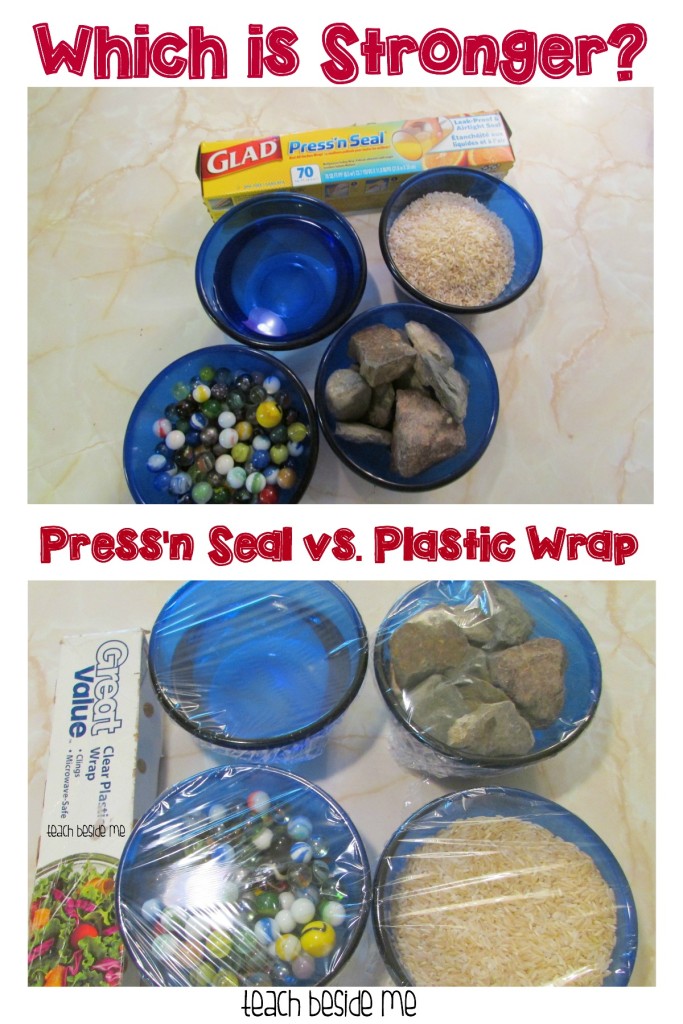
We compared two types of plastic wrap—Glad Press’n Seal vs. standard plastic wrap—by testing which could hold the weight of different materials. This activity turned into a great STEM lesson on material strength, testing hypotheses, and drawing conclusions.

How to Do the Plastic Wrap Strength Test Experiment
Supplies:
-
Bowls (we used 4)
-
Glad Press’n Seal (or your strongest wrap)
-
Regular plastic wrap (store brand)
-
Items to test:
-
Marbles
-
Small rocks
-
Uncooked rice
-
Water
-
-
Marker and paper (for hypotheses)
-
Towel or tray (for spills)

Step-by-Step Instructions
-
Make Predictions:
Before you begin the plastic wrap strength test, have your kids guess (hypothesize) which plastic wrap will hold each item when turned upside down. -
Set Up the Test:
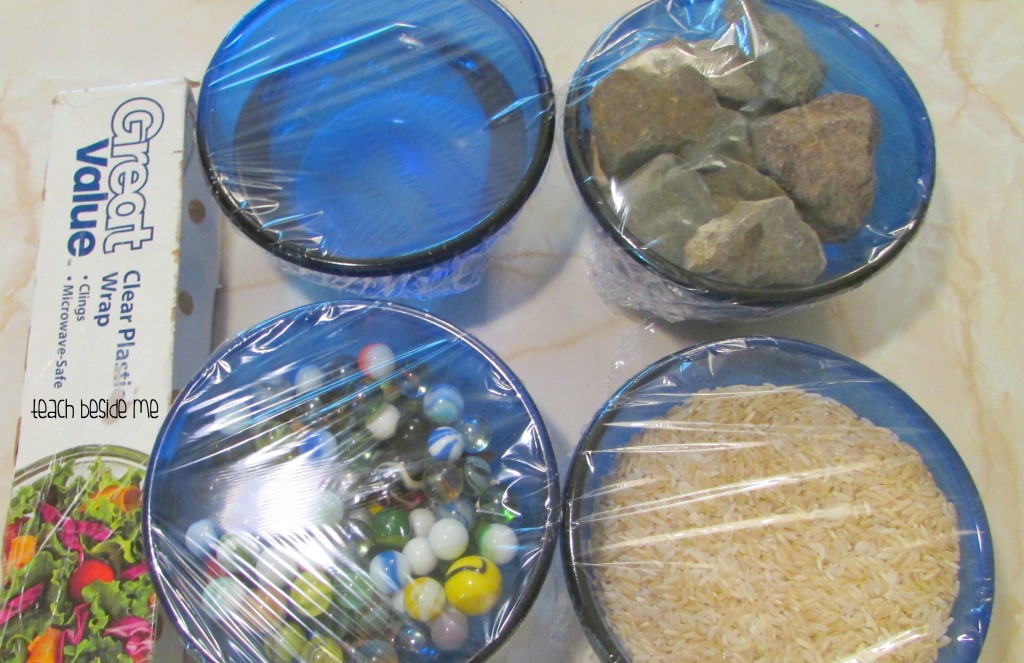
Fill each bowl with a different material—rocks, marbles, rice, and water. -
Wrap It Up:
Cover each bowl tightly with one type of plastic wrap. Press to seal as best you can. -
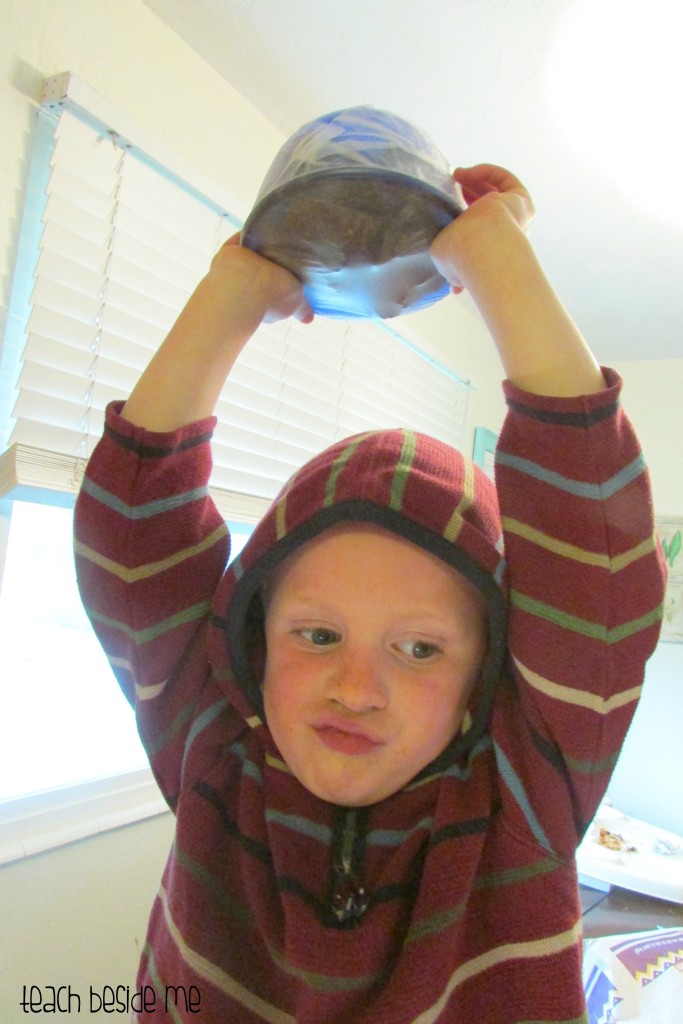
The Flip Test:
One at a time, flip each bowl upside down and see what happens. Does the plastic wrap hold? Does it leak? Spill? -
Repeat with the Other Plastic Wrap:
Repeat the same test using the second brand of plastic wrap. Be sure to let your kids hold the bowls and observe closely.

Our Observations and Results
We were amazed! Glad Press’n Seal held all four materials without spilling—even the water. The regular plastic wrap surprised us too—it held the dry materials okay, but it couldn’t hold the water without leaking.
We also noticed the kids had to press the regular wrap down multiple times and hold it in place, while the Press’n Seal stuck securely on its own.
What Kids Learn from This Experiment
-
Scientific Method – Make predictions, test them, observe, and compare results.
-
Material Properties – Understand how different materials work (sticky, strong, waterproof).
-
Critical Thinking – Kids evaluate which wrap works best and why.
-
Real-Life Application – A fun way to see how science connects to everyday household items.
Extension Ideas
-
Try testing other materials like sand, coins, pasta, or flour.
-
Set up a strength test by placing items on top of wrap stretched over a bowl like a drum.
-
Graph the results or use a printable experiment sheet.
This was such a fun (and slightly messy!) science experiment. It’s a great way to sneak learning into everyday moments—and now we know which plastic wrap we trust most for kitchen messes!
If you try it, let me know how your results compare. Would your wrap hold up?
See More Fun Science Experiments:
Balloon Rocket Science Experiment for Kids


What a fun experiment with everyday kitchen supplies! It makes me want to make bridges out of the press n seal, plastic wrap, aluminum foil, etc. and see which ones will hold the most weight.
AWESOME idea!
Fun experiment! I’ve always disliked plastic wrap. Maybe I’ll give this stuff a try.