Layers of the Forest Diorama: Forest Ecosystem Project for Kids
This post may contain affiliate links.
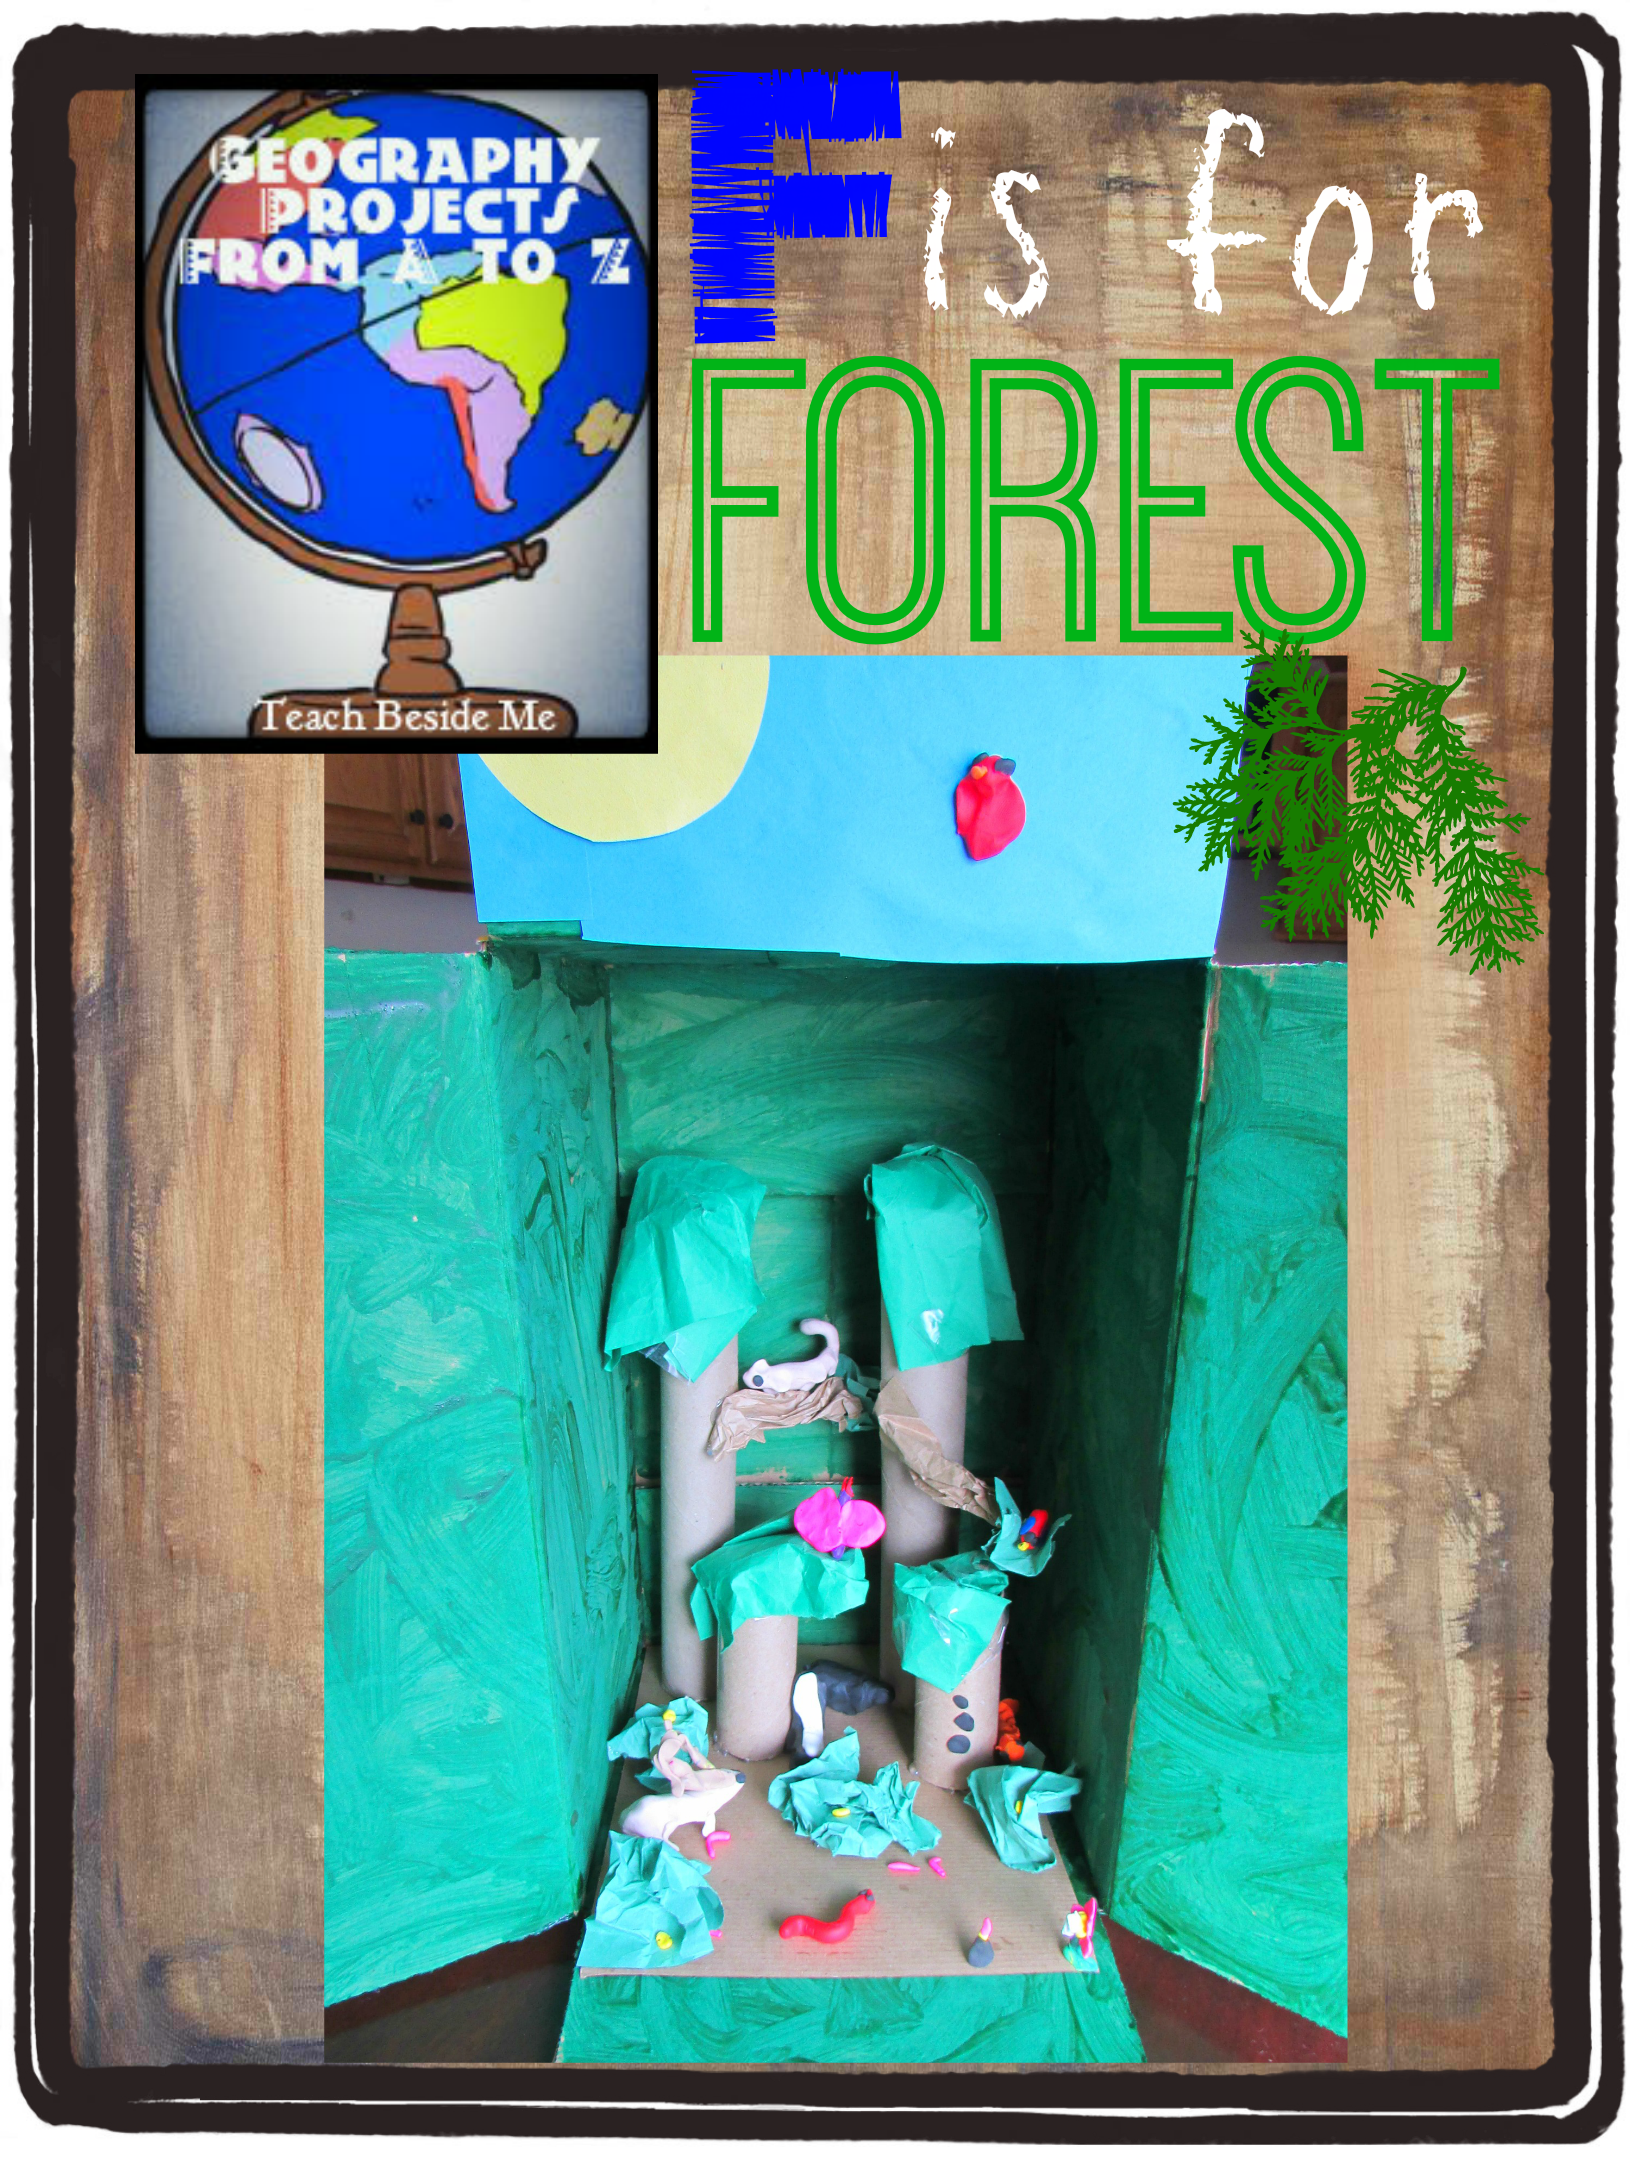
Forests are full of life from the tops of the tallest trees all the way down to the soil beneath our feet. One fun way to help kids visualize a forest ecosystem is to build a 3D model! We made this layers of the forest diorama as part of our Geography Projects from A to Z series. F is for Forest!
As we built our model, we learned about the different layers of a temperate forest, the plants that grow in each layer, and the animals that make their homes there.
This is a fun hands-on project to use with a forest unit study, ecosystem lesson, habitat study, or nature science unit.
What Are the Layers of a Forest?
A forest isn’t simply a collection of trees. Plants grow at different heights depending on factors such as sunlight, available space, water, and soil conditions. These different levels create habitats for many kinds of animals and other organisms.
The exact layers vary depending on the type of forest. Our diorama represents the layers you might observe in a temperate deciduous forest.
Canopy
The canopy is formed by the crowns of mature trees. Their branches and leaves create a leafy roof over much of the forest.
Birds, squirrels, insects, and other animals may feed, nest, or shelter among the branches.
Understory
Below the canopy is the understory, where young trees and smaller trees grow. Because the canopy blocks some of the sunlight, plants in this layer must be able to grow with less direct light.
Shrub Layer
The shrub layer includes bushes, woody shrubs, and young plants growing closer to the ground.
This layer provides food and shelter for insects, birds, and small mammals.
Herb Layer
Ferns, grasses, wildflowers, and other non-woody plants make up the herb layer.
The amount of plant growth here can vary considerably depending on how much sunlight reaches the ground.
Forest Floor and Soil
At the bottom is the forest floor, covered with fallen leaves, twigs, seeds, and other organic material.
Decomposers such as fungi, worms, and microorganisms help break down dead plant and animal matter, returning nutrients to the soil. Beneath the leaf litter, the soil contains plant roots and an entire community of living organisms.
Teaching Tip: Forests don’t all have the same structure. If you’re studying a tropical rainforest, compare these layers with the emergent, canopy, understory, and forest floor layers commonly used to describe rainforests.
How to Make a Layers of the Forest Diorama
Building a forest diorama gives kids a chance to turn what they’re learning into a three-dimensional model. As they build, encourage them to think about where each plant and animal belongs and why.
Supplies
- Cardboard box or shoebox
- Green and blue paint or construction paper
- Brown construction paper
- Toilet paper or paper towel tubes
- Clay or modeling dough
- Construction paper
- Markers or crayons
- Scissors
- Glue
- Additional natural or craft materials
You can also gather small natural materials such as twigs, dried leaves, bark, moss, or small stones to add texture to your forest model.
1. Create the Forest Background
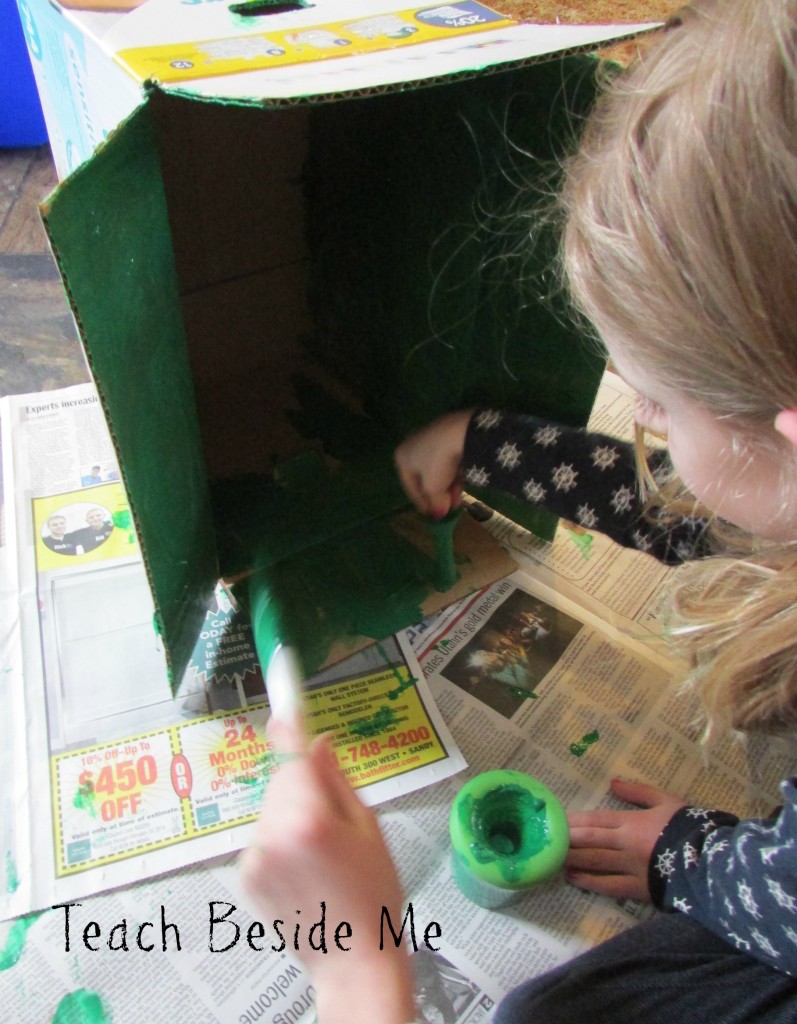
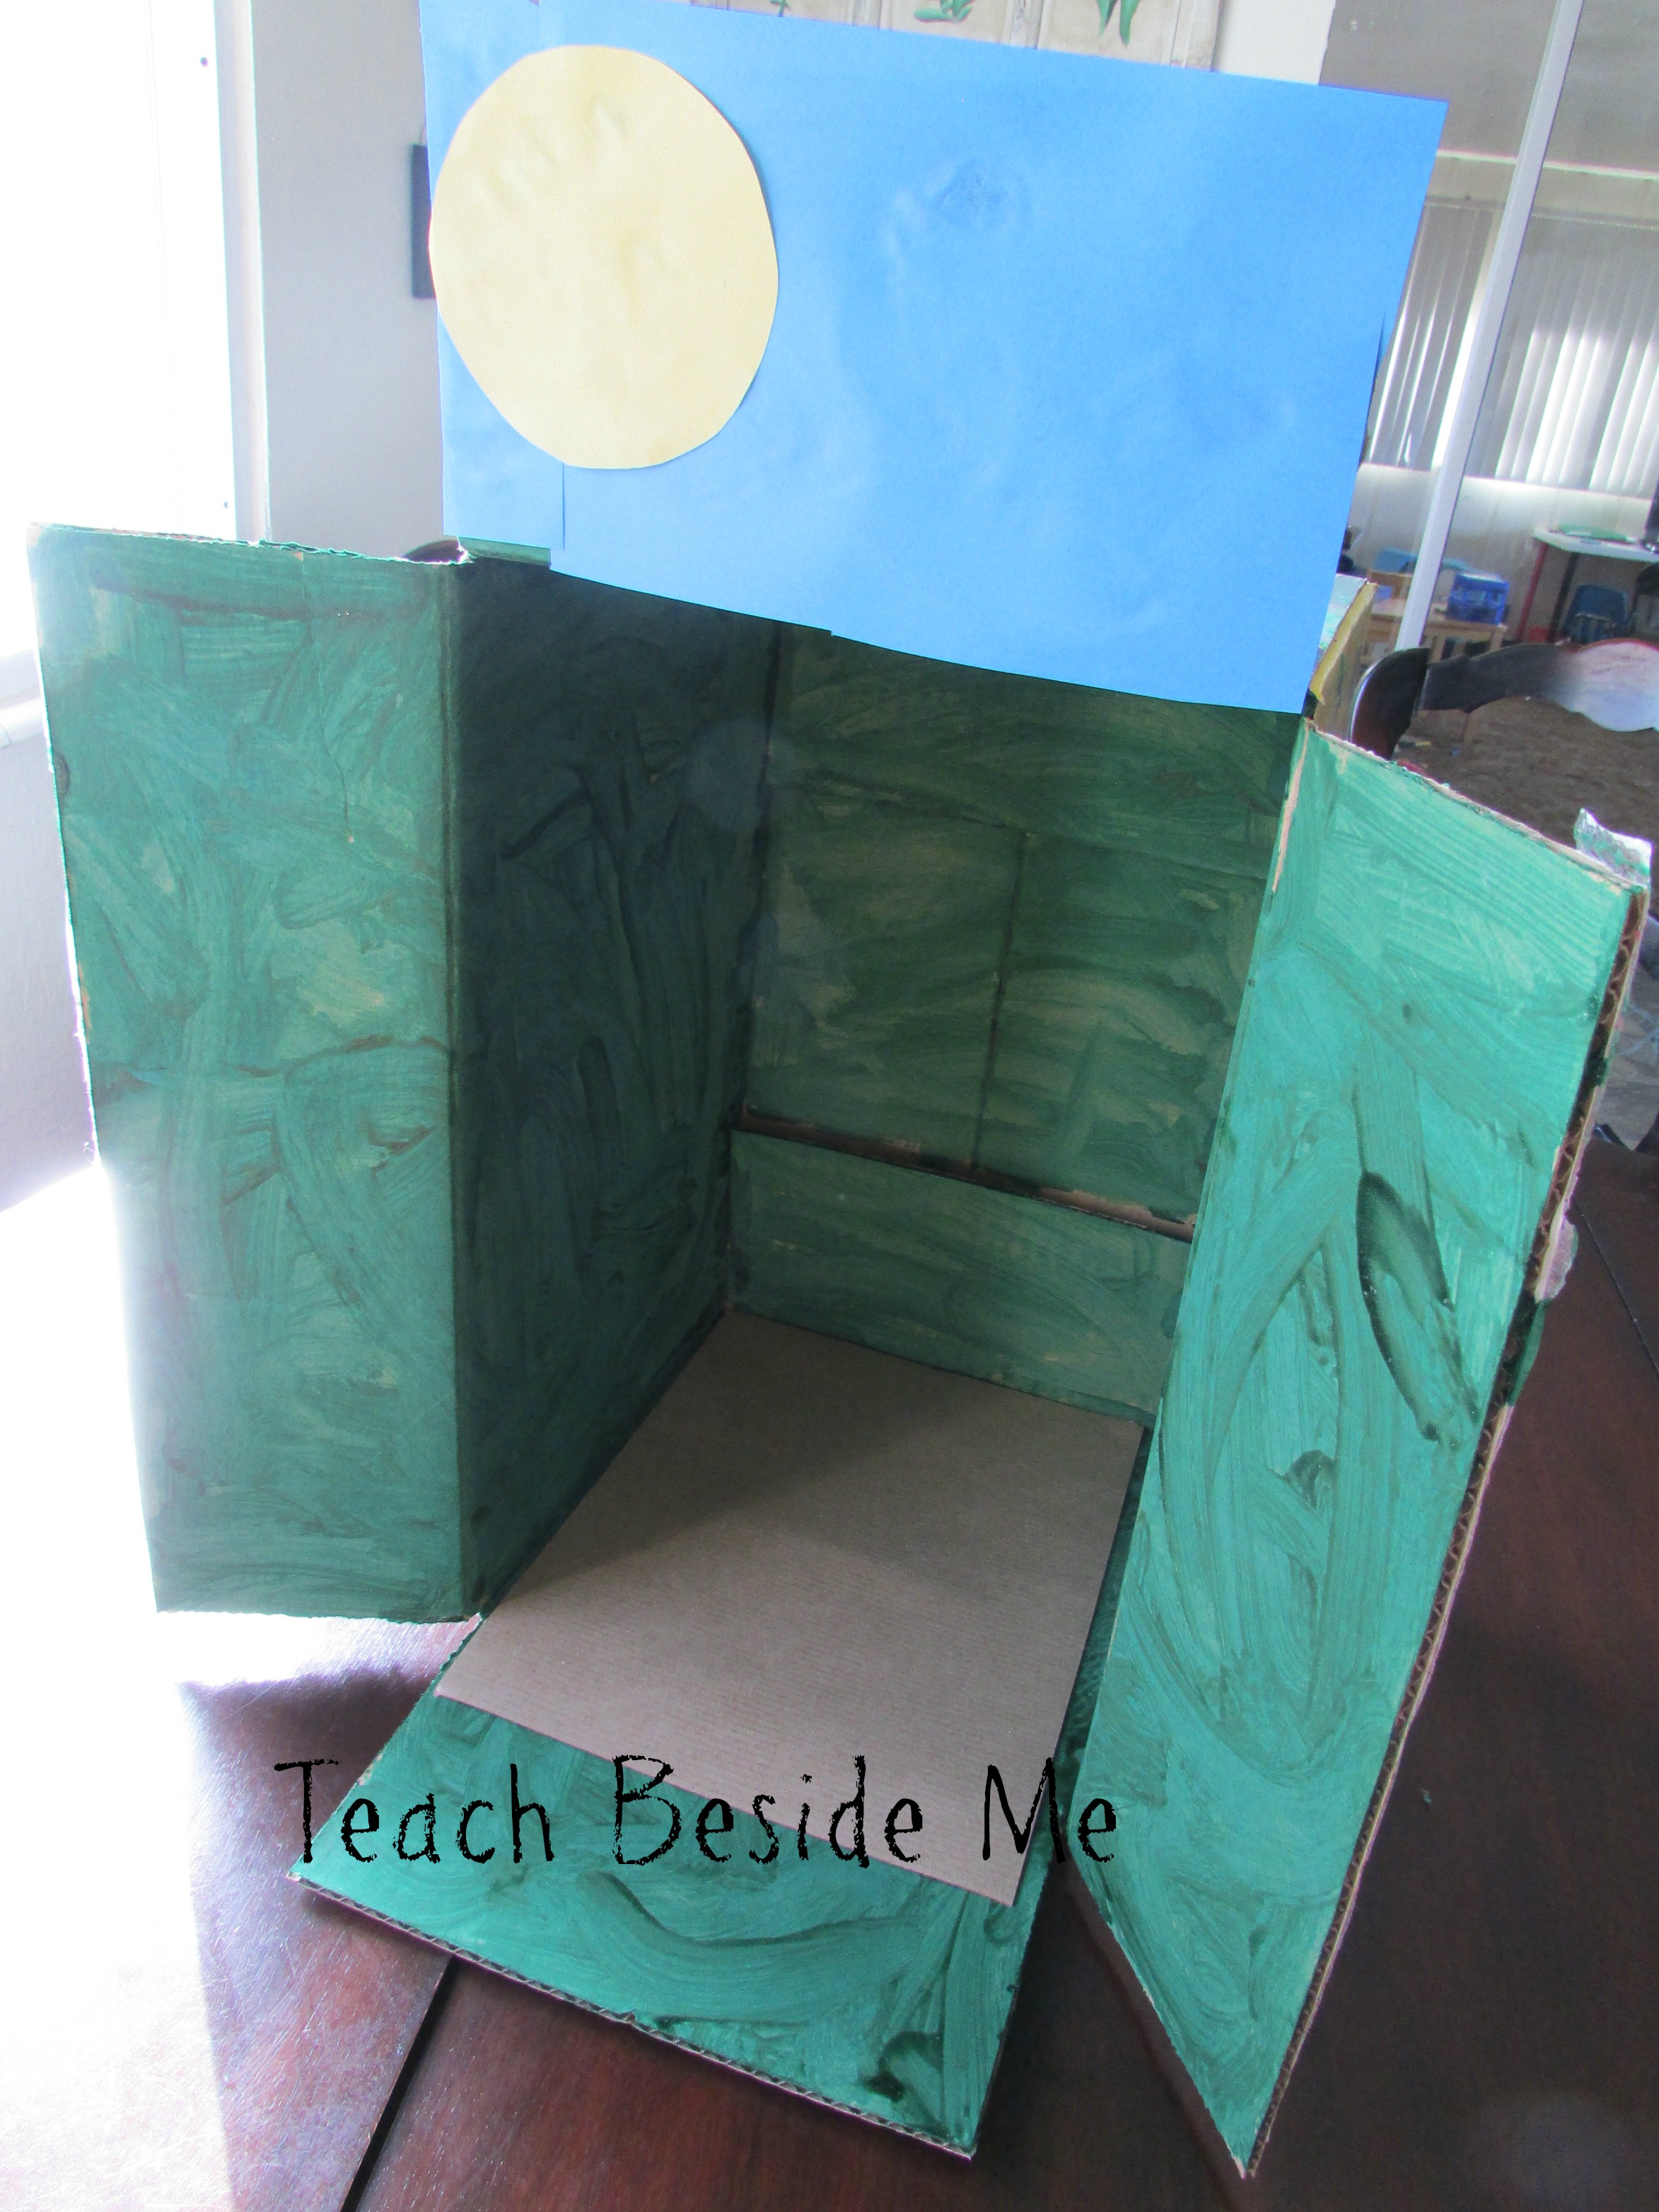
Turn a cardboard box on its side to create the base of your diorama.
We painted the inside of our box green to represent the forest and added blue to the upper portion for the sky. You could also cover the inside with colored paper.
2. Build the Forest Floor
Cover the bottom of the box with brown paper to represent the forest floor and soil.
For an even more realistic model, add dried leaves, tiny twigs, moss, or other natural materials.
This is also a great place to add decomposers. Kids can make tiny worms, mushrooms, insects, and other organisms that live in and around the soil.
3. Make the Trees and Forest Layers
We made tree trunks from cardboard tubes and added paper branches and leaves.
Try creating trees of several different heights. The tallest trees form the canopy, while shorter trees beneath them represent the understory.
Add bushes for the shrub layer and grasses, flowers, or ferns closer to the forest floor.
4. Add Forest Animals
This was one of my kids’ favorite parts!
Use modeling clay, paper, or small animal figures to add creatures to your forest. Think about where each animal would most likely live.
You might include:
- Birds in the canopy
- Squirrels among tree branches
- Deer near shrubs and low-growing plants
- Insects throughout the forest
- Worms and decomposers on the forest floor
- Woodland mammals beneath trees and bushes
Have kids explain why they chose each animal’s location. That simple question turns the craft into a much stronger science activity.

5. Label the Layers of the Forest
Finish the model by adding labels for each forest layer:
Canopy → Understory → Shrub Layer → Herb Layer → Forest Floor/Soil
Older kids could also label individual plants and animals or use arrows to show relationships within the ecosystem.
Turn the Diorama Into an Ecosystem Lesson
Once your forest diorama is finished, don’t stop with the craft! Use the model to explore how the different parts of a forest ecosystem work together.
Ask kids questions such as:
- Which forest layer receives the most sunlight?
- Which receives the least?
- Why are the tallest plants found in the canopy?
- Where would you expect to find the most decomposers?
- What animals might move between several forest layers?
- What would happen if one layer of the forest disappeared?
- How do plants and animals depend on one another?
You could even add yarn or string between organisms to create a simple forest food web inside the diorama.
Forest Books for Kids
Books are a wonderful way to extend this project and learn more about forest habitats, plants, animals, and ecosystems.
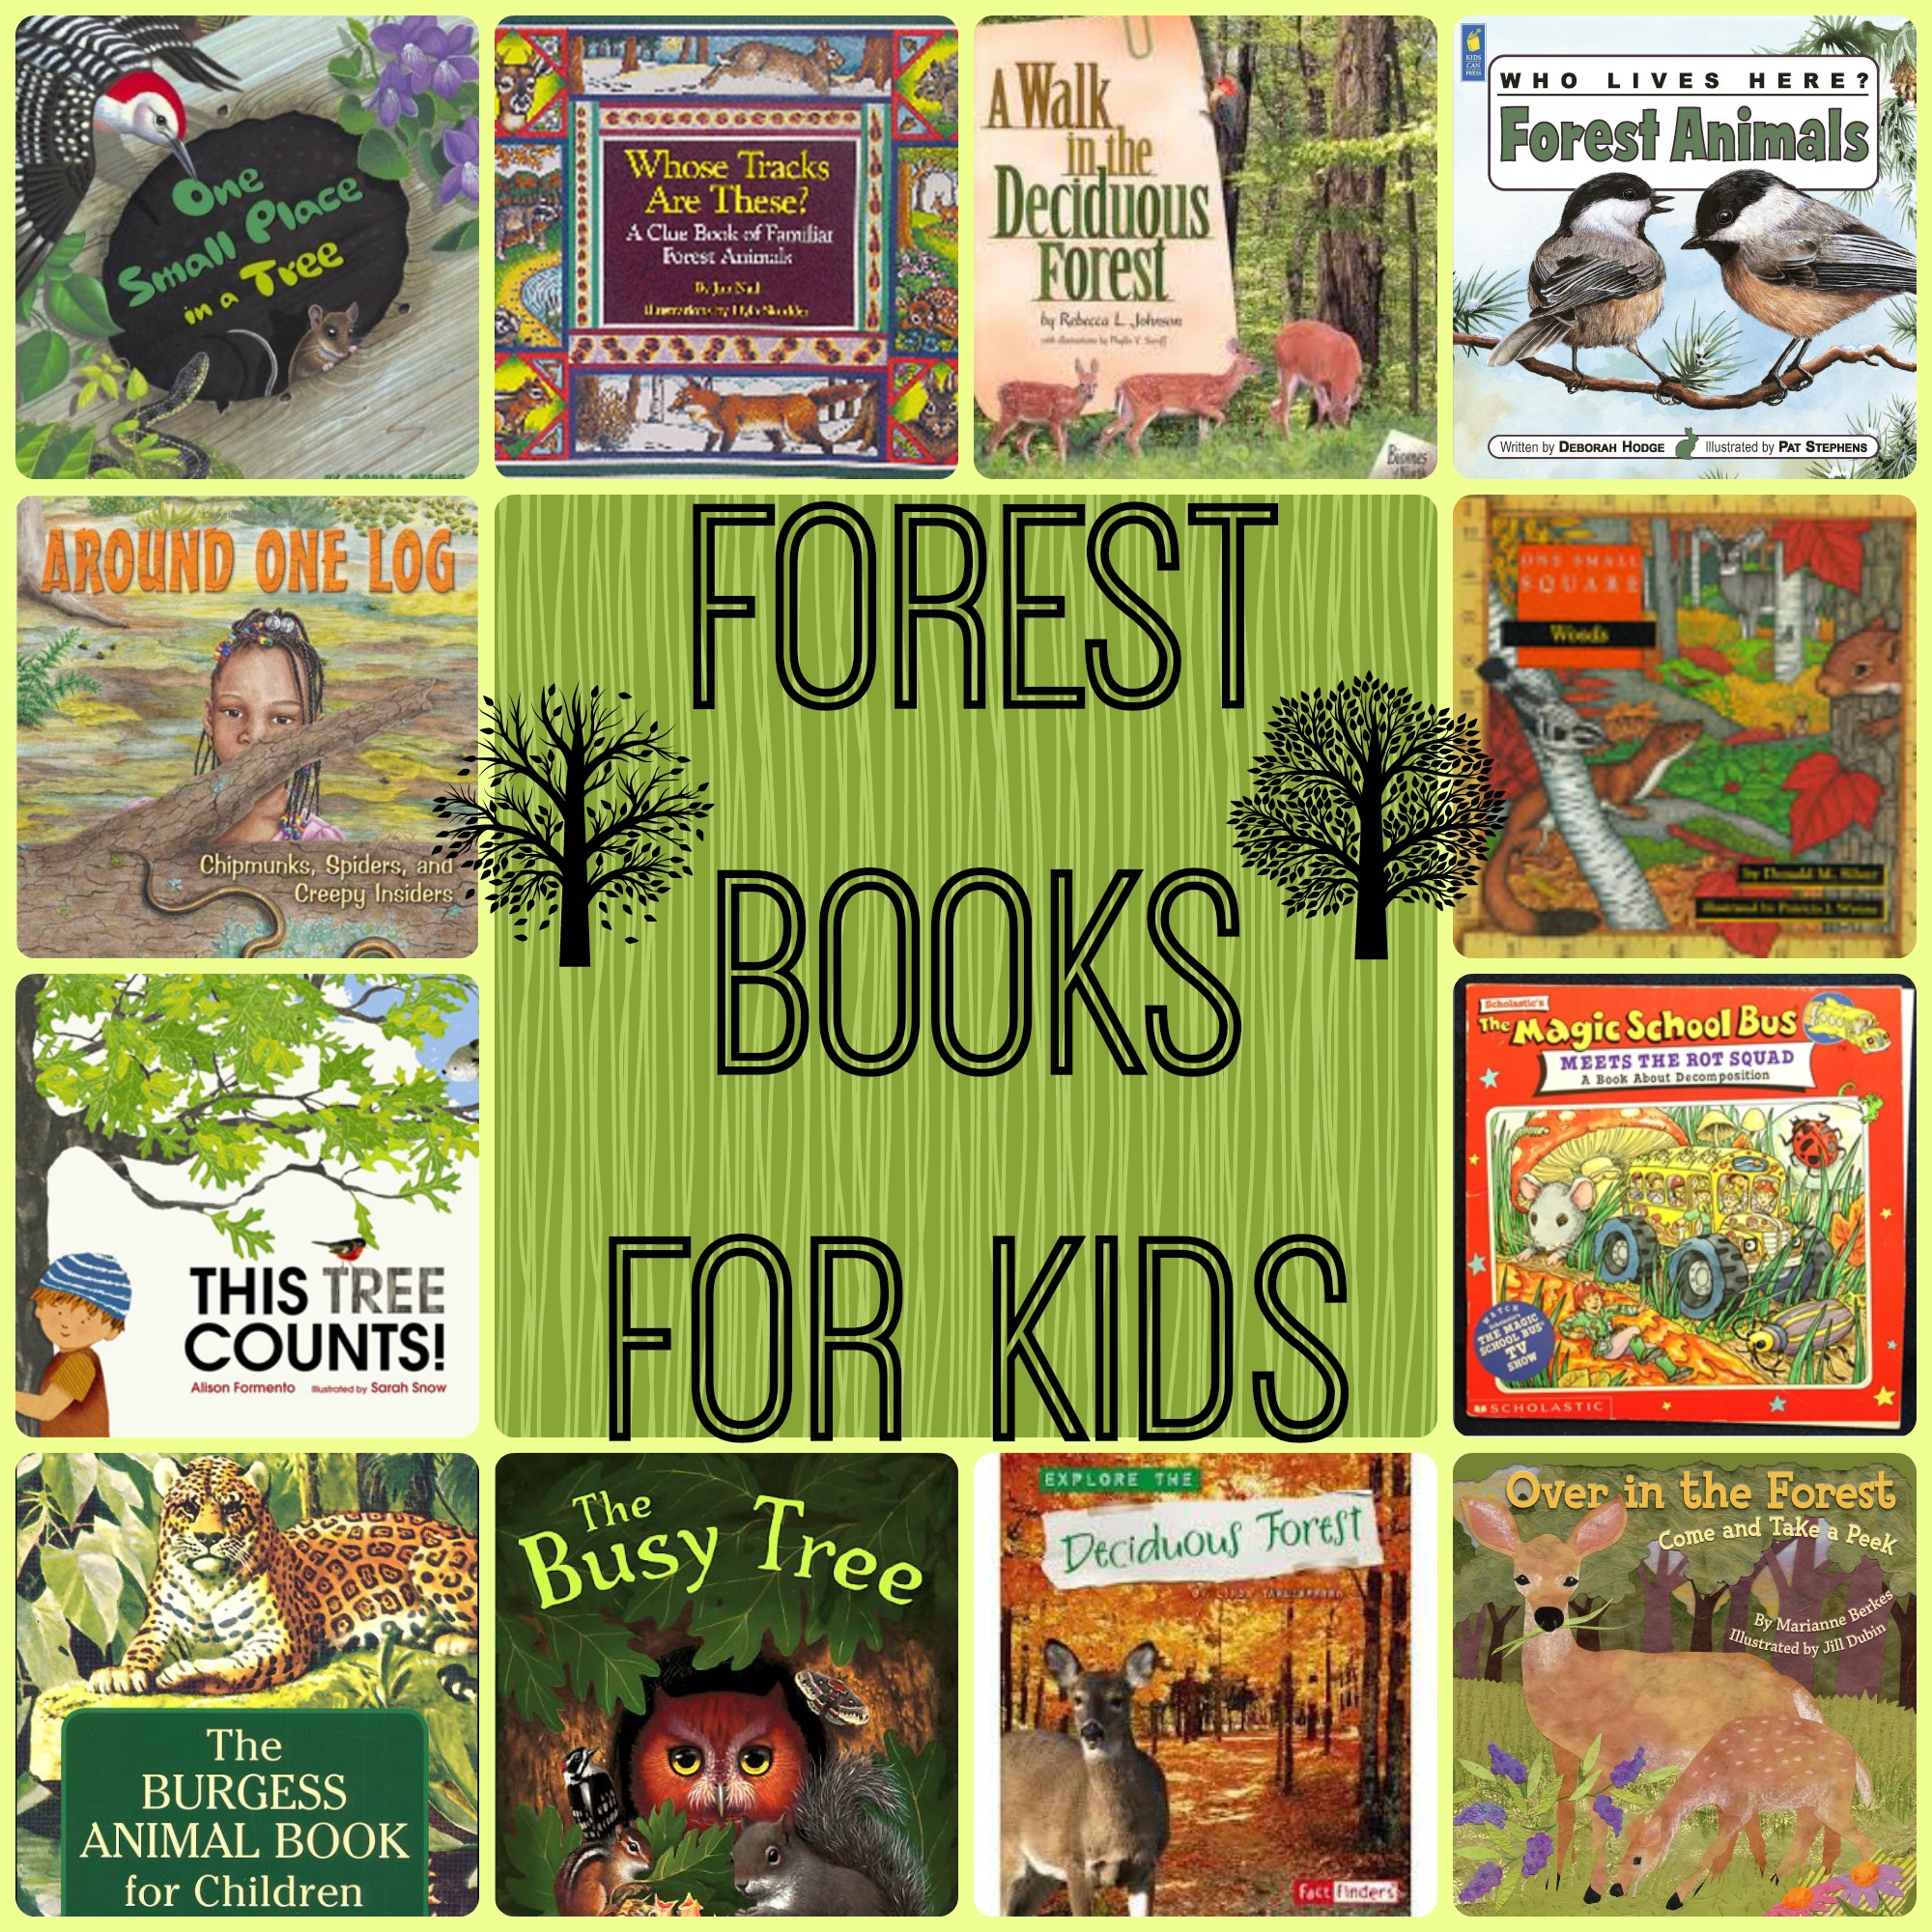
We always love tying great books into our lessons. Here are some of our favorite children’s books about forests, animals, and ecosystems:
This Tree Counts by Alison Formento
One Small Square- Woods by Donald Silver
Explore the Deciduous Forest by Linda Tagliaferro
A Walk in the Deciduous Forest by Rebecca L. Johnson
Over in the Forest: Come and Take a Peek by Marianne Berkes
Who Lives Here? Forest Animals by Deborah Hodge
The Busy Tree by Jennifer Ward
Whose Tracks Are These? by Jim Nail
One Small Place In a Tree by Barbara Brenner
Around One Log by Anthony Fredricks
Magic School Bus Meets the Rot Squad by Joanna Cole
One of our favorites is The Burgess Animal Book for Children by Thornton Burgess. If you’re reading it together, be sure to see my Burgess Animal Book Learning Guide

Geography Projects From A to Z
This forest project originally came from our Geography Projects from A to Z series, inspired by Geography from A to Z by Jack Knowlton.
If you’d like to continue the series, try:
- Geography Nesting Cans
- A is for Atoll & Archipelago
- B is for Beach & Bay
- C is for Continent
- D is for Delta
- E is for Edible Earth’s Core
Want More Nature-Inspired Learning?
Try these next:




What an awesome idea to do geography projects from A to Z. I just happen to buy that book recently. I don’t think it has arrived yet. I love what the kids did to make the rain forest. They did an awesome job. Look forward to seeing the other projects you do as well.
We are doing a year long Geography for Kids study as well. The forest diorama is so cute and I love all of learning going on behind the scenes! It’s fun to see what others are doing on the same topic.
Flute’s Journey by Lynne Cherry would be a great addition to your books. Flute’s journey begins in the woods of Maryland and migrates to Costa Rica. Fabulous habitat and geography concepts.
This is fantastic! I love that you used a cardboard box and created a unique and creative lesson.
Thank you for stopping by the Thoughtful Spot Weekly Blog Hop this week. We hope to see you drop by our neck of the woods next week!
Thanks so much for sharing this super-fun project!
Two of the links to other letters in this series did not work. 🙁 I am bummed. Is there a way to get to your whole series?
Katie
So sorry about that! Those are really old posts. I have them all updated now.