Straw Rocket with Printable Template
This post may contain affiliate links.

We made these originally at our local library story time in the Summer about 8 years ago. The kids loved it so much that day they came home and wanted to make more!
Now, I am doing the project again with my younger kids!
See also my Patriotic Firework Flyer version

How to Make the Straw Rocket:
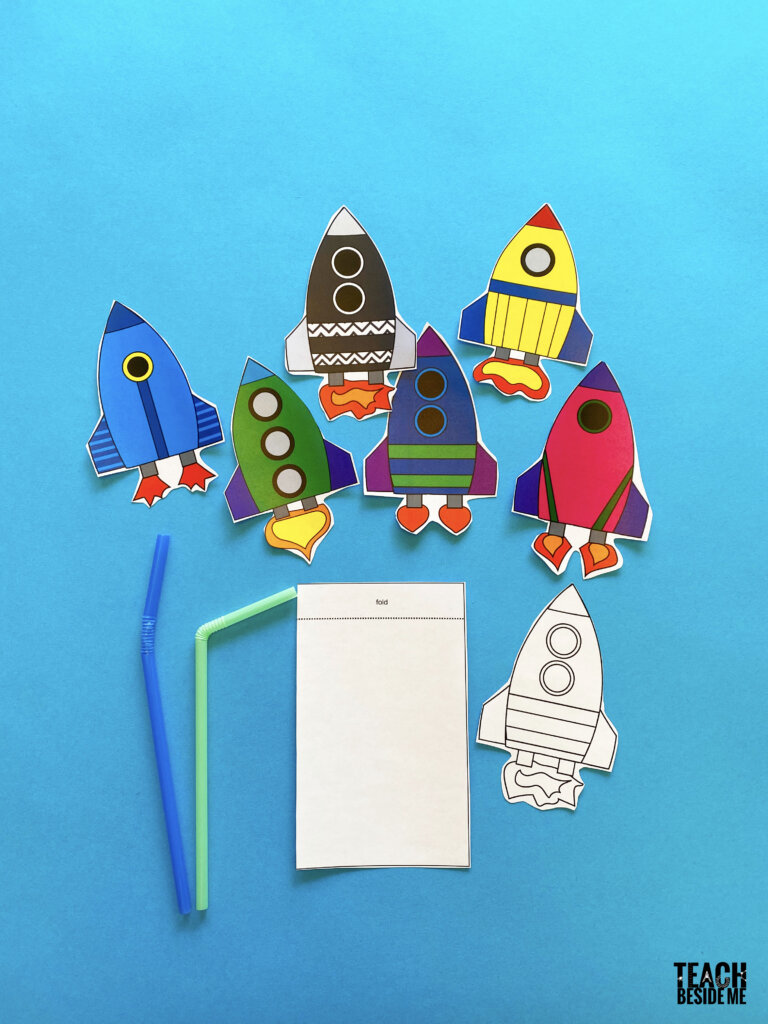
Print the free printable Straw Rocket template!

Cut out the template with some scissors. There are just two pieces to the rocket- the rocket and the rectangle that you roll to put the straw in.
Roll the rectangle the long way with the fold line on the top. You can roll it around a pencil to get it tight. Tape it along the sides to secure it.

Fold it over at the top on the part that says fold. Secure the fold with tape to keep it down.
Tape the rolled piece to the back of the rocket body.
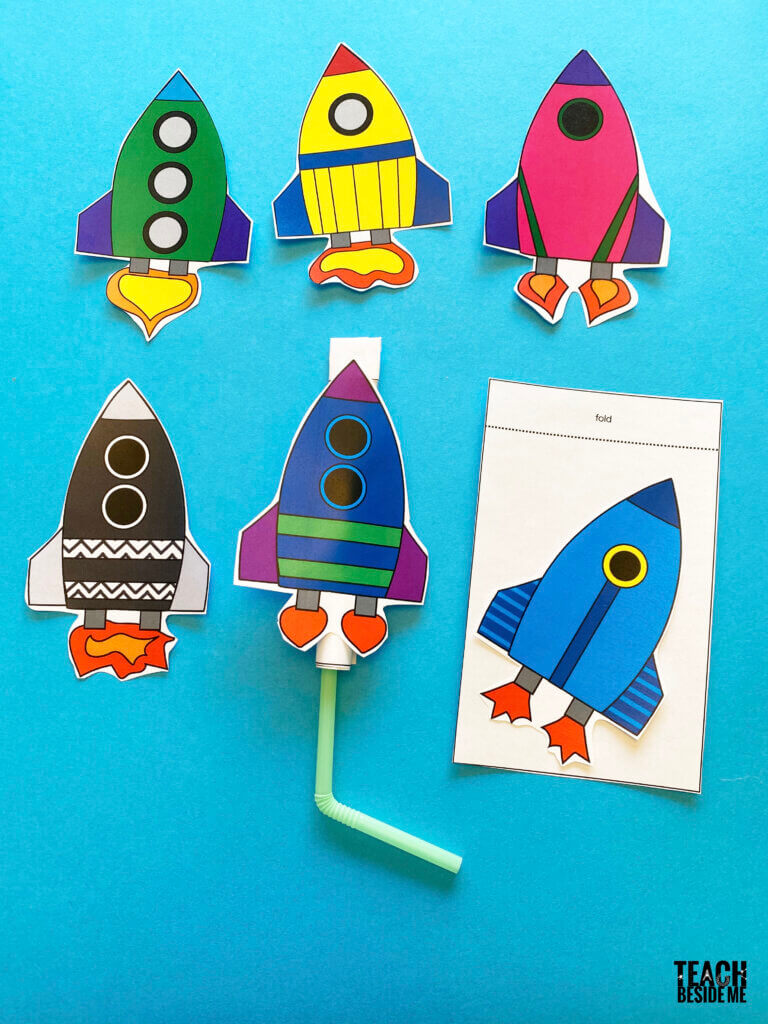
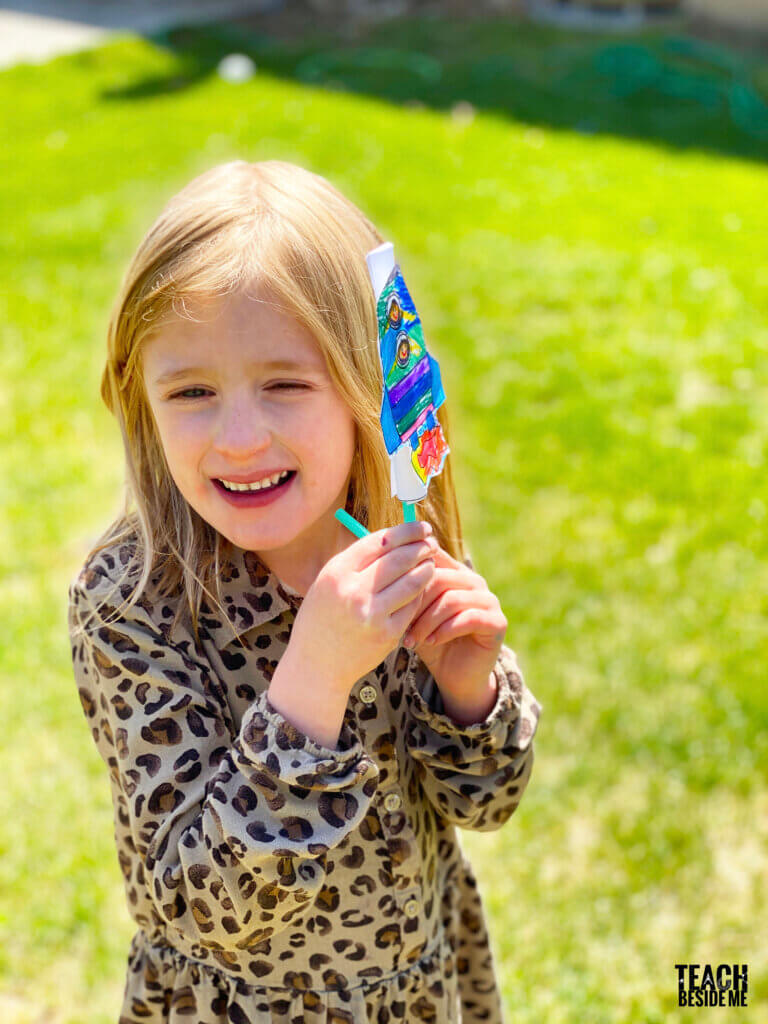
Insert a straw and blow the rocket up into the air. The rocket travels pretty far! Try it again and again and again! Try blowing it at different angles and at a different trajectory to see if you can get it to fly higher. The wind and air resistance will make a difference here, too.
There is a little trick to making the rockets work and fly higher. Do not push the straw very hard into the rocket. You want it to be loosely placed on top. Then when you blow, give it one fast and hard blow to make it fly sky high!
We took it outside because it kept hitting the ceiling. This way we could see how high it would really go!


The Science Behind It:
Add a learning component to it, too! Talk about physics and the force of air. When you blow into the straw, the big puff of air gets stopped at the top and pushes back down. The force pushing it back down causes the rocket to fly! This is Newton’s third law of motion- action and reaction!
This is also a lesson on gravity, as the rocket will always land!
This is a great STEM activity. Test a few variables, like adding a paper clip for weight, trying a wide straw instead of a skinny one, changing the angle of the launch, etc. Get out a measuring tape to see which one will fly farther.
Now, just for posterity’s sake, here is my daughter the first time we made these (in 2012!) Back then, we drew our own rockets. Now my youngest daughter looks nearly the same! When I update my posts, I love seeing my big kids so young loving the activities the first time we did them.

Try Some More Homemade STEM Toys!
Want more rockets? Check out some of these:
STEM Project: Cardboard Tube Rocket Blaster
Quick Bottle Rockets With Baking Soda & Vinegar
How to Make a Water Bottle Rocket (Easy 2-Liter Bottle STEM Project)


Oh, Karyn. My son and I are SO totally doing this!! Thank you for sharing. LOVE, LOVE, LOVE this idea!
I can’t get the link for the template to work. 🙁
Great idea! Unfortunately, everytime I try to click on the template it says page not found.
Sorry about that- I had it set to private. Is it working now?
The link works now. Can’t wait to use it tomorrow! Thanks!!
This is awesome! I think my son will love this!
What a fun idea!! Thanks for sharing this on Hey Mom, Look What I Did at Adventures In Mommy Land..hope to see you again soon 🙂
Nice post with educational active learning, the best! Foss Science kits has something similar, so you are a great thinker, Karyn! Carolyn
These are awesome Karen! I saw them featured on Hey Mom, Look What I Did, and I’m printing the template right now. Thanks!
This was a winner! We made two and had competitions to see whose rocket flew the furthest!
they are a nice planes with a paper make by children i love it
Can’t download the template.
Love it…